Rugby: colour defend

July 2026

July is the month most clubs dust off the running shoes and head for the hills. It feels productive - lads coming back sweaty and sore, the group bonding through shared suffering. But months of steady-state running rarely show up where it matters: in the last ten minutes of a tight match, when the legs are gone and a defender still needs tracking.

The modern thinking on pre-season is simple. Rugby is a game of repeated high-intensity efforts, collisions and rapid decisions under fatigue. Your conditioning should look like that too. Get the ball into the work as early as you safely can, and build volume gradually rather than front-loading everyone into the ground in week one.

Why Traditional Fitness Falls Short

Rugby is not a steady-state sport. It is a series of short, sharp bursts - a sprint to the breakdown, a collision, a scramble to reset - separated by incomplete recovery. Training your players to jog for forty minutes teaches their bodies to be efficient at jogging. It does very little for the energy system the game actually taxes.

Worse, long slow running done in isolation carries a real cost: it eats into the time you have for skills, and it can leave players flat and heavy-legged rather than sharp. Fitness earned away from the ball tends to stay away from the ball.

Build It Around the Game

The most transferable conditioning happens inside rugby-shaped activity. Small-sided games, handling grids run at pace, and repeat-effort shuttles with a skill on the end all raise the heart rate while rehearsing the movements and decisions of a match. Players get fit and better at rugby at the same time.

Step One: Establish a base. Early pre-season, use games and continuous handling to lift general work capacity. Keep intensity moderate and volume gentle - you are waking bodies up, not testing them.

Step Two: Add repeated high-intensity efforts. Introduce shuttle and interval work with clear work-to-rest ratios. Think 15-30 seconds of maximal effort against short recovery, repeated in blocks. Put a pass, a catch or a decision at the end so fitness and skill develop together.

Step Three: Layer in fatigue. Once the base is there, run your skills sessions when players are tired. Handling under fatigue is where matches are won and lost, so rehearse it deliberately rather than hoping it holds up.

Step Four: Sharpen and taper. In the final weeks before your opener, cut volume and lift intensity. Short, sharp, game-realistic work keeps players fresh and fast rather than flat.

Manage the Load, Not Just the Effort

The point of building gradually is not softness - it is availability. Players who are buried under a huge week-one load pick up soft-tissue injuries and spend the season on the physio bench. Track how hard sessions feel, watch for the group getting heavy-legged, and progress the tough stuff week on week rather than all at once.

Small tweaks make a big difference. Vary the work so it is not all running in straight lines. Give genuine recovery between the hard days. And remember that a fit squad that is fully available in September beats a heroically fit squad that is half-injured.

Don't Forget the Collision Engine

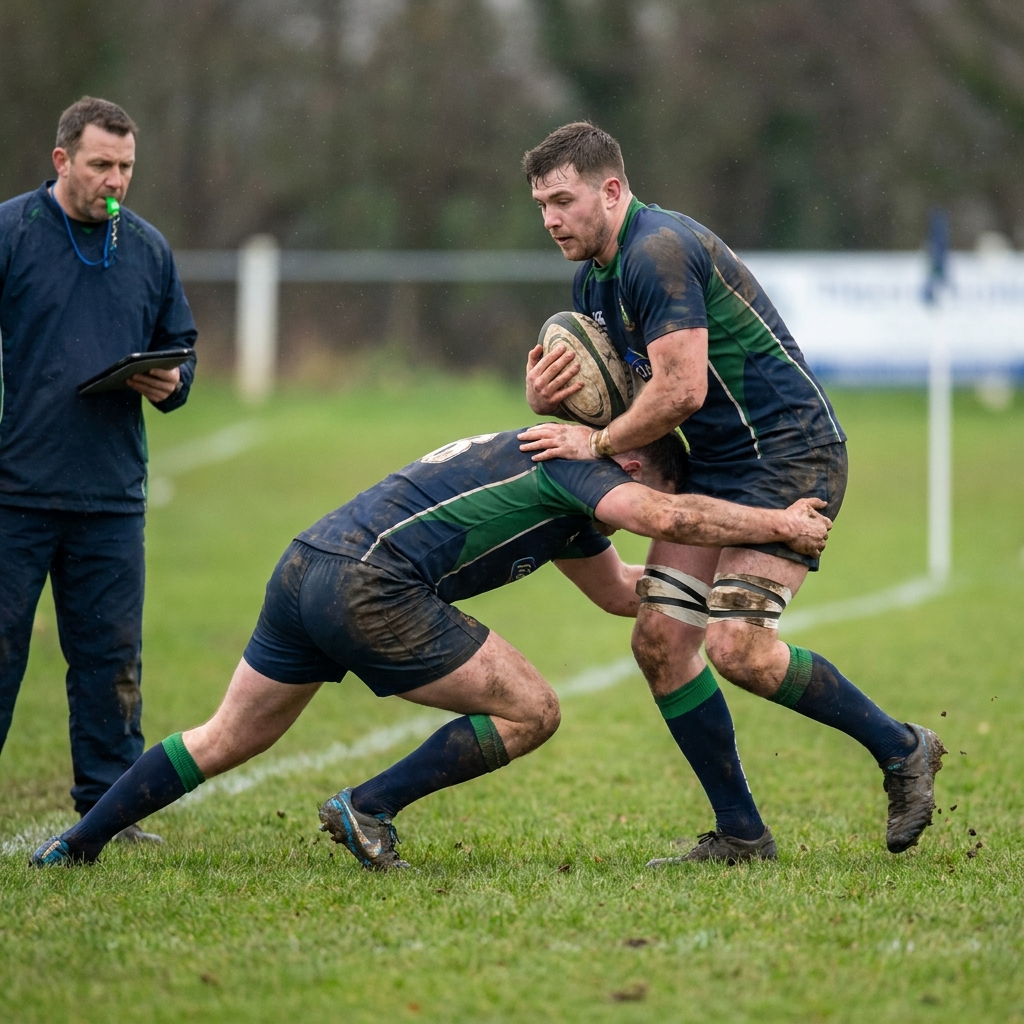
Running fitness alone will not prepare a player for the specific fatigue of repeated contact. Wrestling, bag work and short contact-conditioning circuits build the strength and resilience the tackle and breakdown demand. Weave a little of this into the fitness block so that when full contact returns, bodies are ready for it - but build it up carefully, never full-tilt in the first sessions.

Key Coaching Points

  • Match your conditioning to the game: short, sharp, repeated efforts, not endless steady running
  • Get a ball into the work early so fitness and skills grow together
  • Build volume gradually across pre-season rather than front-loading week one
  • Deliberately train handling and decisions under fatigue
  • Track load and protect recovery to keep players available all season
  • Include contact-conditioning so bodies are ready when full contact returns

Recommended Drills

VIEW ALL FITNESS DRILLS

Frequently Asked Questions

Should we scrap long runs from pre-season altogether?

Not entirely. A little low-intensity aerobic work early on helps build a base and aids recovery. The mistake is making it the centrepiece. Once the base is laid, the bulk of your conditioning should look and feel like rugby - repeated efforts, changes of direction and a ball in the mix.

How early should we introduce ball work in pre-season?

From day one. There is no need to earn the right to touch a ball by grinding through fitness first. Handling grids and small-sided games raise the heart rate just as effectively as running while keeping skills sharp and morale high.

How do I know if I'm loading players too hard?

Watch and listen. Persistent heavy legs, dropping session quality, niggling soft-tissue complaints and low mood are all signs the load is climbing too fast. Ask players how hard sessions felt, progress the demanding work week on week, and always protect a proper recovery day.

colour defend DRILLS
View All

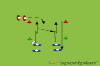
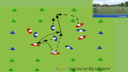
1 vs 1 colour cones Agility & ...

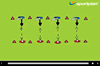
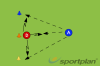
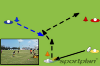
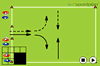
<span id=&quot;docs-internal-guid-0bcf75a9-9414-f74b-43eb-51b4947c502d&quot;> <ul style=&quot;margin-top: 0pt; margin-bottom: 0pt;&quot;> <li style=&quot;list-style-type: disc; font-size: 7.5pt; font-family: Verdana; color: #000000; background-color: transparent; font-weight: 400; font-style: normal; font-variant: normal; text-decoration: none; vertical-align: baseline; white-space: pre;&quot; dir=&quot;ltr&quot;> <p style=&quot;line-height: 1.38; margin-top: 0pt; margin-bottom: 0pt;&quot; dir=&quot;ltr&quot;><span style=&quot;font-size: 7.5pt; font-family: Verdana; color: #000000; background-color: transparent; font-weight: 400; font-style: normal; font-variant: normal; text-decoration: none; vertical-align: baseline; white-space: pre-wrap;&quot;>4 players are required for this drill; 1 attacker, 2 defenders and 1 scrum half. <li style=&quot;list-style-type: disc; font-size: 7.5pt; font-family: Verdana; color: #000000; background-color: transparent; font-weight: 400; font-style: normal; font-variant: normal; text-decoration: none; vertical-align: baseline; white-space: pre;&quot; dir=&quot;ltr&quot;> <p style=&quot;line-height: 1.38; margin-top: 0pt; margin-bottom: 0pt;&quot; dir=&quot;ltr&quot;><span style=&quot;font-size: 7.5pt; font-family: Verdana; color: #000000; background-color: transparent; font-weight: 400; font-style: normal; font-variant: normal; text-decoration: none; vertical-align: baseline; white-space: pre-wrap;&quot;>Once the defenders are set up in either corner of the try line they are assigned a coloured ball. <li style=&quot;list-style-type: disc; font-size: 7.5pt; font-family: Verdana; color: #000000; background-color: transparent; font-weight: 400; font-style: normal; font-variant: normal; text-decoration: none; vertical-align: baseline; white-space: pre;&quot; dir=&quot;ltr&quot;> <p style=&quot;line-height: 1.38; margin-top: 0pt; margin-bottom: 0pt;&quot; dir=&quot;ltr&quot;><span style=&quot;font-size: 7.5pt; font-family: Verdana; color: #000000; background-color: transparent; font-weight: 400; font-style: normal; font-variant: normal; text-decoration: none; vertical-align: baseline; white-space: pre-wrap;&quot;>The attacker is to start in one corner of the baseline. <li style=&quot;list-style-type: disc; font-size: 7.5pt; font-family: Verdana; color: #000000; background-color: transparent; font-weight: 400; font-style: normal; font-variant: normal; text-decoration: none; vertical-align: baseline; white-space: pre;&quot; dir=&quot;ltr&quot;> <p style=&quot;line-height: 1.38; margin-top: 0pt; margin-bottom: 0pt;&quot; dir=&quot;ltr&quot;><span style=&quot;font-size: 7.5pt; font-family: Verdana; color: #000000; background-color: transparent; font-weight: 400; font-style: normal; font-variant: normal; text-decoration: none; vertical-align: baseline; white-space: pre-wrap;&quot;>The drill begins when the attacking player is fed a coloured ball by the scrum half. <li style=&quot;list-style-type: disc; font-size: 7.5pt; font-family: Verdana; color: #000000; background-color: transparent; font-weight: 400; font-style: normal; font-variant: normal; text-decoration: none; vertical-align: baseline; white-space: pre;&quot; dir=&quot;ltr&quot;> <p style=&quot;line-height: 1.38; margin-top: 0pt; margin-bottom: 0pt;&quot; dir=&quot;ltr&quot;><span style=&quot;font-size: 7.5pt; font-family: Verdana; color: #000000; background-color: transparent; font-weight: 400; font-style: normal; font-variant: normal; text-decoration: none; vertical-align: baseline; white-space: pre-wrap;&quot;>The defender associated with that coloured ball will then come out to defend the try line from their corner. <li style=&quot;list-style-type: disc; font-size: 7.5pt; font-family: Verdana; color: #000000; background-color: transparent; font-weight: 400; font-style: normal; font-variant: normal; text-decoration: none; vertical-align: baseline; white-space: pre;&quot; dir=&quot;ltr&quot;> <p style=&quot;line-height: 1.38; margin-top: 0pt; margin-bottom: 0pt;&quot; dir=&quot;ltr&quot;><span style=&quot;font-size: 7.5pt; font-family: Verdana; color: #000000; background-color: transparent; font-weight: 400; font-style: normal; font-variant: normal; text-decoration: none; vertical-align: baseline; white-space: pre-wrap;&quot;>This drill relies on both the reaction speeds of the defenders noticing which ball is in play and also that of the attacker noticing which defender is in play and consequently where there is space to attack.

General

Rugby Netball Agility & Runnin...

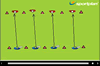
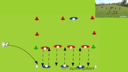
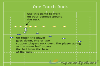
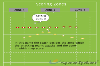
Drill to practice skills and creating space.Set up a pitch (roughly 25m x 20m depending on age and number of players) with two scoring zones at each end (green cones). Split the players into two even teams and give each team different colour bibs.Teams are aiming to score points by passing the ball to a team mate who is standing in the scoring zone (see diagram). Each time a player catches the ball on the full from a pass from a team mate in the scoring zone their team scores one point, and they turn and attack back the other way. Players cannot run while holding the ball, they must be standing still when they pass.The defending team cannot get closer than 2m to the player with the ball, and can only gain possession by intercepting a pass or if the attacking team drop the ball or give a poor pass which goes to ground. PROGRESSION:Players can only have possession of the ball for 2 seconds. If they hold the ball for longer than two seconds then possession is turned over. This means that the defending team can gain possession if they cut down the attacking players passing options.Players can run when in possession of the ball, but still can only have possession of the ball for 2 seconds.Passes must be over head.Passes must be below waist height.Chip kick / grubber kick instead of pass.Passes must be out of the back of the hand.Passes must be behind the back.Defenders can touch the attacking player in possession of the ball. If the defending team makes two touches on the attacking team then possession is turned over.

General

Scoring Zones Warm Up - Rugby ...

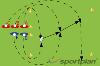
Be brief when telling the players the laws of this game, it's important to get them moving quickly. This is not a contact game. Break your players into two teams, giving each team their own colour of bibs if necessary. One team goes to attack, and one to defense. Nominate a Scrum Half for each team. There is no kicking in this game. Normal laws of rugby apply e.g. a forward pass will result in the ball being turned over to the opposition. If an attacking player is touched: they must go to ground, present the ball, two of their teammates ruck over (staying over the ball), and the Scrum Half moves the ball for the next phase of attack.The defence must commit three players to every ruck, or risk an infringement which will see tem pushed back ten meters. The ball must be moved from the ruck within 5 seconds. Make sure that the defense is employing your defensive pattern around the ruck.  Throughout the game the coach call the point of attack e,g, attack RED ZONE or Zone 2. The coach can also call the scoring zone, Score At Zone Yellow or Zone 3. As the game progresses have the players call the point of attack, and the scoring zones - but they must do this early and they must committ to that attack for a period of time. Have attacking players do what they normally would at the ruck. Depending on your goals decide on the number of touches you wish to allow e.g. unlimited is not a bad option as mistakes will be made! On a mistake or after a period of time, turn the ball over so that both teams get time in attack and defence. Don't hesitate to shape the game to focus on your session goals, and let us and other coaches know what worked for you!

General

Flip It Warm Up - Rugby Drills...

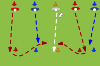
<div class=&quot;&quot;&quot;MsoNormal&quot;&quot;&quot;>Be brief when telling the players the laws of this game, it's important to get them moving quickly. </div> <li class=&quot;&quot;&quot;MsoNormal&quot;&quot;&quot;>This is not a contact game. <li class=&quot;&quot;&quot;MsoNormal&quot;&quot;&quot;>Break your players into two teams, giving each team their own colour of bibs if necessary. <li class=&quot;&quot;&quot;MsoNormal&quot;&quot;&quot;>One team goes to attack, and one to defence. <li class=&quot;&quot;&quot;MsoNormal&quot;&quot;&quot;>Nominate a Scrum Half for each team. <li class=&quot;&quot;&quot;MsoNormal&quot;&quot;&quot;>There is no kicking in this game. <li class=&quot;&quot;&quot;MsoNormal&quot;&quot;&quot;>Normal laws of rugby apply e.g. a forward pass will result in the ball being turned over to the opposition. <li class=&quot;&quot;&quot;MsoNormal&quot;&quot;&quot;>If an attacking player is touched: they must go to ground, present the ball, two of their teammates ruck over (staying over the ball), and the Scrum Half moves the ball for the next phase of attack. <li class=&quot;&quot;&quot;MsoNormal&quot;&quot;&quot;>When you start playing this game make sure that the defence is employing your defensive pattern around the ruck. As the game develops consider telling the defenders that they must have one or more players at the back of the ruck, if they are not fast enough to do this - push them back 10 meters. <li class=&quot;&quot;&quot;MsoNormal&quot;&quot;&quot;>It’s important that defenders are employing their defensive pattern behind the primary defensive line. <li class=&quot;&quot;&quot;MsoNormal&quot;&quot;&quot;>Have attacking players do what they normally would at the ruck. <li class=&quot;&quot;&quot;MsoNormal&quot;&quot;&quot;>Depending on your goals decide on the number of touches you wish to allow e.g. unlimited is not a bad option as mistakes will be made! <li class=&quot;&quot;&quot;MsoNormal&quot;&quot;&quot;>When you feel the time is appropriate, usually during a ruck, blow you whistle and should FLIP IT – kicking in or throwing in a second ball to the back 3/2 defenders on the team currently in defence OR just kick it behind the defenders. The defensive team goes, without hesitation, into attack. The team that was attacking goes into defence and you or an assistant coach remove the other ball from play when you can. Ideally you might have two balls with different markings. <li class=&quot;&quot;&quot;MsoNormal&quot;&quot;&quot;>Don't hesitate to shape the game to focus on your session goals, and let us and other coaches know what worked for you!

General

Realignment & Depth - 5 v 4 Ha...

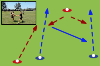
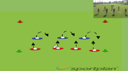
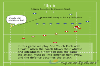
The realignment and depth hands drill is a quick drill to focus the players in sharpening their alignment and depth before a session. You can spend as long or as short on this drill as you need. The aim of the drill is to develop the speed at which players realign themselves, to support their early hand-catch, quick and accurate transfer of the ball to a support player.Set a 5 cones 1.5 meter apart in straight line. This will mark where the players will start the drill fromSet 4 cones at a diagonal in line with the starting cones from one edge. This will be the cones that the defending players need to retreat to before coming up to pressure the attacking players.The first attacking player needs to step back 1 meter and will receive the ball from the first defending player who has also stepped back 1 meter to his designated coneDivide the group into 4 attacking player and 5 defending players, there should be a free attacking playerThe ball starts with the defending playerOn the coaches call, all defending players need to work back to their designated cone and then come forward in a straight line to their opposite attacking playerThe attacking players set their own depth to ensure they have time to catch and pass effectivelyOn the coaches call, the first defending player will move back to their cone, once they get to the cone they pass the ball to the first attacking player, and then the first defending player tries to put pressure on the first attacking playerThe attacking players try to get the ball to the 5th player without being ‘touched’ by a defending player

General

Unfortunately there were no results for your search! Please try again

JOIN SPORTPLAN FOR FREE

  • search our library of 1100+ rugby drills
  • create your own professional coaching plans
  • or access our tried and tested plans

Sportplan App

Give it a try - it's better in the app

YOUR SESSION IS STARTING SOON... Join the growing community of rugby coaches plus 1100+ drills and pro tools to make coaching easy.
LET'S DO IT