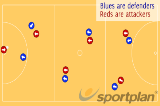
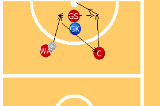
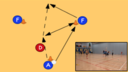
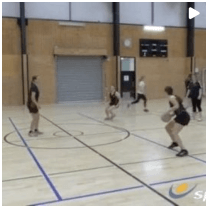
The feeders are positioned adjacent to one another, instead of opposite - with an attacker and defender inside the square.
Within the square, there will be 2 defenders and 1 attacker.
The attacker can offload to either feeder.
However, if the attacker cannot get free within 3 seconds OR the attacker is holding the side of the free feeder - the ball can swing to the free feeder.
The ball can only be swung once, at which point it must be passed to the attacker.
The attacker must still try to get free each time for the first feed.
The practice allows the attacker to work on a 2 on 1 situation.
The attacker must think about how they can shift the defenders to get free, without contacting either.
If the attacker is struggling to get free, highlight the idea of isolating one defender and working off the other.
The attack should recognise how setting up early and working at speed, releasing the ball will allow them to get free more easily.
The feeders must also recognise when the attacker is struggling to get free and use the swing to open the attacker up.
You can challenge the attacker to complete a set number of passes consecutively without a mistake or a touch from the defender - for example 5 consecutive passes before they can switch out of the square.
To challenge the defence you could set a condition that they may only switch out if they interrupt the practice - either a tip or interception.
in more ways than one
 sportplan_netball

in more ways than one
sportplan_netball
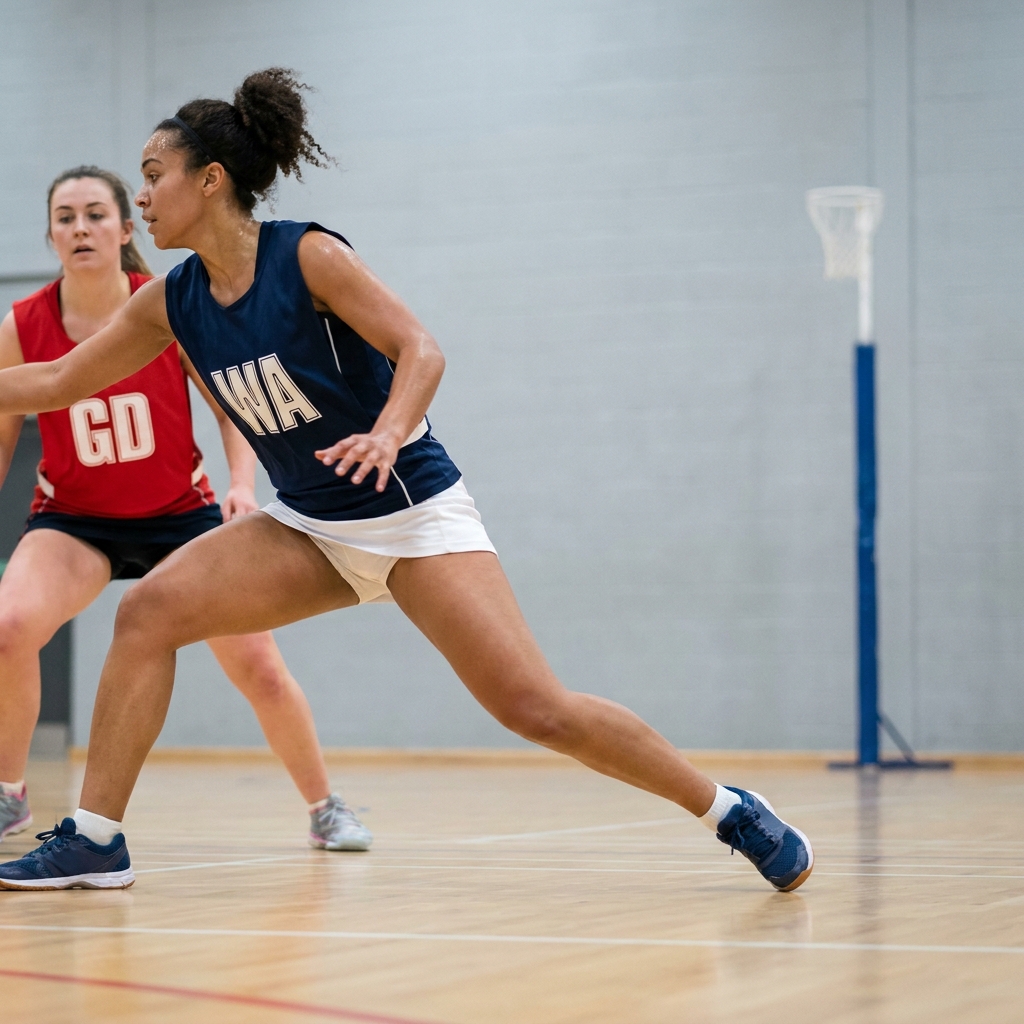
Tight markers win when attackers run in straight lines. Teach your players to dodge, change pace and time their drive so they get free when the ball is ready.
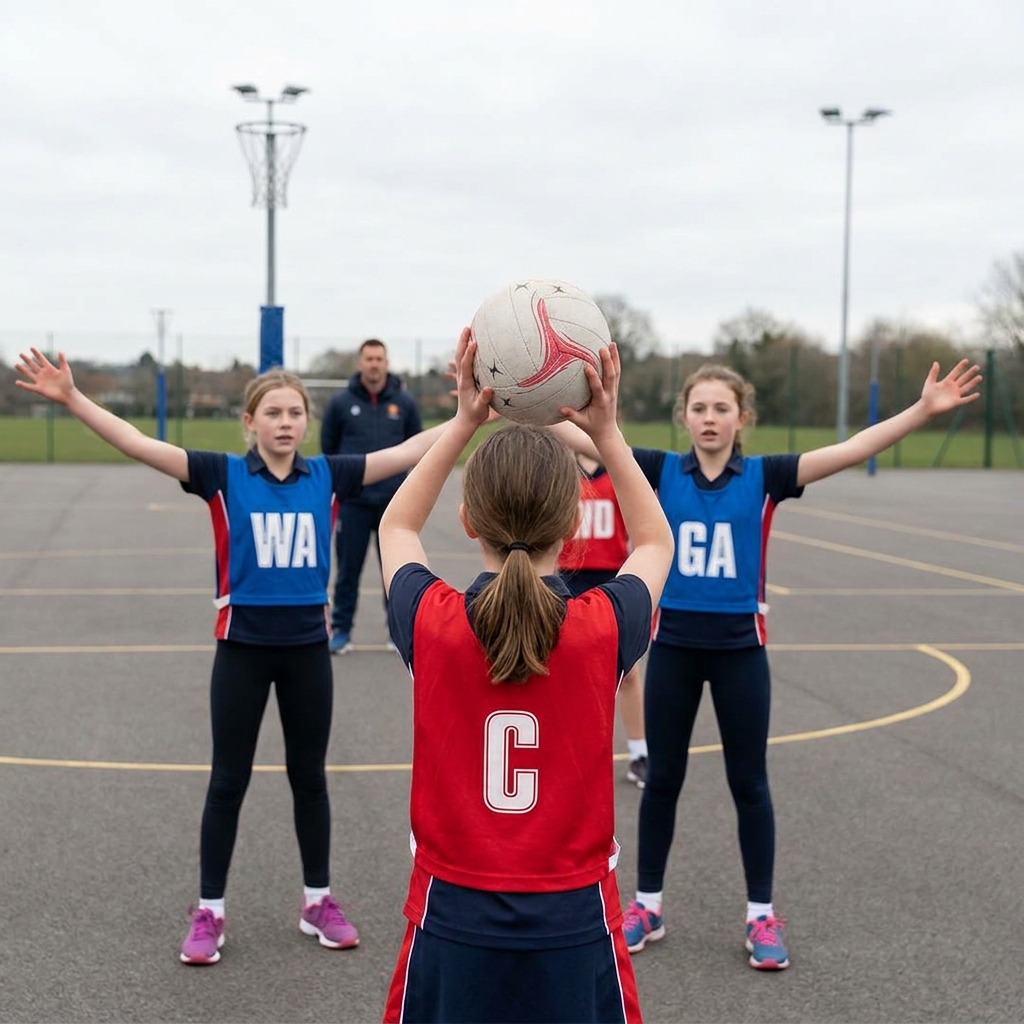
When everyone chases the ball, nobody is free. Teach your team to spread out, offer two options and clear space so the ball moves cleanly down court.
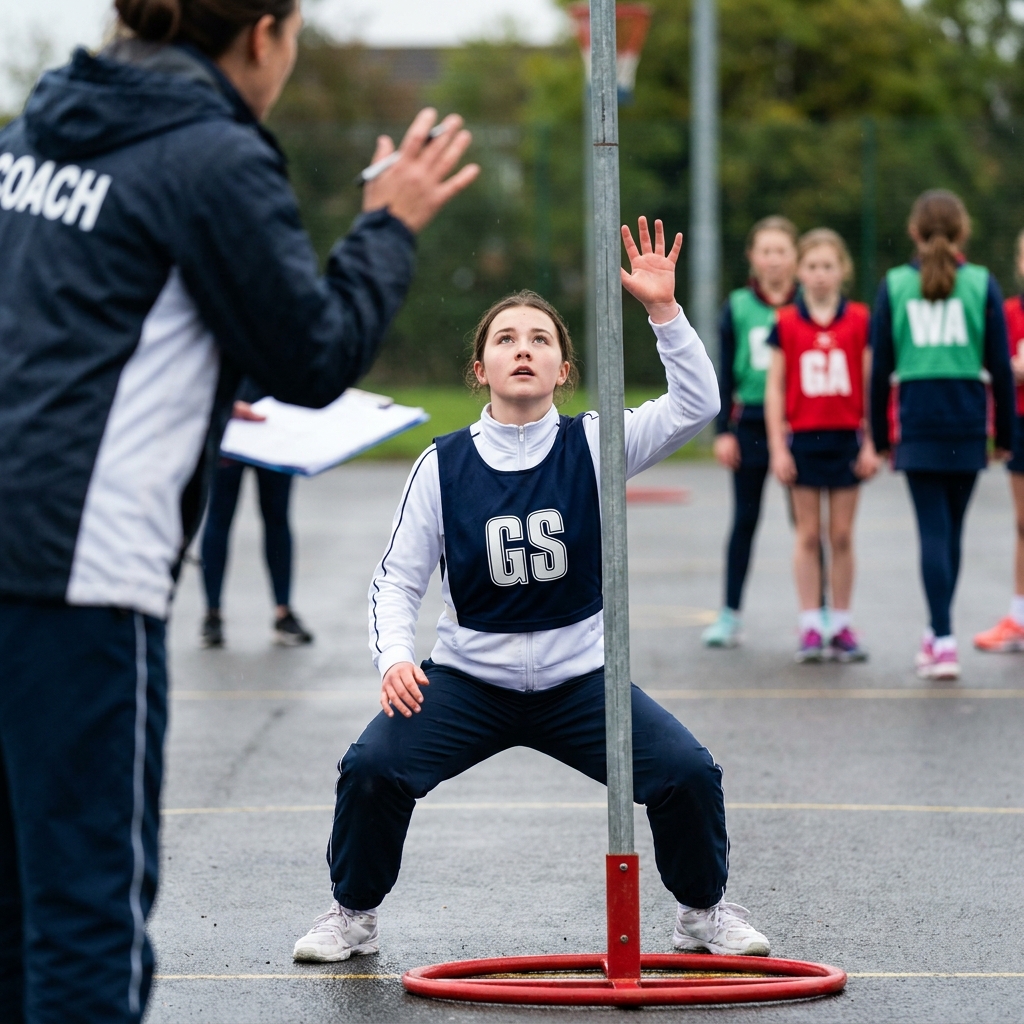
A shooter who can hold a strong position under the post is worth more than one who runs all over the circle. Here is how to coach body shape, a legal hold and a well-timed release, and how feeders make the most of it.