The System Behind the Best Defensive Units of 2026
Statistics from the first half of the 2026 NSL season tell a clear story. The three teams with the highest goal-circle turnover rates all run a structured split-circle defensive system. The teams further down the table mostly defend the circle one-on-one. The gap is not about individual brilliance. It is about whether the defensive pair operates as two players or as a single connected unit.
Split circle defence is built on a simple idea. Rather than each defender minding a single attacker across the whole circle, the Goal Keeper and Goal Defence divide the circle into zones, take responsibility for whichever attacker enters their zone, and switch coverage as attackers move. Done well, it makes every pass into the circle look contested even when the defenders are not on the body.
The Three Zones of the Circle
Before the system can work, every player in the defensive unit must understand the same map of the goal circle. The vocabulary matters - if your GK calls one area "the pocket" and your GD calls the same area "the corner", you have a communication problem before the contest even starts. Most elite coaches divide the circle into three zones.
1. The Post
The area immediately around and under the goal post, roughly two metres in radius. This is the highest-value scoring zone and the primary territory of the Goal Keeper. Any pass into this zone must be contested or denied. The defender in the post zone is the last line of defence on every play.
2. The Pocket
The two areas on the circle edge by the baseline, one on each side of the post. The pocket is the favourite landing spot for a strong holding shooter because the angle to the post is good and the defender's footwork is restricted by the baseline. The Goal Defence usually carries primary coverage here, but the GK must be ready to rotate.
3. The Point
The top of the circle near the transverse line, where feeds typically come from. The Goal Defence carries the point zone because they are closer to the incoming pass, while the GK reads the pass and prepares to cover whichever zone the shooter drives into.
The Switch: The Moment That Makes or Breaks the System
Split circle defence lives or dies on the switch. When an attacker moves from one defender's zone into the other defender's zone, the two defenders must hand over coverage smoothly. Done well, the attacker arrives in their new zone to find a fresh defender already in position. Done badly, both defenders end up on the same attacker, leaving the other one free.
The keys to a clean switch are timing and communication. The timing should be the moment the pass is being made or just before it - too early and the attacker can change direction, too late and the receiving defender is not yet set. The communication is verbal and immediate. The most common call is simply "switch", but many teams develop their own short codewords for specific scenarios.
Coaches must drill the switch as a specific skill. It is not enough to run general circle defensive drills and hope the switch develops on its own. Set up scenarios where attackers deliberately cross between zones and force the defenders to communicate the switch out loud every time. Over time the verbal call becomes instinctive and the movement becomes seamless.

Body Angle and the Half-Step Principle
In a split-circle system, defenders almost never stand body-on-body with their attacker. The standard position is a half-step away with the body angled side-on. The hips face the ball, not the attacker. This achieves two things at once - it lets the defender see both the ball and the attacker simultaneously, and it positions the body to drive into the passing lane the moment the pass is released.
The phrase coaches use most often is "hips to the ball, eyes split". The defender's hips give them their ready direction. Their eyes work in a split mode, one watching the ball, one watching the attacker. The half-step of distance is not weakness or laziness. It is the space the defender needs to read and react.
The exception is the moment of the shot itself. Once the shooter is set in a clear shooting position with the ball, the defending player closes the gap, gets the arms over and contests the shot directly. The half-step is for the pre-shot phase. The on-body coverage is for the shot itself.
Pressing the Feed
A common mistake when teams adopt the split circle is to focus entirely on what happens inside the circle and forget the pressure on the feeder outside it. The split circle works best when the feeders are being pressured by the WD and C. A feeder under pressure throws less accurate passes, takes longer to release, and gives the circle defenders more time to read the play. A feeder with no pressure picks the lane at leisure.
Build feeder pressure into your split circle drills from the start. Do not run circle defence in isolation. Always include the midcourt defenders contesting the ball outside the circle. The whole defensive unit must work together for the split system to deliver its full benefit.
When to Switch Off and Mark Tight
The split circle system is not the only way to defend, and it is not always the best way. Against a single dominant holding shooter who barely moves, a more traditional one-on-one marking approach can be more effective because the switches are rarely triggered. Against quick, mobile shooting pairs who constantly rotate and cross, the split circle is the better answer.
Teach your players to recognise when to switch the system off. The captain or senior defender should be able to call "tight" when the opposition's movement patterns favour direct marking. This flexibility is a sign of a mature defensive unit. The teams that get caught are the ones that stick rigidly to one system regardless of what they are seeing.
Sample Session Plan: Building the Split Circle (60 Minutes)
Session Structure
- Warm-Up (10 min): Zone awareness. Mark the three zones of the circle clearly with cones. Pairs of defenders move around the circle calling the zone they are in. Builds the spatial vocabulary that the rest of the session depends on.
- Technique Block (15 min): The switch in isolation. GK and GD stand in the circle. One attacker walks slowly from zone to zone. Defenders must talk through every switch out loud, then carry the switch out smoothly. No ball, no contest - pure communication and movement.
- Development Block (15 min): 2v2 in the circle. GK and GD versus GA and GS. Feeder outside the circle delivers ten passes. Track how many clean intercepts, deflections and shots the contest produces. Discuss every switch after each pass.
- Game Scenario (15 min): Full half-court attack versus split defence. Add WD and C to pressure the feeders. Live ten-second possessions starting at the centre circle. Defenders score one point for an intercept, the attackers score one for a goal. First to ten wins.
- Cool-Down (5 min): Walkthrough discussion. Where did the switches go cleanly? Where did both defenders end up on one attacker? What verbal calls worked best?
Common Mistakes to Avoid
Silent defence: A split circle that does not communicate verbally will never work. The switch only succeeds when both defenders know it is happening. Train the verbal call from the very first drill. Silence is failure.
Both defenders on the ball-side attacker: The most common breakdown is when both the GK and GD drift toward the attacker currently being targeted, leaving the off-ball shooter completely free. Discipline is required to trust your partner to cover their zone.
Switching too late: If the switch happens after the pass is in flight, the receiving defender is rushing to catch up and rarely sets a proper contest. The switch must happen at the moment of release or slightly before. Drill the timing relentlessly.
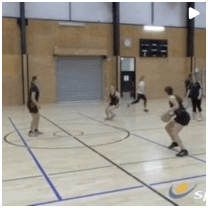
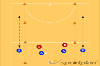
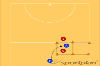
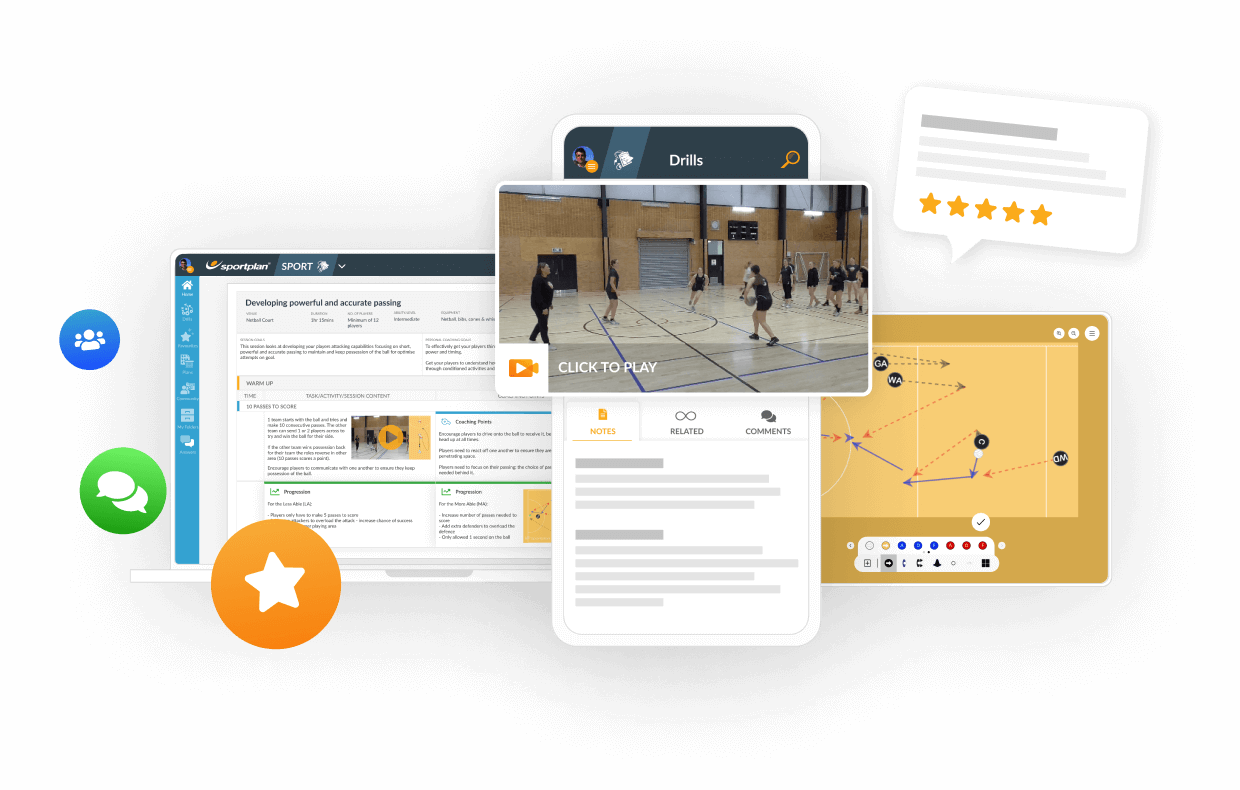
1 vs 1 with Ball Transfer Defence
Coaching drill from Sportplan's Netball catalogue.
View This DrillFrequently Asked Questions
At what age should I introduce split circle defence?
The foundational concepts - side-on stance, half-step distance, hips to the ball - can be introduced from under-13 level. The switch itself requires a level of communication and game-reading that usually develops around under-15 or under-16. Avoid forcing the full system on very young players. Build the components first, then chain them together once the players have the cognitive bandwidth to manage the switches in live play.
Does the split circle work against a dominant holding shooter?
It can, but the system needs adapting. Against a strong static holder, the GK takes primary responsibility and the GD operates more as a help defender and ball pressure player. The zonal switching is less frequent because the holder is not crossing between zones. If the GA is also a holder, traditional one-on-one marking may be more effective than split coverage. Read the opposition's movement patterns and adjust.
How do I get my GK and GD to communicate more on court?
This is often a culture issue rather than a personality issue. Make verbal communication an explicit success metric in training. Reward calls in front of the group. Stop drills when communication is silent and restart them. Pair up defenders for off-court partner work so they build rapport away from the contest. The best split circle pairs talk to each other more than they do to anyone else on the team.
How does the split circle interact with the simultaneous infringement rule?
The split circle is actually a friend of the new rule. Because defenders are positioned a half-step off the body and reading the pass rather than grabbing the player, the kind of simultaneous body contact that loses possession under the new rules is much less common. Teams that defend body-on-body are the ones most punished by the rule. The split circle is one of the cleanest defensive systems under the 2025-2026 rule set.
 sportplan_netball