After two seasons of trials involving eleven unions around the world, World Rugby Council has adopted a lower tackle height into full law for community rugby. It takes effect from 1 July 2026 for seasons starting after that date, with unions able to choose either the waist or the base of the sternum as the legal maximum.
If your season starts this month or next, this is not something to read about in October. Across the trial unions, with more than 150,000 tackles studied, tackle-related concussion rates fell by 37 per cent in adult men and 63 per cent in adult women. But the behaviour change that produced those numbers came from coaching, not from the law appearing on a page.
What the Law Actually Requires
The change lowers the maximum legal height of contact. Depending on which option your union has adopted, the ceiling is either the waist or the base of the sternum, and contact above that line is penalised.
Which ceiling applies to you depends on your union, and the good news is that the biggest unions have already made their choice and published it. The section below covers England, Australia and New Zealand. If you are outside those, check your own union before your first session, because the coaching emphasis genuinely differs: a waist ceiling demands a target around the hips and thighs, while a sternum ceiling is more forgiving on entry height but still rules out the upright, chest-high hit.
What the Top Unions Have Chosen
England: the RFU settled on the base of the sternum. The history is worth knowing, because it still causes confusion in clubhouses. The RFU initially announced a waist-height limit in early 2023 and revised it to the base of the sternum after a strong reaction from clubs, and English community rugby has operated at sternum height since the 2023/24 season.
Australia: Rugby Australia also went with below the sternum, written into Law 9.13, which deems it dangerous to tackle or attempt to tackle an opponent above the line of the sternum. It applied to every competition below Super Rugby from February 2024, including all premier grades, school and pathway competitions.
New Zealand: New Zealand Rugby uses below the sternum for the first tackler, with the coaching cue to target the belly. Their version carries one distinction worth knowing: the second tackler may still legally tackle below the shoulders under existing law, which changes how you coach double tackles.
Wales, Scotland and Ireland have also been operating under the trial laws since 2023/24. For most of the home nations and the largest southern hemisphere unions, this month's change formalises what your players have already been doing rather than introducing something new. The practical takeaway is that the sternum is the near-universal choice, and the waist option is the outlier.
Why Players Get It Wrong
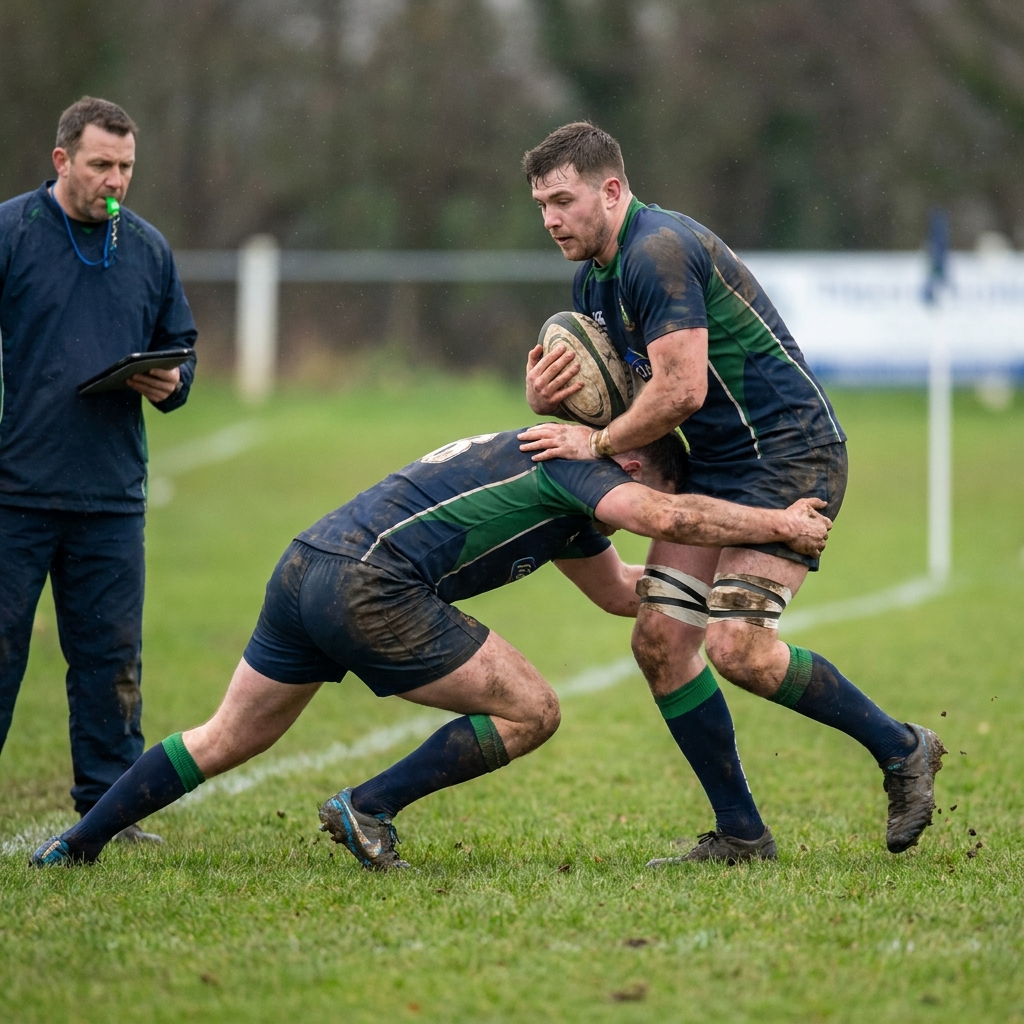
The tackles that infringe are rarely deliberate. They happen when a defender arrives too upright, too late and too fast, with no time to adjust. Height at contact is decided several strides earlier, in the approach, not in the final moment.
The second cause is eye position. A defender who watches the ball carrier's hands or the ball itself ends up making contact wherever their body happens to be. A defender who fixes their eyes on the target area arrives at the right height almost automatically.
The third is fatigue. Tackle technique degrades badly in the last quarter of a match, which is exactly when penalties and head contact incidents cluster. Technique trained only when players are fresh will not survive to the eightieth minute.
A Five-Step Retraining Plan
Step One: Rebuild from walking pace. Start every tackle block with static and walking repetitions, focused purely on body height, foot position and eye focus. Speed comes back quickly once the shape is right.
Step Two: Coach the approach, not the contact. Shorten the final strides, sink the hips and get the chest over the front knee before contact. If the approach is right, the height takes care of itself.
Step Three: Give players a clear target. Whether it is the shorts, the thigh or just below the sternum, name it and make it consistent across every coach at the club so players hear one message.
Step Four: Train it tired. Put tackle repetitions at the end of a conditioning block so players practise good technique in the state where they normally lose it.
Step Five: Use the free resources. World Rugby's Rugby Ready, Tackle Ready and Breakdown Ready modules are free and were made to support exactly this transition, for players as well as coaches.
What Changes in the Game
Lower tackles change the game around them, and it is worth preparing your squad for the knock-on effects. Ball carriers stay on their feet longer and the offload becomes more available, because the tackler's arms are no longer wrapping the ball.
Defensively, that means the second player into contact matters more than ever. A low, legal tackle that stops the legs is only half the job if nobody arrives to contest or to stop the offload. Train your tackle and your support as one unit rather than two separate skills.
Key Coaching Points
- England, Australia and New Zealand have all chosen the base of the sternum; the waist option is the outlier.
- In New Zealand the second tackler may still tackle below the shoulders, so coach double tackles accordingly.
- Height at contact is decided in the approach, so coach the last three strides.
- Fix the eyes on the target area rather than on the ball or the carrier's hands.
- Rebuild technique from walking pace before adding speed and contact intensity.
- Practise tackling under fatigue, because that is when technique and discipline fail.
- Train the tackle and the support player together, as lower tackles produce more offloads.
Recommended Drills


Frequently Asked Questions
Which tackle height applies to my team?
England, Australia and New Zealand have all adopted the base of the sternum, and Wales, Scotland and Ireland have been running the trial laws since 2023/24. If you coach in any of those, sternum is your ceiling. Unions outside that group may choose the waist instead, so check locally before your first session.
Will lower tackling make the game less effective defensively?
Not if you coach it properly. A low tackle that takes the legs is one of the most effective ways to stop a carrier, and it has always been the technique good defences prefer. What changes is that the upright, ball-height hit is no longer an option, so support at the breakdown becomes more important.
What about junior players who already tackle low?
They will adapt fastest, which is one of the arguments for the change. The bigger job is with senior players who have twenty years of upright tackling habits. Expect that group to need genuine repetition at low speed before it holds up in a match.

 sportplan_rugby