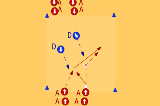
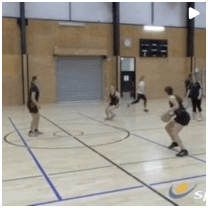
Set up a big square 9m x 9m, split into four 3m x 3m squares. It can be put into the context of court by positioning it just inside the shooting third.
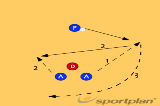
Position 2 attackers and 2 defenders as shown in diagram.
A feeder starts outside of the squares with the ball. There is another defender in between the feeder and the square.
This drill looks to progress a Centre pass from the 1st phase (receipt of the 1st pass) to the 2nd phase (passing options from the 1st phase).
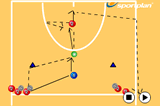
One of the attackers has to receive 1st pass over the front line, as they would in a game situation.
The attackers then look to 2nd phase option: the second pass that looks to move the ball into the attacking third.
Vary the start positions of both attackers and defenders:
in more ways than one
 sportplan_netball

in more ways than one
sportplan_netball
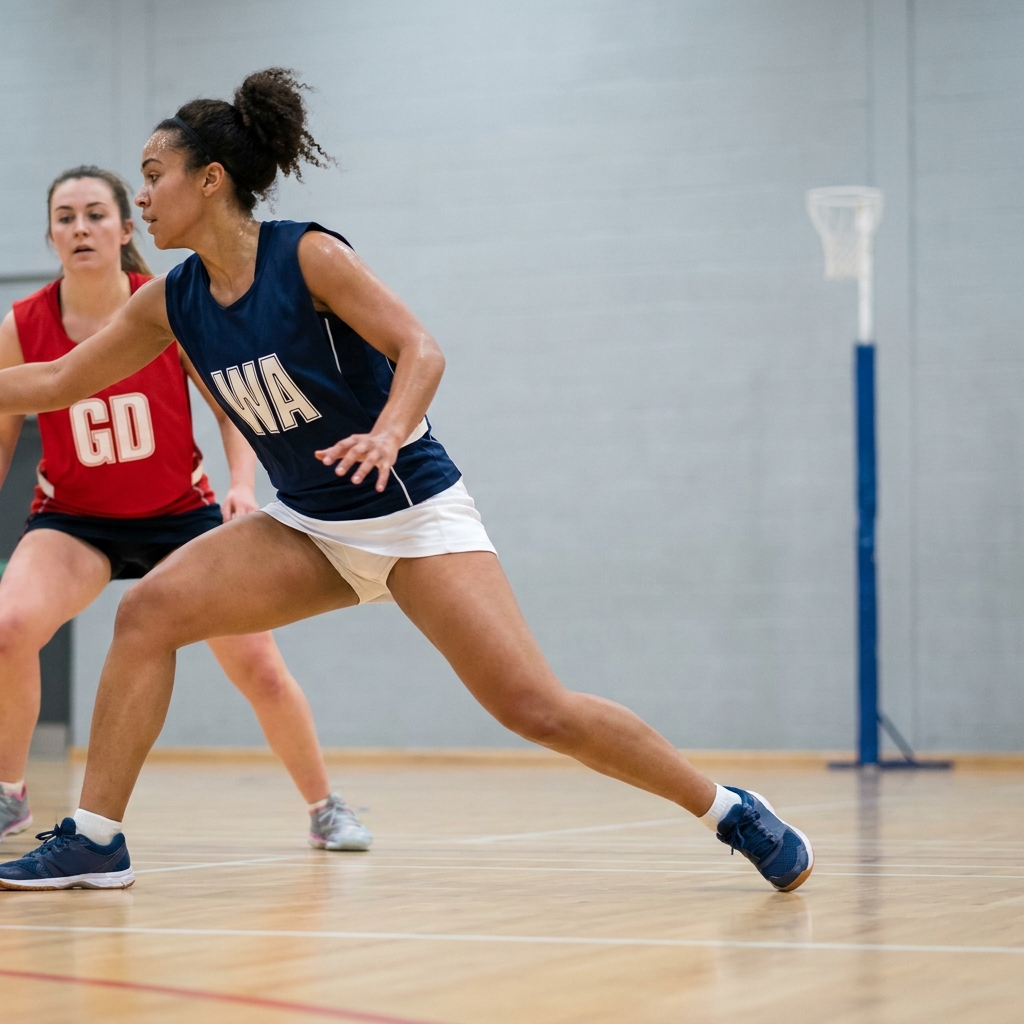
Tight markers win when attackers run in straight lines. Teach your players to dodge, change pace and time their drive so they get free when the ball is ready.
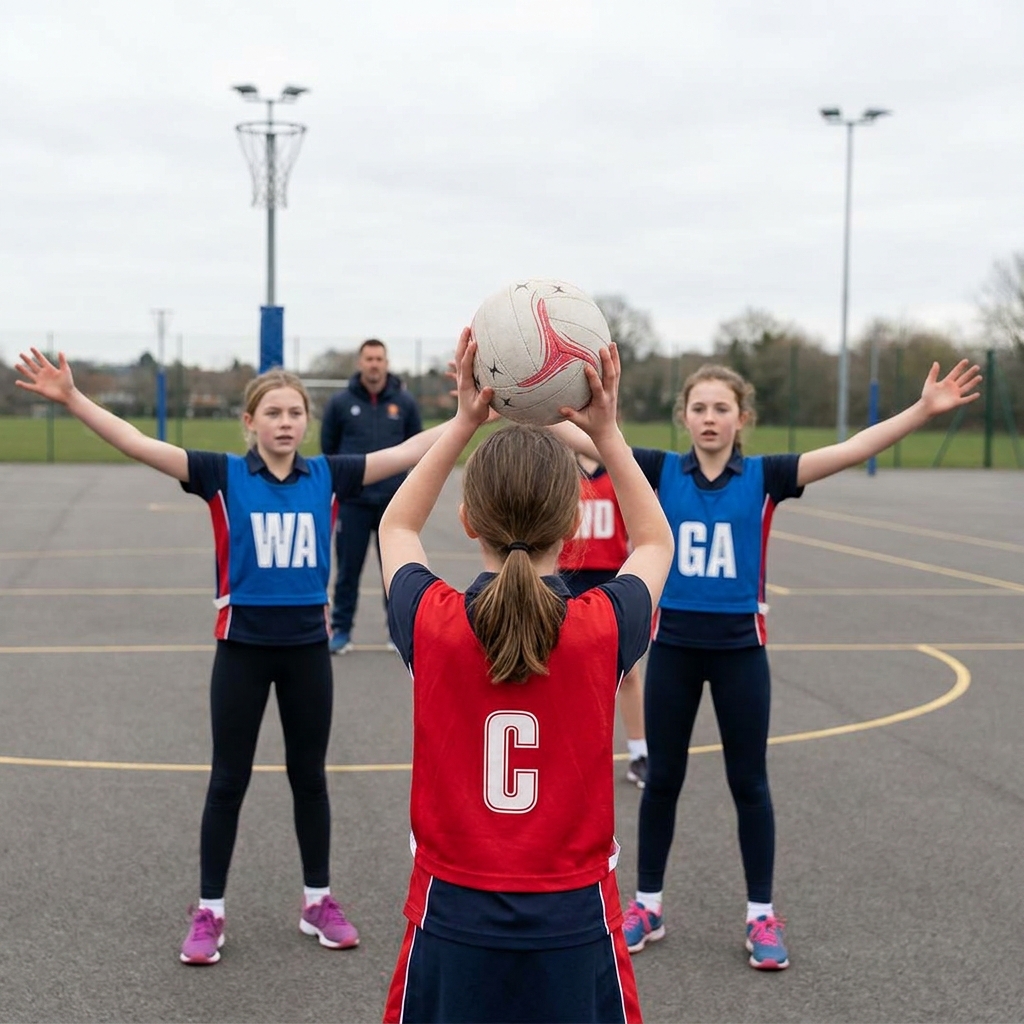
When everyone chases the ball, nobody is free. Teach your team to spread out, offer two options and clear space so the ball moves cleanly down court.
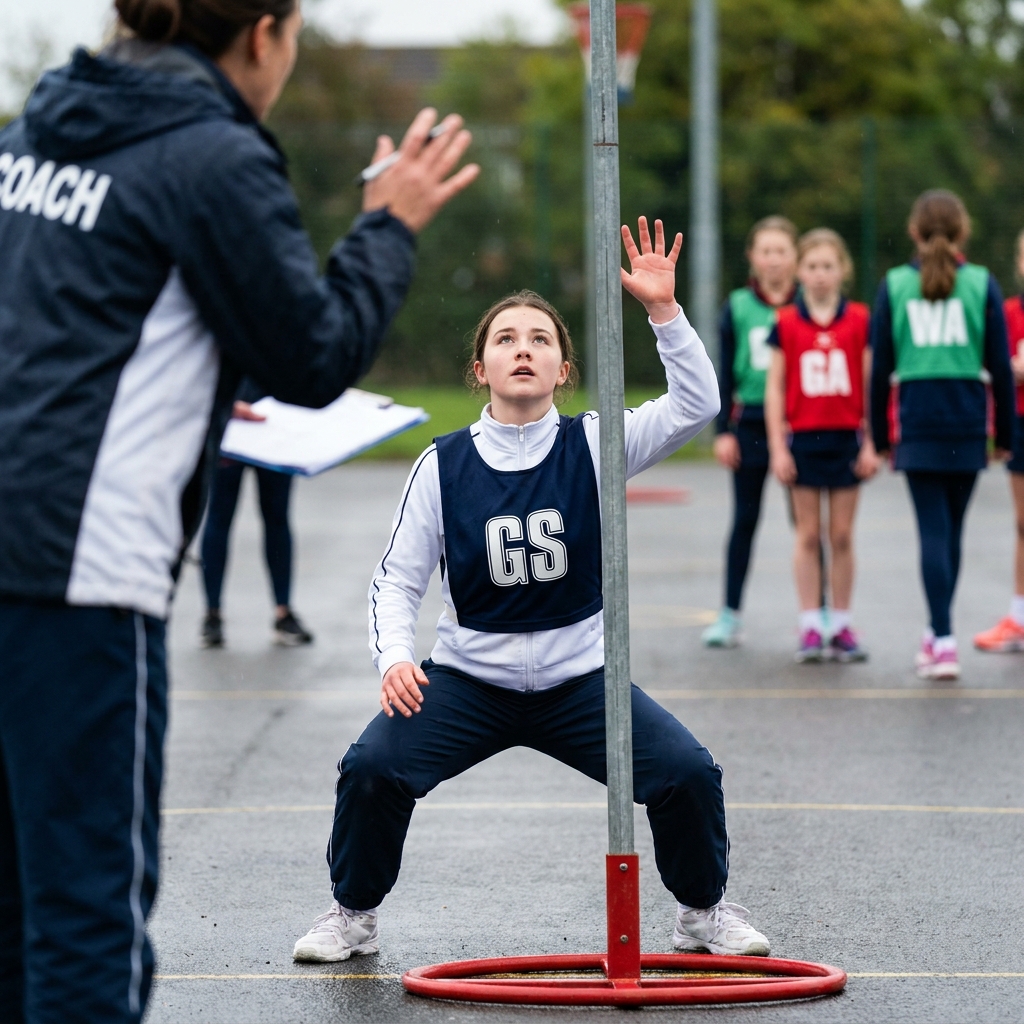
A shooter who can hold a strong position under the post is worth more than one who runs all over the circle. Here is how to coach body shape, a legal hold and a well-timed release, and how feeders make the most of it.