
in more ways than one
 sportplan_netball


in more ways than one
sportplan_rugby
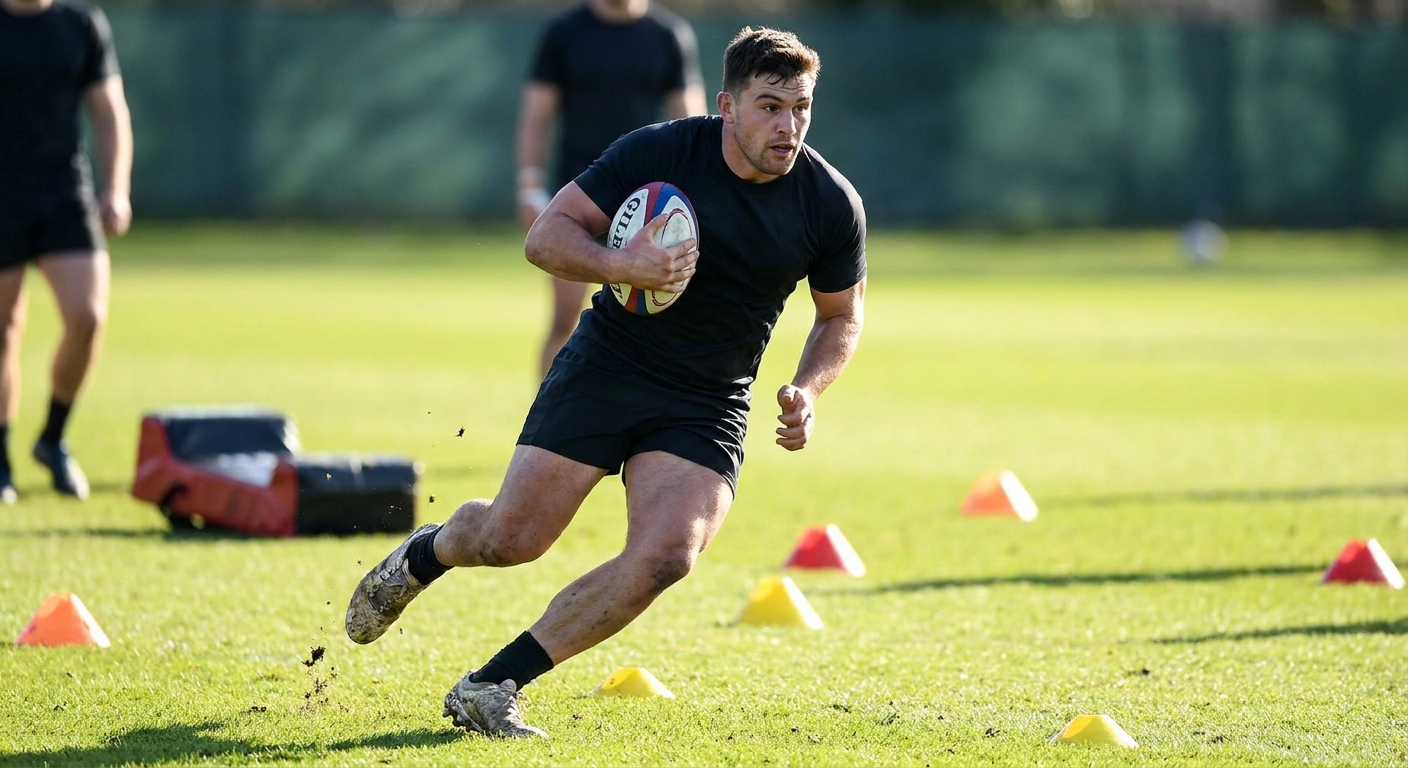
Long, lonely runs build lungs, not rugby players. Here's how to build a pre-season that puts fitness where the game needs it - with a ball in hand and a decision to make.
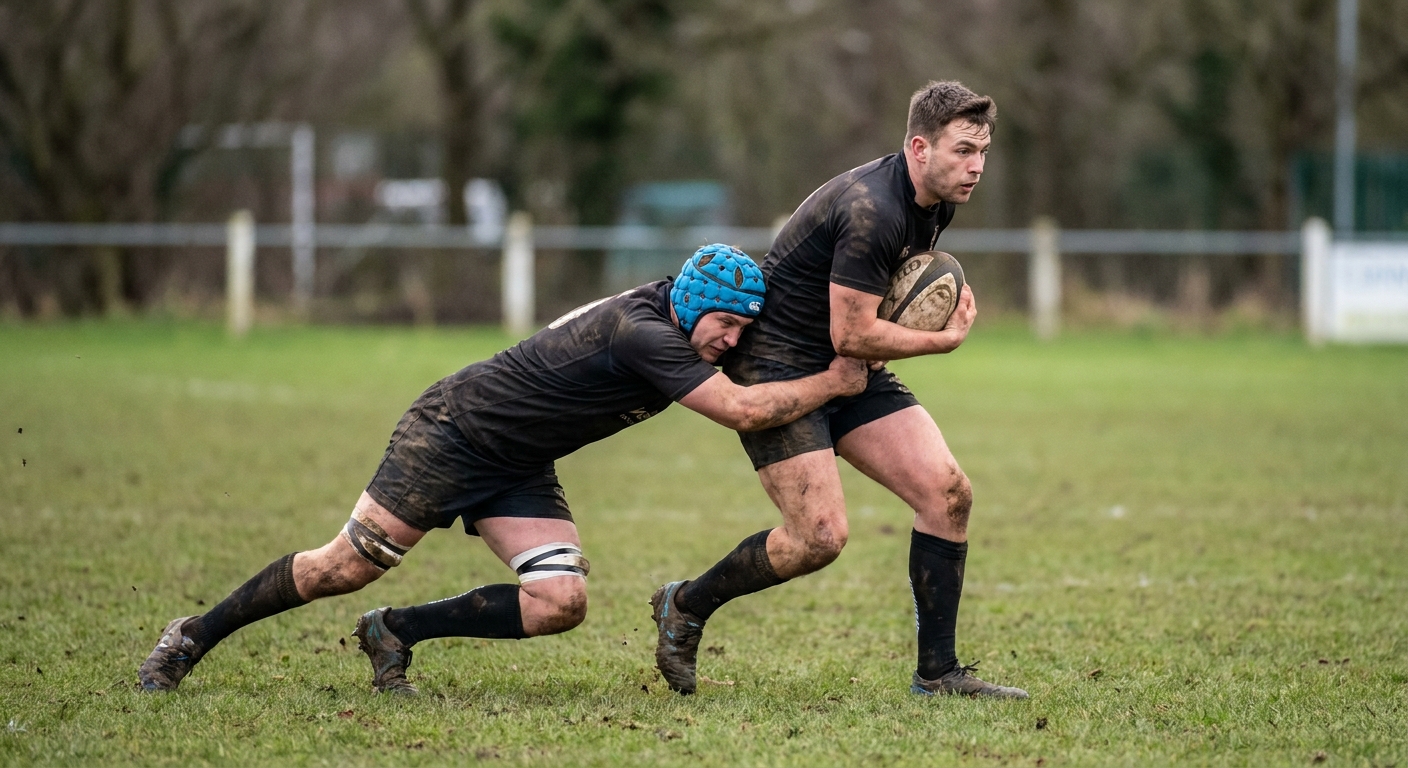
After a long summer off, throwing players straight into full-blooded tackling is asking for trouble. Here's a graduated, welfare-led way to rebuild collision tolerance in pre-season.

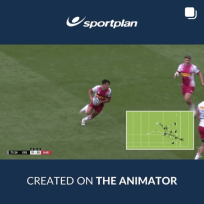
Restart kicks are now the most common set-piece in rugby and the easiest to lose. Treat them like a lineout: prepare options, drill the catch, and own the reception.