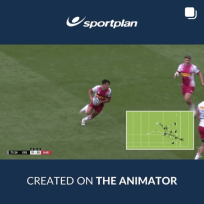
M2 9 passes to 10 with12 running at an angle behind him. 13 also runs at an angle with 11 running angle at opposite direction. 10 passes to either 11 or 13, (in this example 11 has taken the ball) 11 then passes to 15 who has joined the line who draws both opposite winger and full back before offloading to 14 for a try in the corner.

in more ways than one


in more ways than one



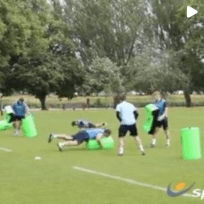
The offload is one of rugby's most devastating weapons when executed well, turning a defensive collision into a second-phase attacking opportunity. This article breaks down the technique, timing, and training progressions coaches need to develop confident offloaders at every level.
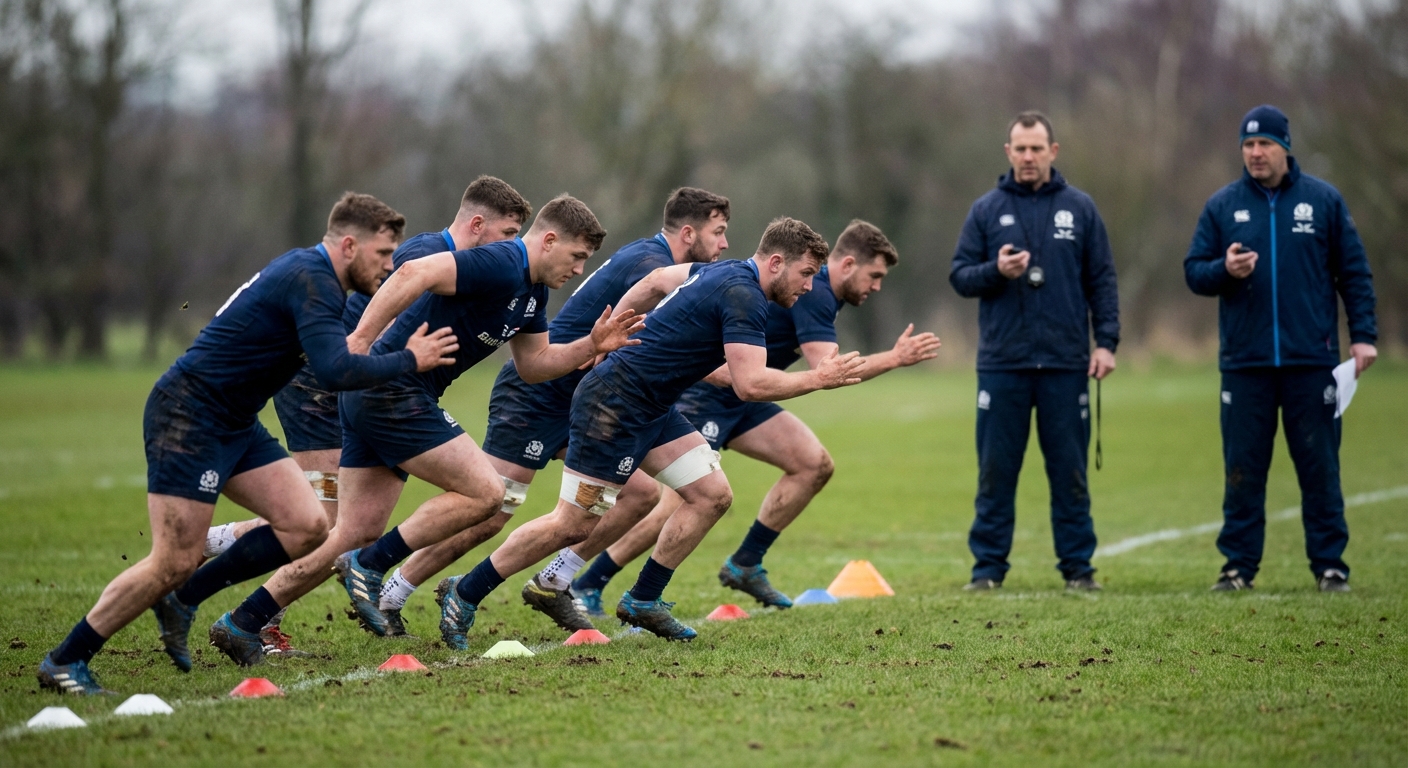
Defensive line speed is the single most important factor in shutting down attacking opportunities before they develop. This guide explores how to coach your defensive line to push up as a connected unit, communicate under pressure, and deny the opposition time and space.

The teams winning in 2026 aren't taking risks - they're grinding out territory with relentless pick-and-go phases. Here's how to coach it.