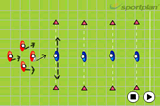
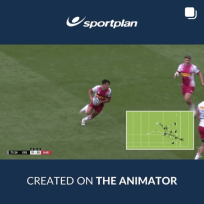
The players stood behind the line work the ball up through the channel in groups of 5. As they progress up the area they work the ball left and right.
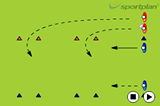
Defenders are placed on cones which have been given a number.
As the group work their way up the channel the coach could call 1. At this point one player from cone 1 runs out to defend.
If a call of 1, 2 is made then one player from cone 1 and 2 come out to defend. A call of 2,2 means two players from cone 2 come out to defend and so on...
The diagram shows a call of 4, 1.
Work fast down the channel. The aim is to score a try through fast decision making.
Ball carrier needs to put pace onto the ball. Looking to pull the ball back. Supporting runners with their heads up!
Support runners hold off with one either side as passing options and one in behind to pick up any loose balls, creating a diamond shape.
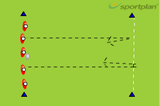
Good communication from both groups of players - the attackers and defenders.
Move the ball and the point of attack quickly.
Note
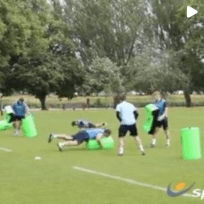
As the coach you can put as many defenders into the channel as you like, making it as easy or difficult for the attackers as you like.
You can also play around with the spacing of the cones - closer together creating more contact or wider apart to make it easier to score.

in more ways than one
 sportplan_netball

in more ways than one
sportplan_rugby
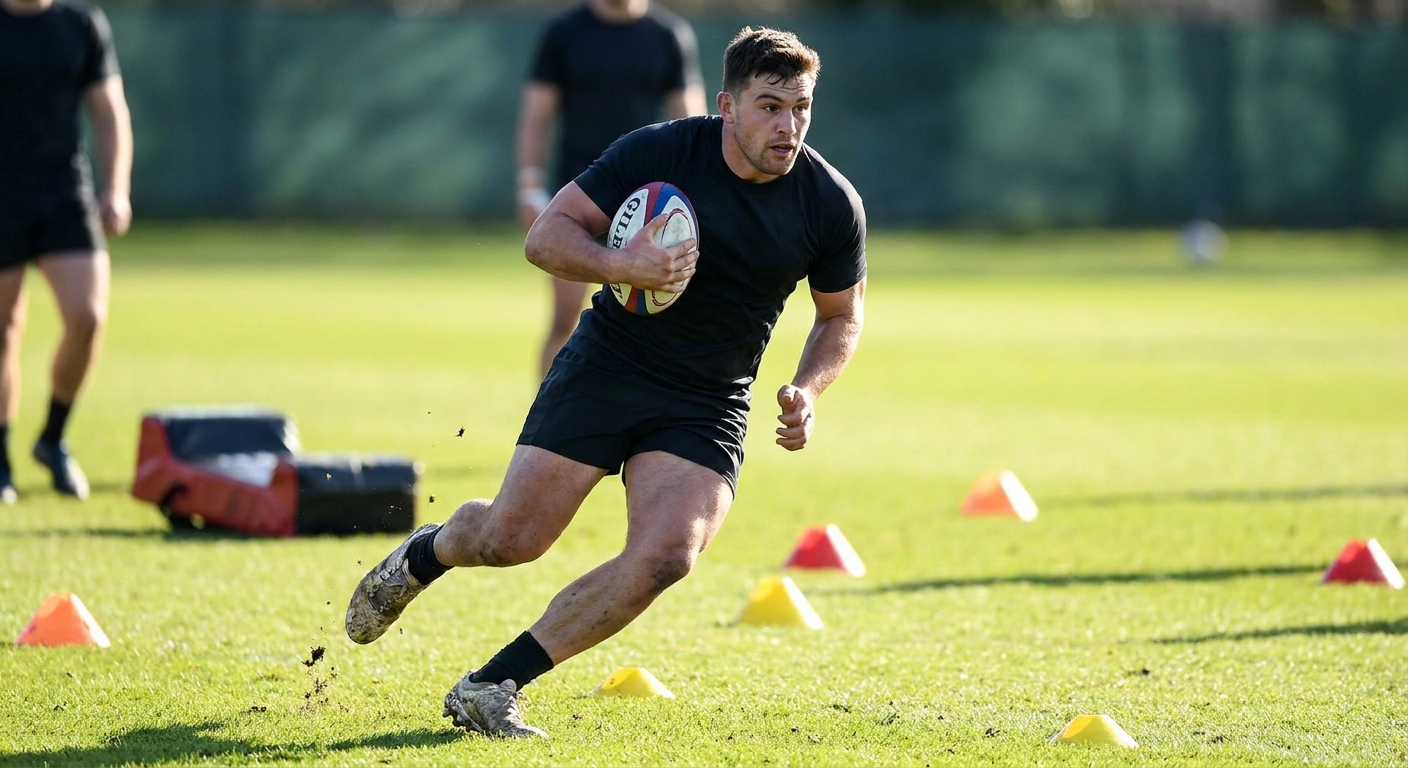
Long, lonely runs build lungs, not rugby players. Here's how to build a pre-season that puts fitness where the game needs it - with a ball in hand and a decision to make.
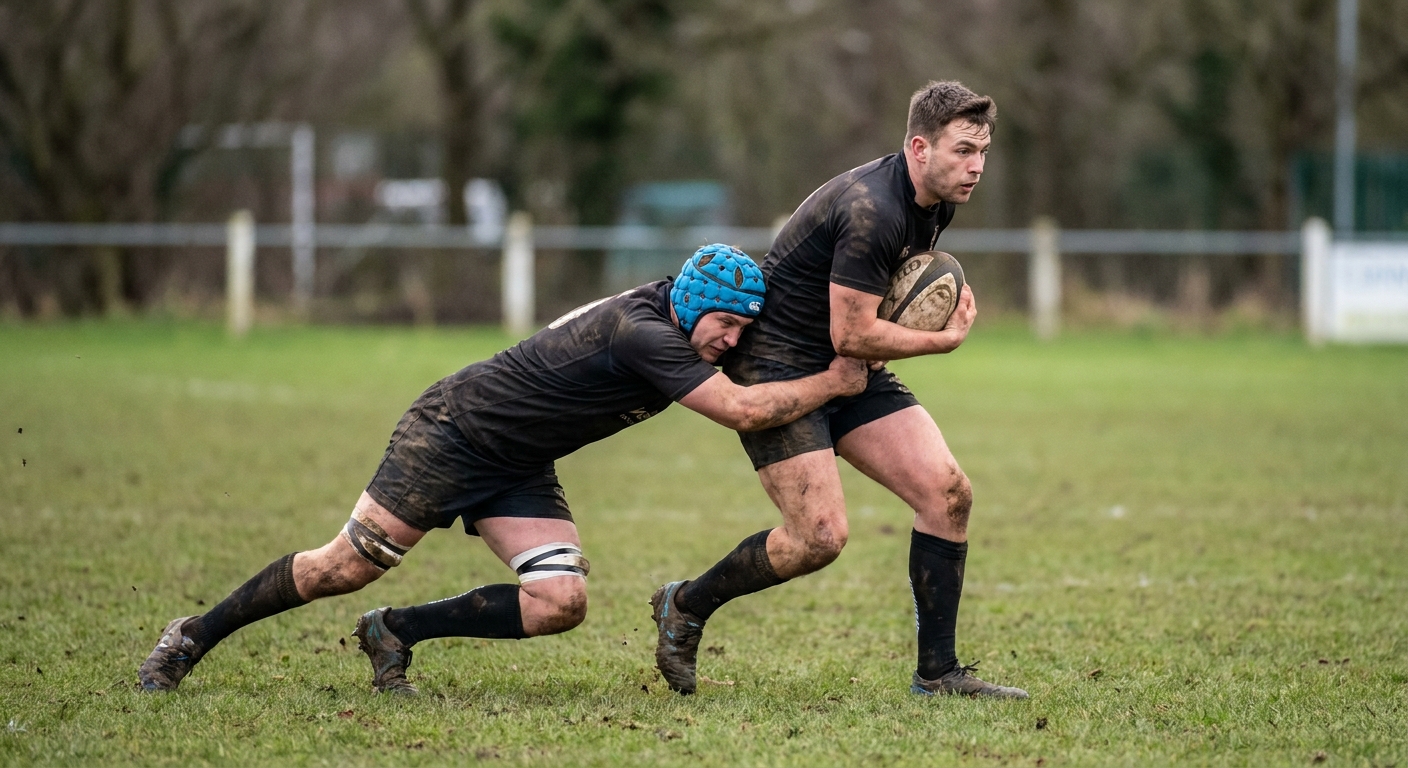
After a long summer off, throwing players straight into full-blooded tackling is asking for trouble. Here's a graduated, welfare-led way to rebuild collision tolerance in pre-season.

Restart kicks are now the most common set-piece in rugby and the easiest to lose. Treat them like a lineout: prepare options, drill the catch, and own the reception.