The closeout has become the most repeated defensive action in basketball. Every kick-out, every skip pass, every drive-and-dish forces a defender to sprint from help position back to a shooter. With teams now taking 35 or more three-point attempts per game at the professional level, and youth and amateur teams following suit, the quality of your team's closeouts will decide more games than any set play in your playbook.
The challenge is that closeouts are full of trade-offs. Close out too hard and the shooter rips through for a layup. Close out too soft and you concede an open three. Reach for the shot and the whistle blows. The 2025-26 NBA season has seen fouls per game increase measurably, particularly on perimeter closeouts where defenders are flying at shooters with hands down or feet crossed. The coaches who solve the closeout puzzle will produce defences that hold up in pressure situations.
Why Closeouts Are Harder Than Ever
The modern game has changed the closeout problem in three ways. First, the shooting threat now extends to almost every player on the floor. Centres are stepping out to the arc, and even traditional bigs are shooting confidently from three. The days of leaving a defender to dig and recover are over because almost every player can punish you for it.
Second, drivers are more skilled than ever. The same player who can shoot a 38 per cent three can also rip through, take two power dribbles, and finish through contact. A defender who over-commits to the shooter is dead in the water against a modern wing.
Third, officiating has tightened around landing space and verticality. A defender who jumps forward into the shooter's space, even slightly, is now far more likely to give up three free throws. This is the single biggest swing in expected points: a contested three is worth roughly 1.05 points on average, but a shooting foul on a three-point attempt is worth around 2.25 points. Bad closeouts now cost your team double.
The key insight: A closeout is not one action. It is a sequence of decisions that change based on distance, the shooter's tendencies, the location on the floor, and where help defence lives.
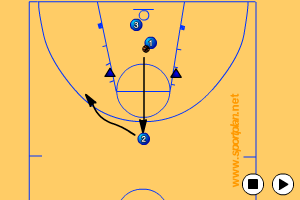
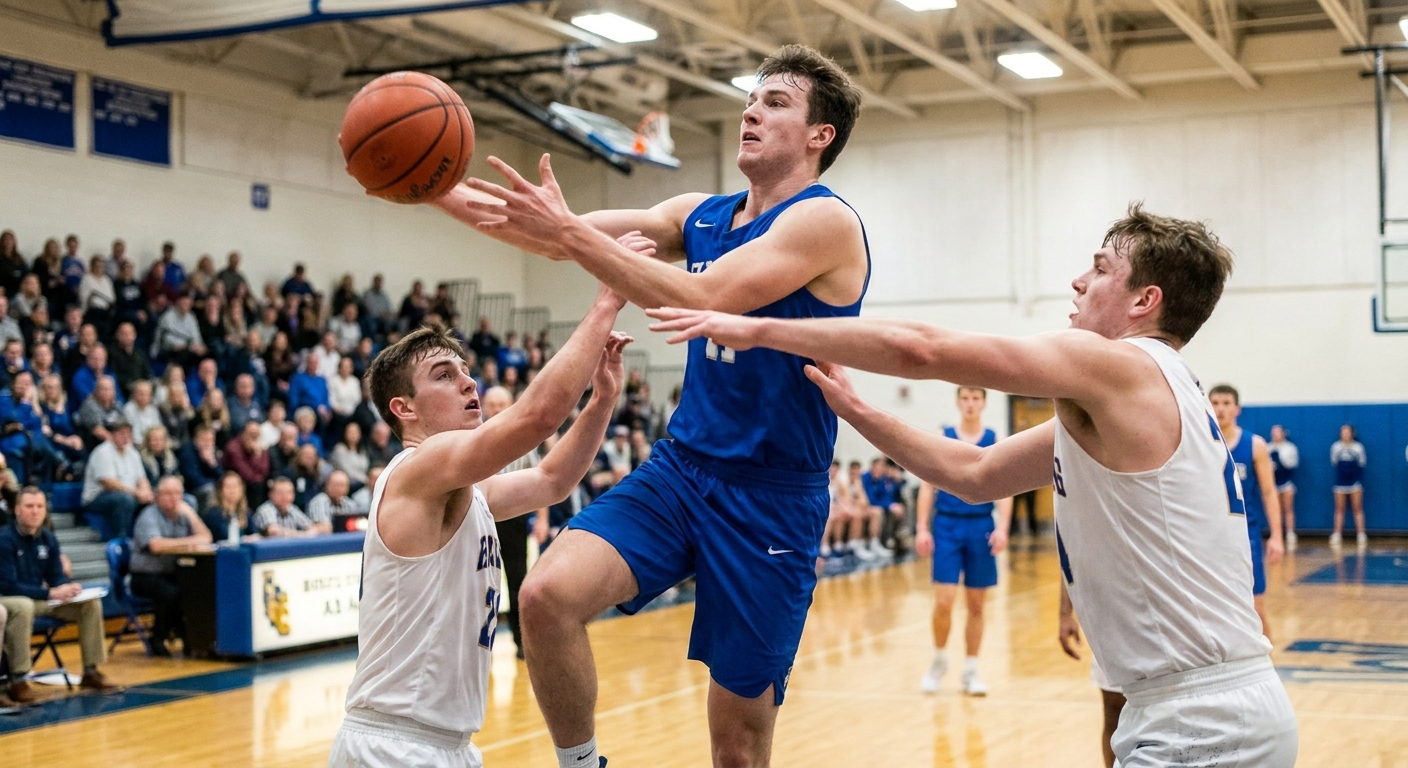
The Mechanics: How to Coach the Closeout
Break the closeout into three phases and rehearse each phase in isolation before combining them. This is how good defensive teams build muscle memory.
Phase One - Sprint: The defender must close the first two thirds of the distance at full sprint. Walking or jogging here is the most common mistake at youth and amateur level. The legs that should be sprinting are often saved for the slide, which is the wrong way round. Sprint when there is no threat, then break down when the threat appears.
Phase Two - Chop: In the last third of the distance, the defender shortens their stride and drops their hips. This is the "chop step" - small, choppy steps that allow the defender to change direction. The hands come up. The chest stays square. The head stays on a line with the shooter's chest, not their ball.
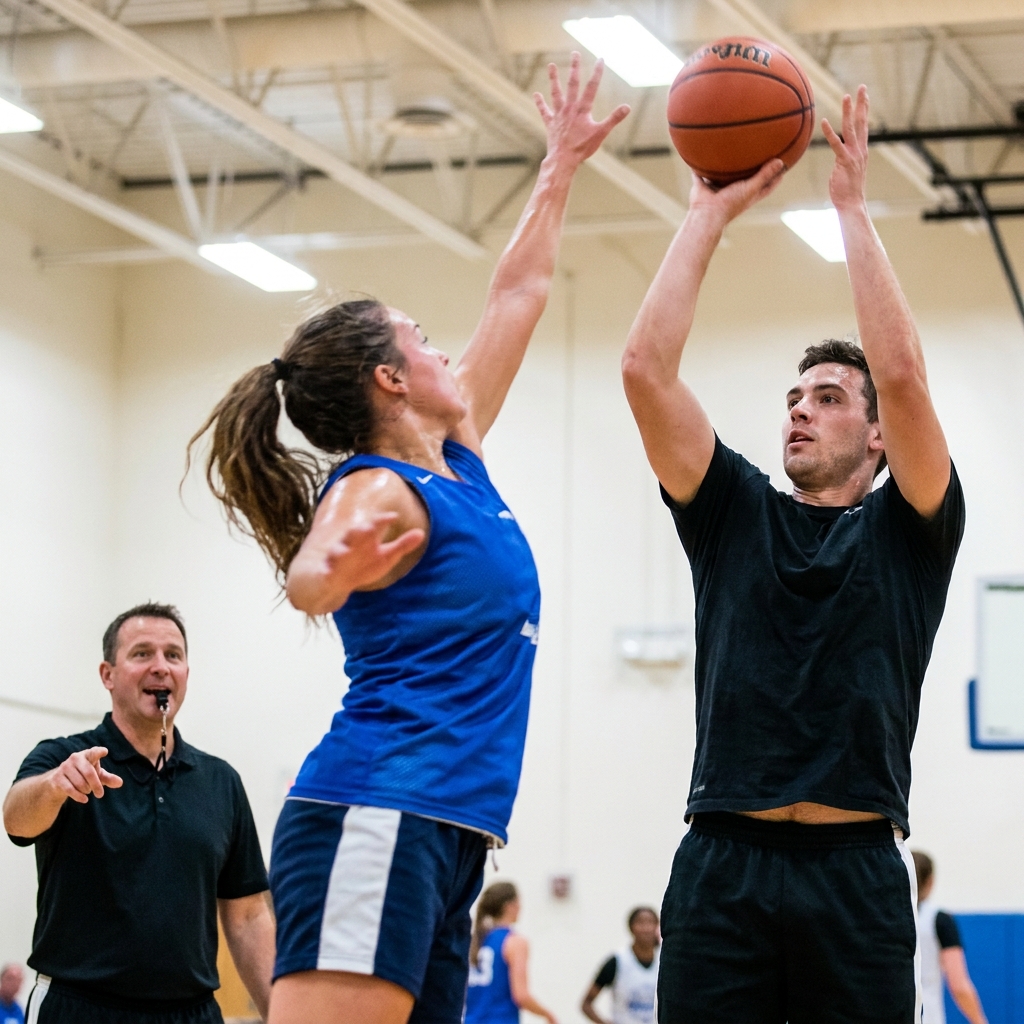
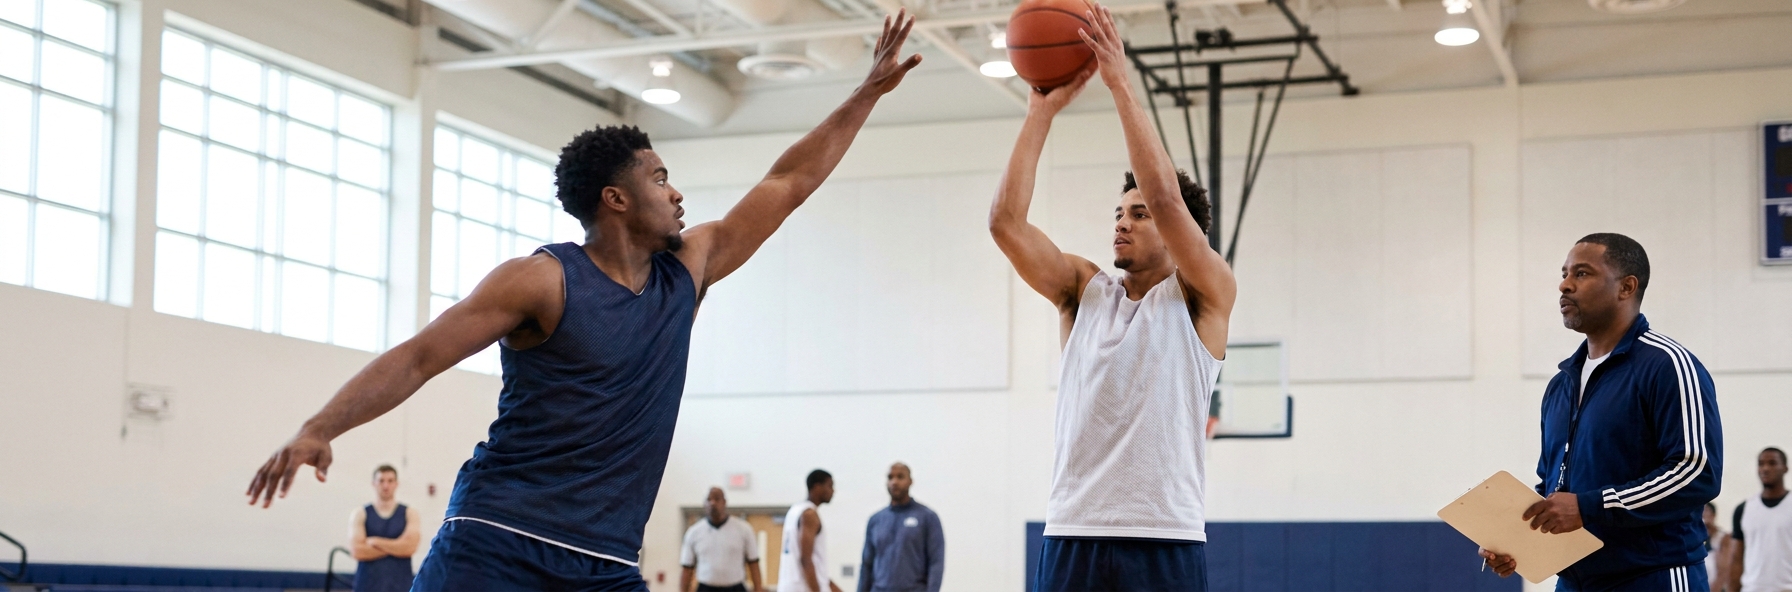
Phase Three - Contest: The contest itself is the smallest movement of the three. A vertical hand, a contested eye line, and a short hop to the side the shooter is most likely to drive. The defender does not jump forward. The defender does not leave their feet unless the shooter is already in their shooting motion. Verticality is the legal protection of the modern defender, and it must be taught explicitly.
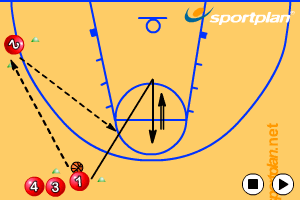
Assignment Closeouts: Teaching the Reads
The smartest defensive teams have moved beyond a single closeout technique to assignment-based closeouts. Each shooter on the opposing team is profiled before the game, and defenders close out differently based on the matchup.
If the player you are guarding is a 40 per cent three-point shooter who is below average off the dribble, close out long. Run them off the line, contest hard with a high hand, and live with what happens on the drive because help will be there. If the player is a shaky shooter but a dynamic driver, close out short. Stop two feet shy of the shooter, sit on the dribble drive, and dare them to shoot the three. If the player can do both, close out under control with a high hand and active feet, ready to react to either choice.
This sounds complex, but young players can learn it. The trick is to label the closeouts in practice. We use "long," "short," and "mirror" as the three calls. When players hear the call from the bench or a teammate, they know exactly what is expected.
Common Mistakes and How to Fix Them
The closeouts that lose games are remarkably consistent. Fix these and your team will improve immediately.
Hand down, man down: Defenders who close out with hands at their sides give up clean releases. The hand goes up on the sprint, not at the contest. Teach players to raise the hand as they begin the run, not as an afterthought at the end.
Crossing the feet: When a defender is sliding sideways to contest, crossing the feet means they cannot change direction. The shooter rips through and there is nothing the defender can do. Teach the chop step until it is automatic.
Closing out flat: A defender who closes out square to the shooter has no angle to take away. Better defenders close out with their inside foot forward, taking away the shooter's strong-hand drive and forcing them weak.
Jumping at the shot fake: A modern shooter will pump fake and drive every time a defender bites. Teach players that a contested shot from a vertical defender is a win, and a foul on a shot fake is a disaster.
Key Coaching Points
- Sprint two thirds of the distance, chop the last third, contest with verticality
- Hands up on the sprint, not at the contest - it is too late by then
- Assignment closeouts: long for shooters, short for drivers, mirror for two-way threats
- Never cross the feet and never jump forward into landing space
- A contested miss is a win - a shooting foul on the arc costs over two points