Defenders in Red run to the first set of coloured cones specified by the coach (ie: white cones) then defend the first wave of attack. when attack is complete defenders realign on the same colour cones in the second set via the black cone in their half of the grid. Repeat until all three sets have been completed.
Attack players in Blue initially line up on the yellow cones, once the space has been identified they must decide on who best to run dummy lines to manipulate the defence and create the overlap. once the defence has been breached (ie: overlap has been successfully utilised) the attack realigns into the same attack formation via the black cone in their half of the grid. Repeat through to the end og the grid.
:Encourage comms between players to help identify the space
:Ensure all players are aware of each role within the attack formation
:Attack formation doesn't always have to be set up one off the ruck
:Make sure dummy runners are running to hold defenders
:Once defence has been breached ensure all players run to support ball carrier

in more ways than one



in more ways than one



2026 brings revolutionary changes to international rugby: a brand new global tournament, historic tours, and law changes that will reshape the game. Here's everything coaches need to know.
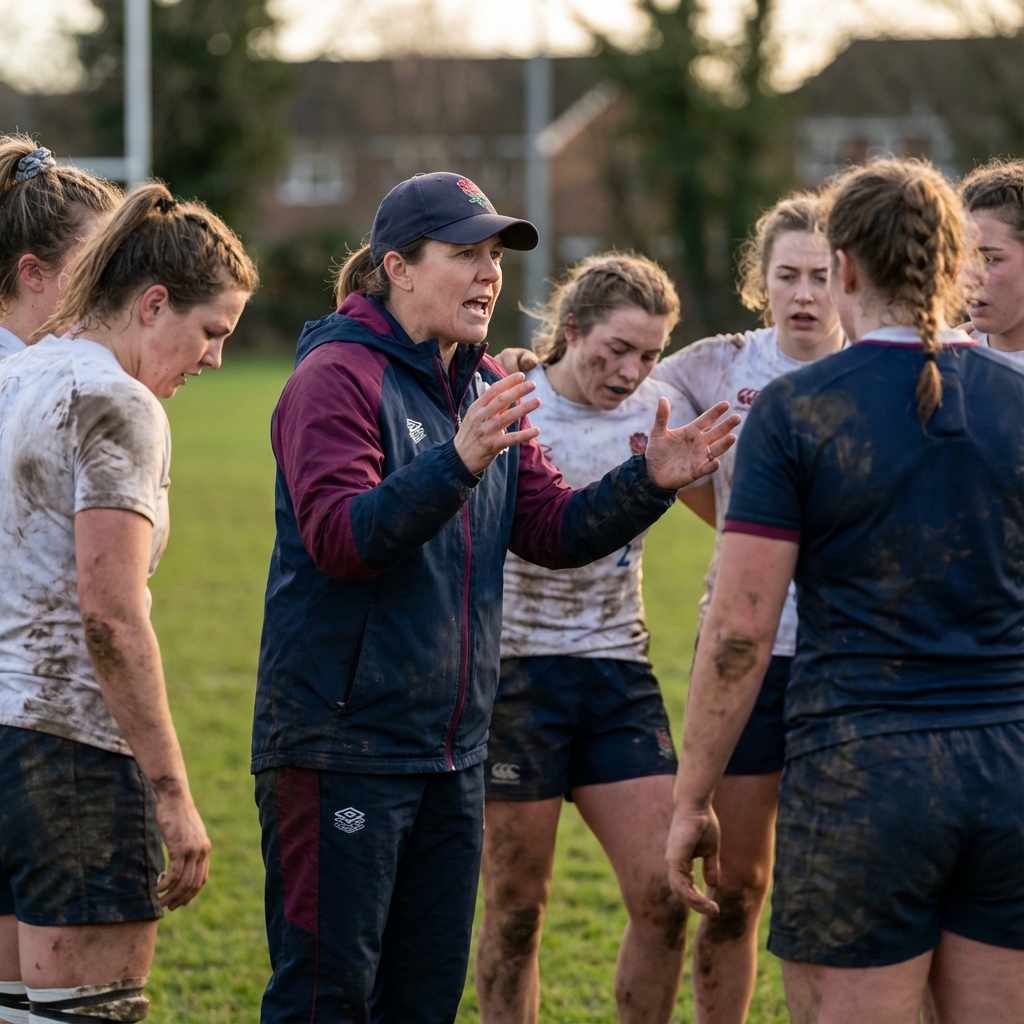
The 2025 Women's Rugby World Cup featured a record 32% female coaches - more than double 2021 figures. Here's what this growth means for the sport.

Matches are won by the team that makes better decisions under pressure. Learn how to develop game intelligence and manage critical moments.