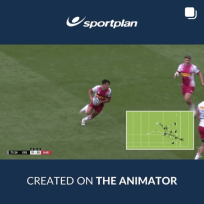
- 9 passes ball to 10 and begins to loop
-12 runs a hard tight line off 10's outside hip
- 10 passes to a looping 9
-13 runs a hard line off 9's outside hip
-9 goes behind 13 and hits an at pace 11 who has 15 and 14 for support on the outside
- a lot of moving parts but this play relies on the decision making abilities of 9 and 10
-10 has to make the choice based on what he see's in the defense to make the pass to 12 or offload back to 9
-similarly 9 will then have the option to hit the 13, keep it himself, or send it wide to 11
-11 needs to start his sprint as soon as the play starts in order to make it across the field in time as well as hitting the line with extreme pace

in more ways than one


in more ways than one


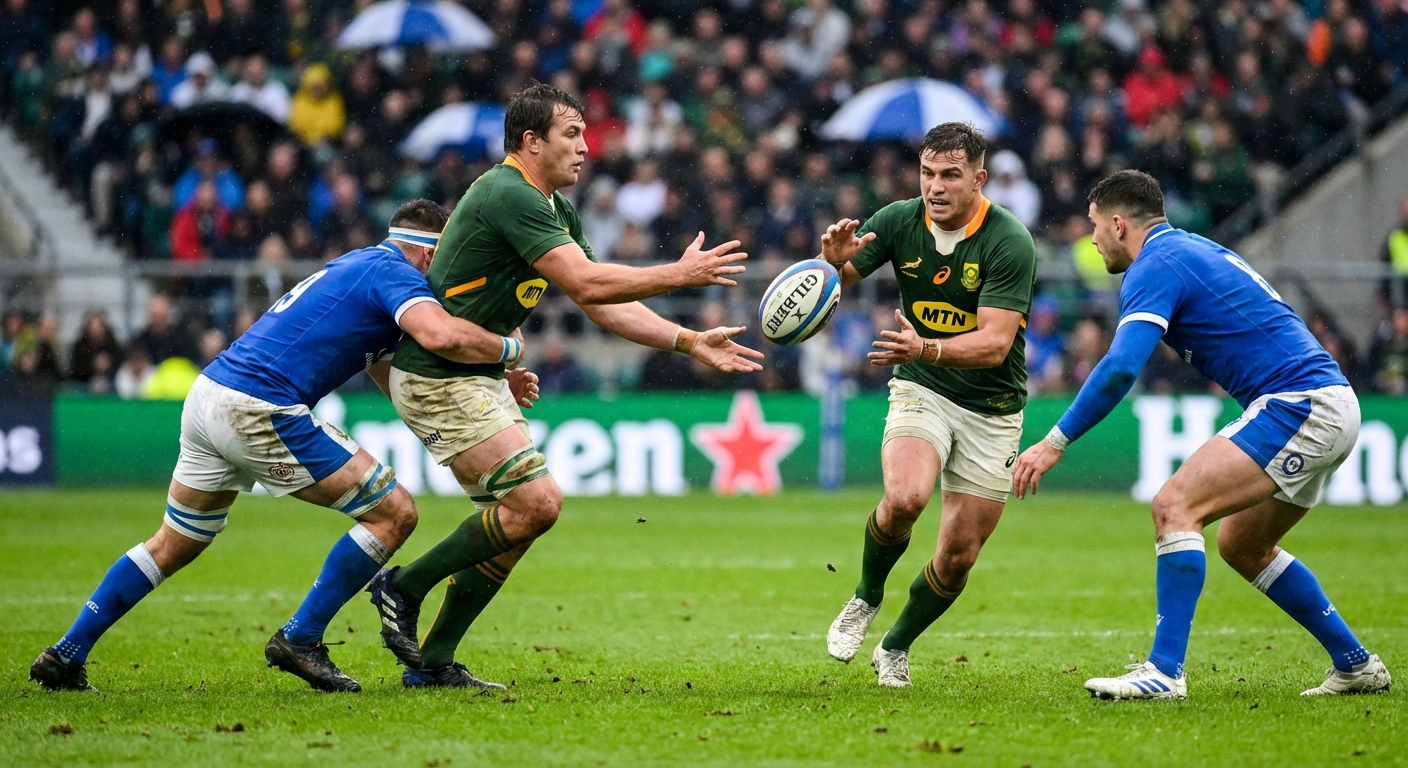
The offload is one of rugby's most devastating weapons when executed well, turning a defensive collision into a second-phase attacking opportunity. This article breaks down the technique, timing, and training progressions coaches need to develop confident offloaders at every level.
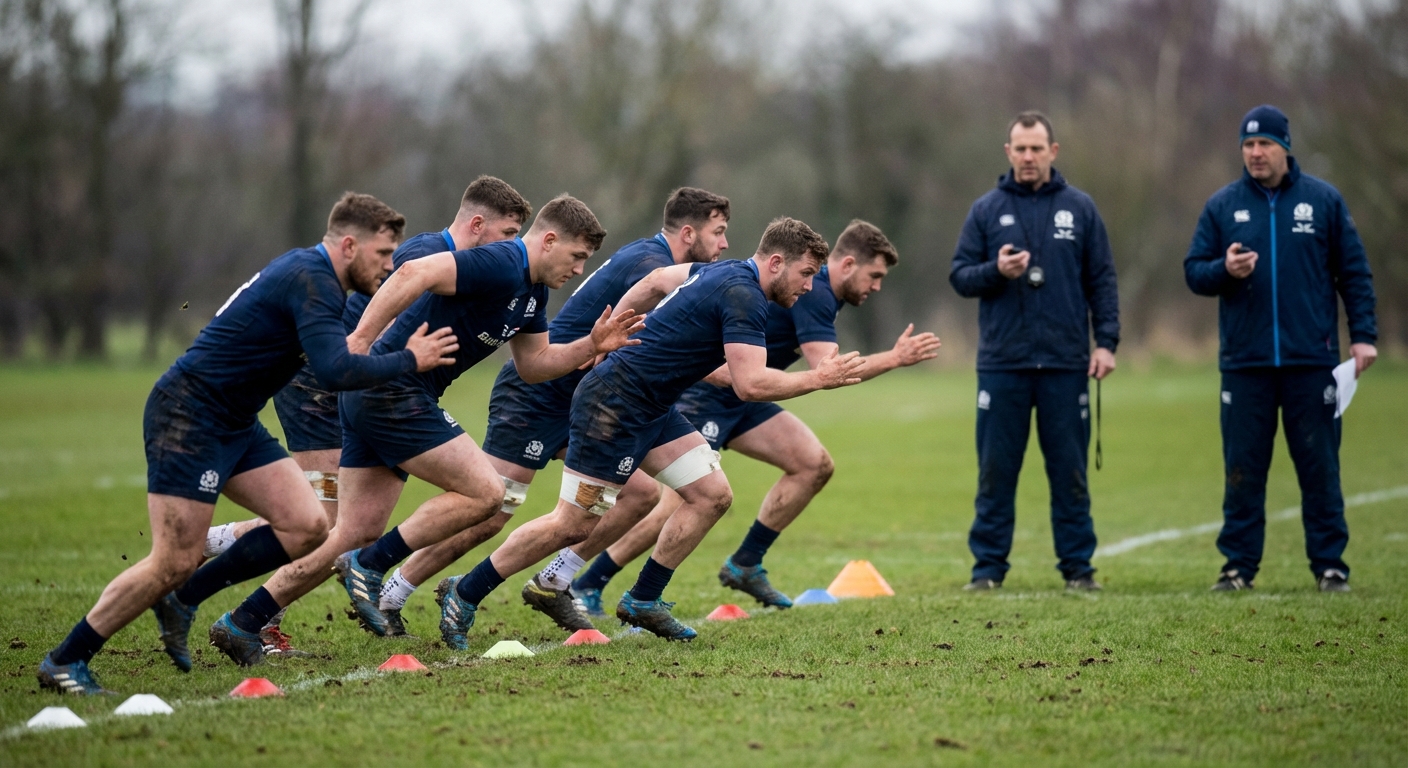
Defensive line speed is the single most important factor in shutting down attacking opportunities before they develop. This guide explores how to coach your defensive line to push up as a connected unit, communicate under pressure, and deny the opposition time and space.

The teams winning in 2026 aren't taking risks - they're grinding out territory with relentless pick-and-go phases. Here's how to coach it.