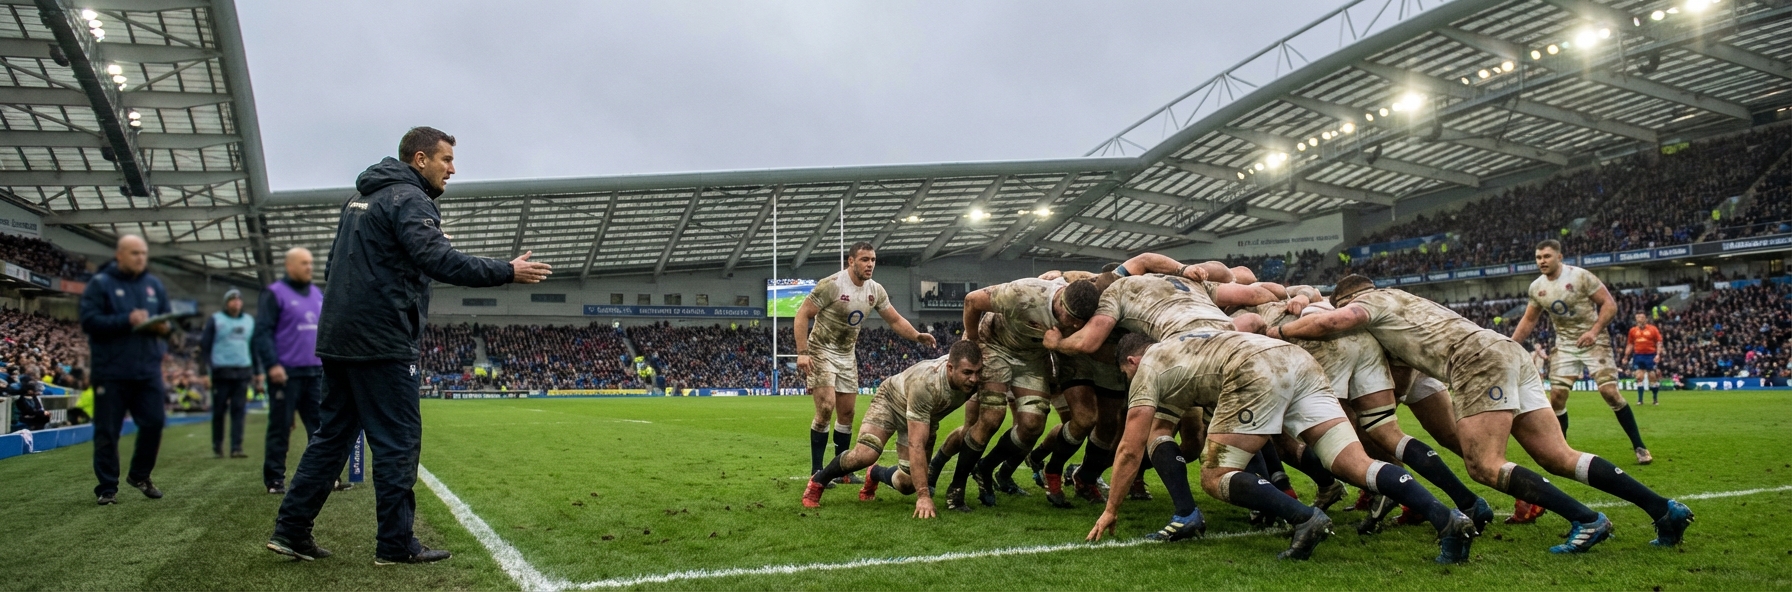
The driving maul remains one of rugby's most effective scoring weapons, particularly from lineout. When executed correctly, it's almost impossible to defend legally. The defence must either concede ground toward their try line or collapse the maul illegally, resulting in penalty try.
Building an effective maul requires technical precision, coordinated power, and tactical awareness. Here's how to develop each element.
Understanding the Maul
A maul forms when a ball carrier is held by an opponent and one or more of the ball carrier's teammates bind on. All players must be on their feet and moving toward a goal line. The ball must be off the ground.
Key legal requirements:
- Ball carrier must be held by opponent to form a maul
- All players must be on their feet
- Players must join from behind the hindmost foot
- Ball must stay off the ground
Defenders cannot collapse the maul intentionally. This limitation is what makes the driving maul so powerful - defenders have limited legal options to stop it.
Lineout Maul Setup
The lineout provides the best platform for a driving maul. The ball is secure, players are organised, and the formation can be established before the defence engages.
Catching and securing:
- Jumper catches and immediately brings ball to chest
- Lifters lower jumper while maintaining contact
- Jumper turns toward own goal line to protect ball
- Formation builds around the ball carrier
Initial pod formation: The three-man pod (jumper plus two lifters) forms the core. This pod must stay bound and begin forward movement immediately. Delay allows defence to organise.
Building the Maul
Effective mauls grow as they move. Additional players join from behind, adding power while maintaining structure.
Joining technique:
- Enter from behind the hindmost foot (legal requirement)
- Get low before binding - arrive below the defenders
- Bind strongly on teammates, not the ball
- Drive with short, powerful steps
Formation shape: The ideal maul is narrow and deep, not wide. Width spreads power thin. Depth concentrates force at the point of contact with the defence.
The Drive
Power delivery in the maul follows similar principles to the scrum. Short steps, inside leg drive, and coordinated effort create irresistible forward momentum.
Driving technique:
- Low body position - below the defenders
- Short, choppy steps - never stop feet moving
- Drive forward and slightly upward
- Maintain bind through the drive
Communication in the maul: The ball carrier (or designated controller) guides the maul: "Drive!" "Go left!" "Hold!" Players cannot see - they rely on commands.
Ball Movement
As the maul moves toward the try line, the ball transfers toward the back. This creates options - score from the maul, peel off the back, or set up the next phase.
Ball transfer technique:
- Ball moves through hands, never dropped to ground
- Each player receives and passes quickly
- Ball arrives at back before maul reaches try line
If the ball gets stuck in the middle of the maul, options reduce. Train ball transfer as part of every maul practice.
Peel Moves
The peel - a player breaking off the back of the maul with the ball - creates attacking options when the maul stalls or when space appears outside.
Peel timing:
- When defence overcommits to stopping the maul centrally
- When maul momentum slows
- When space appears on the blind side
Peel execution: The peeling player receives the ball at the back and breaks away before defenders can readjust. Support must be ready to continue the attack.
Defending the Maul
Understanding maul defence helps attackers exploit weaknesses. Legal defence options include:
- Stopping the drive at source by matching power
- Sacking the ball carrier (driving them to ground before maul forms)
- Counter-mauling (binding on and driving back)
Defenders cannot pull the maul down or collapse it from the side. These are penalty offences - in the 22, likely a penalty try.
Tactical Use
When to use the maul:
- Near the try line - maul tries are high percentage
- When lineout ball is secure but backline attack is risky
- To draw defenders forward before backline strike
- Late in games when possession management matters
When not to maul:
- Against teams with strong counter-mauling
- When quick ball is needed
- If lineout ball is shaky
Key Coaching Points
- Setup determines success - get the formation right at the lineout
- Low body position beats power
- Short steps maintain momentum
- Move the ball to the back as you drive
- Peel when the defence overcommits


 sportplan_rugby