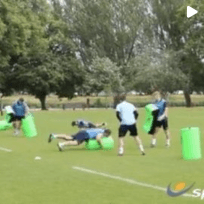
PLAYER ONE ( RED) MOVES BETWEEN THE WHITE CONES TO TRY AND LOSE THE DEFENDER. WHEN THEY SEE A CHANCE THEY SPRINT PAST AND TRY AND REACH THE OTHER END OF GRID. DEFENDER MUST REACT AND TURN AND GIVE CHASE AND TRY AND MAKE TWO HANDED TAG BEFORE CONES PROGRESSION IN SAME POSOTIONS THE BLUE PLAYER TRIES TO LOSE THE RED PLAYER. WHEN THEY SEE A CHANCE THEY TURN AROUND AND SPRINT FOR THE LINE. DEFENDER (RED) GIVES CHASE AS BEFORE
BODY POSITION SQUARE TO OPPONENT WHEN TRYING TO LOSE THEM TRY AND PUT A STEP IN STRONG DRIVE PAST DEFENDER GOOD ACTIVE BODY POSITION FROM BOTH PLAYERS READY TO REACT TO OPPONENTS MOVEMENTS
This practice has no coaching points
This practice has no progressions

in more ways than one
 sportplan_rugby

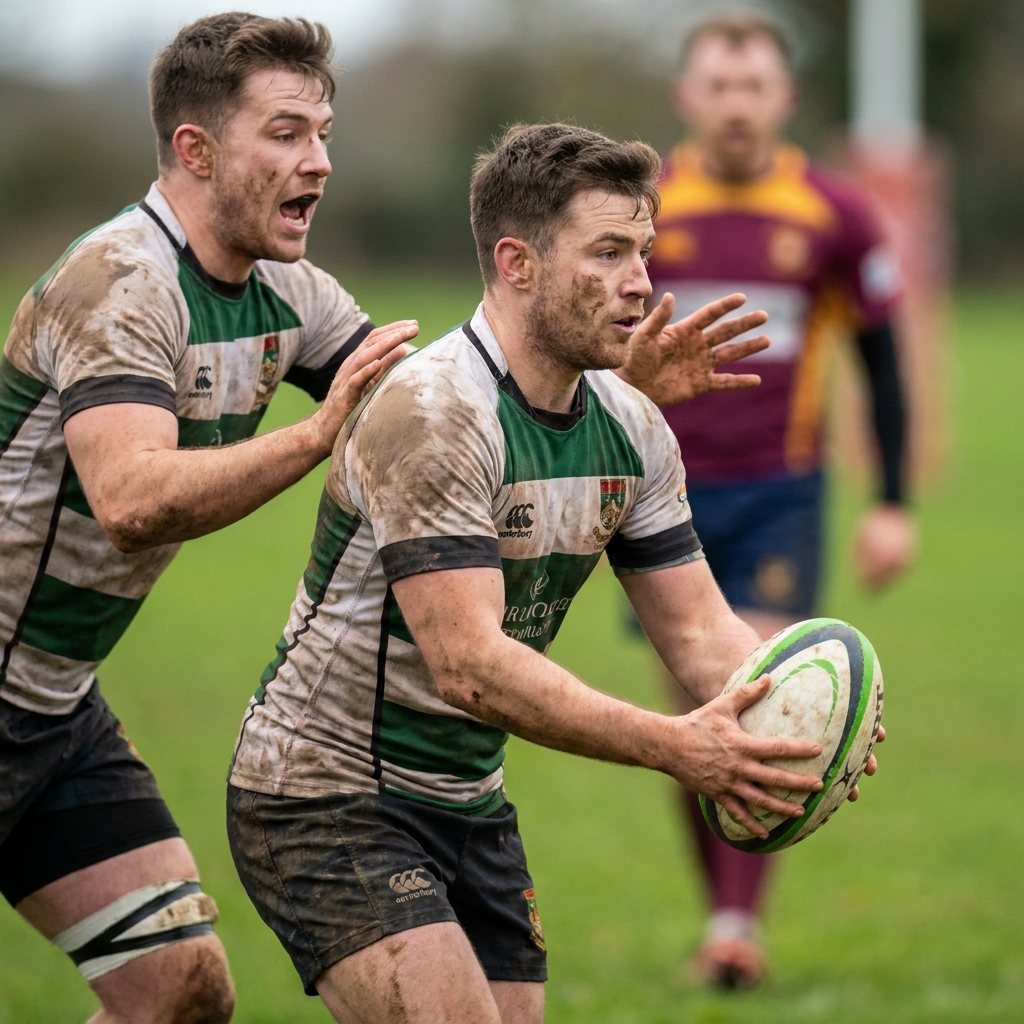
Most line breaks are made by support runners, not ball carriers. Teach the angles, depth and timing that get them there.
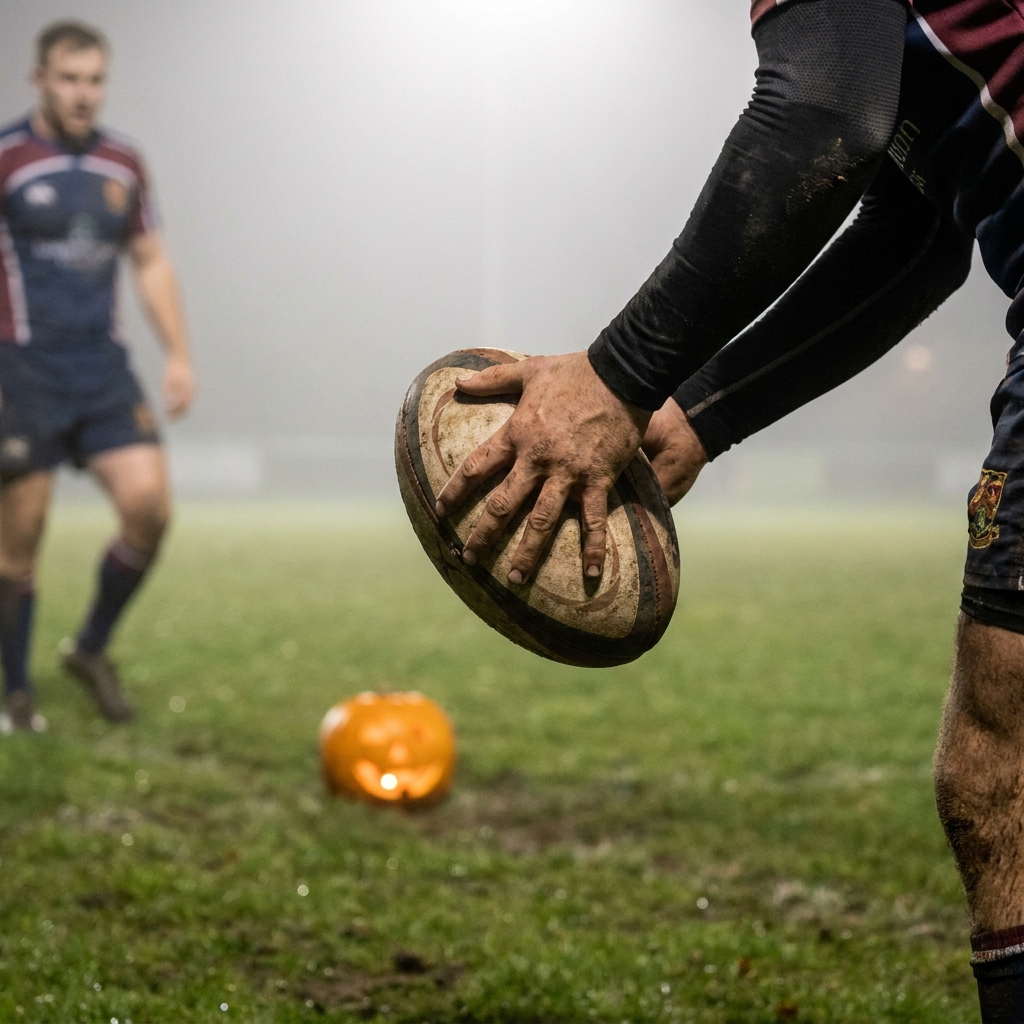
The isolated ball carrier is rugby's spookiest turnover. Here is the five-step fix, plus drills that rebuild support lines fast.
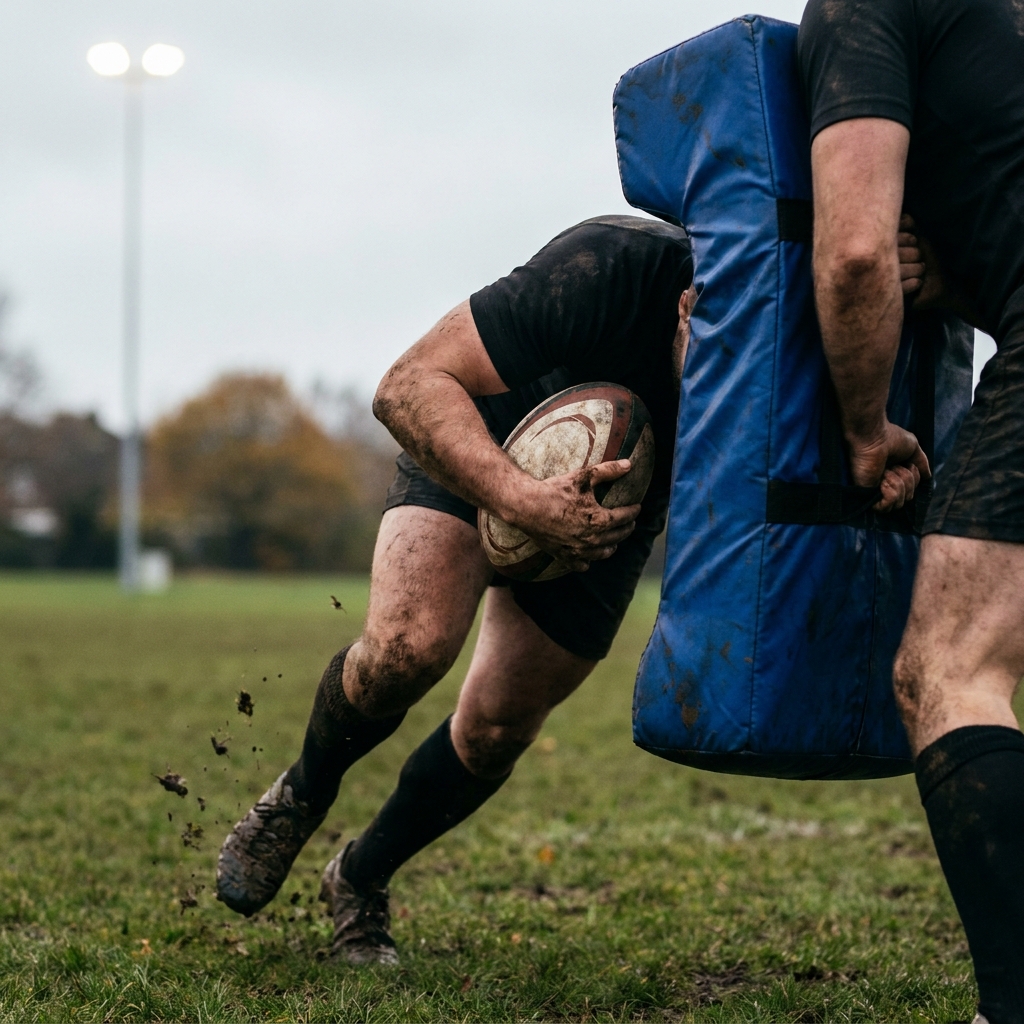
Tacklers are aiming lower, so carriers who dip late put heads at risk. Teach footwork, a strong early body height and leg drive to win the collision safely.