Why You Need a Template, Not a Drill List
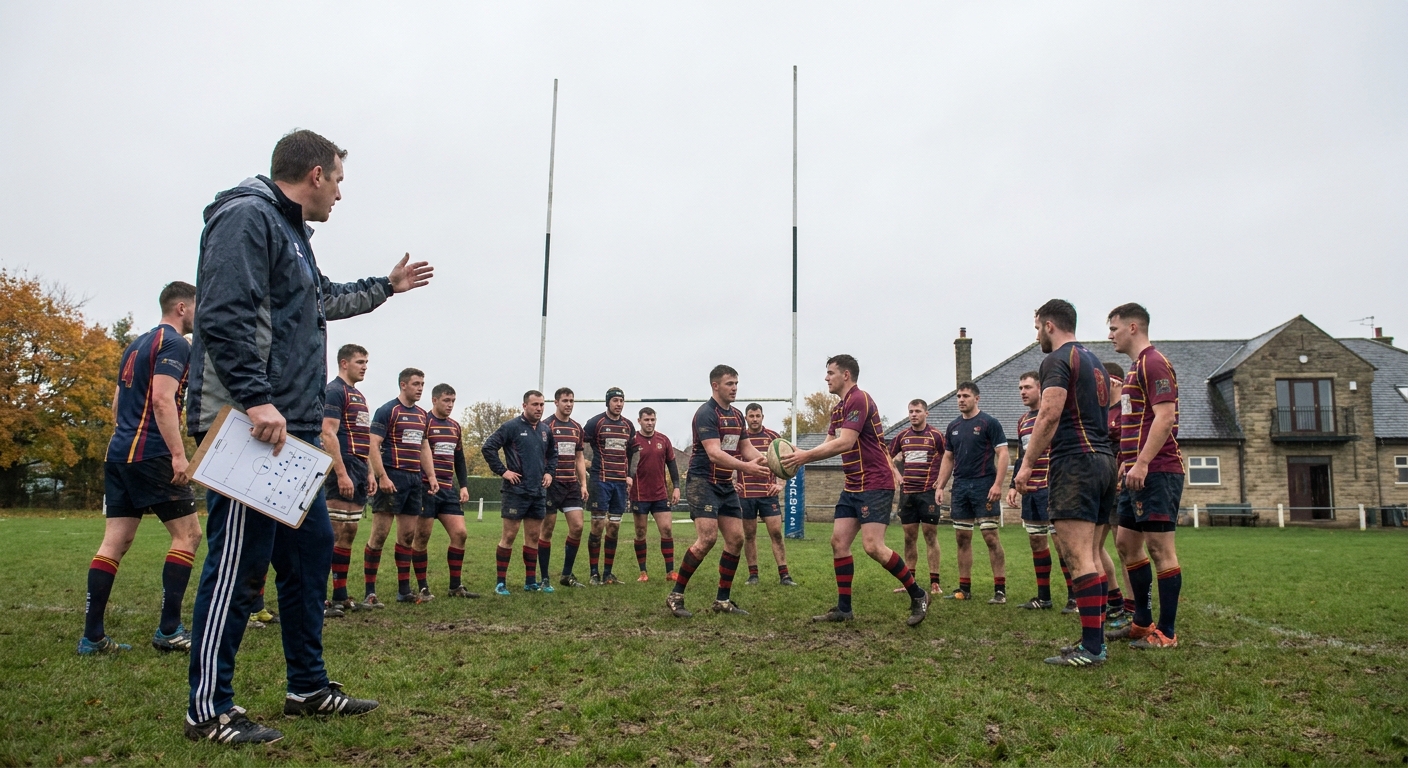
Most volunteer coaches do not run out of drills. They run out of structure. You arrive at a cold, dark pitch with twenty players of mixed ability and ninety minutes, and the temptation is to pick a few favourite drills and hope they add up to a session. They rarely do. Players queue, intensity sags, and nobody is quite sure what the night was actually about.
A session plan template fixes that. Instead of choosing drills, you choose phases - a repeatable shape for the night - and then drop the right drills into each phase to serve one clear objective. The shape stays the same every week; only the content changes. That consistency is a gift to your players, who learn the rhythm of a session, and to you, who can plan a quality night in ten minutes once the skeleton is fixed.
The template below is built for a typical club coaching night of 75 to 90 minutes and works across the age grades with sensible adaptation. We will explain the thinking behind each phase, then show a complete worked example using verified rugby drills from the Sportplan library so you can see exactly how it fits together.
The Five-Phase Session Skeleton
Every good session moves through the same arc: switch the body on, build a skill in a simple picture, then make that picture progressively more game-like until players are using the skill under real pressure - before bringing the heart rate down and locking in the learning with a quick review. Here is the skeleton, with rough timings for a 90-minute night.
The 75-90 Minute Session Skeleton
- 1. Warm-up & movement prep with the ball (15 min): Raise the heart rate, move the joints through full range, and get hands on the ball early so players are switched on before the first drill.
- 2. Skill block - unopposed (20 min): Introduce or rehearse the night's core skill - handling and passing, or contact technique appropriate to the age grade - in a clean, unopposed picture where players can groove the basics.
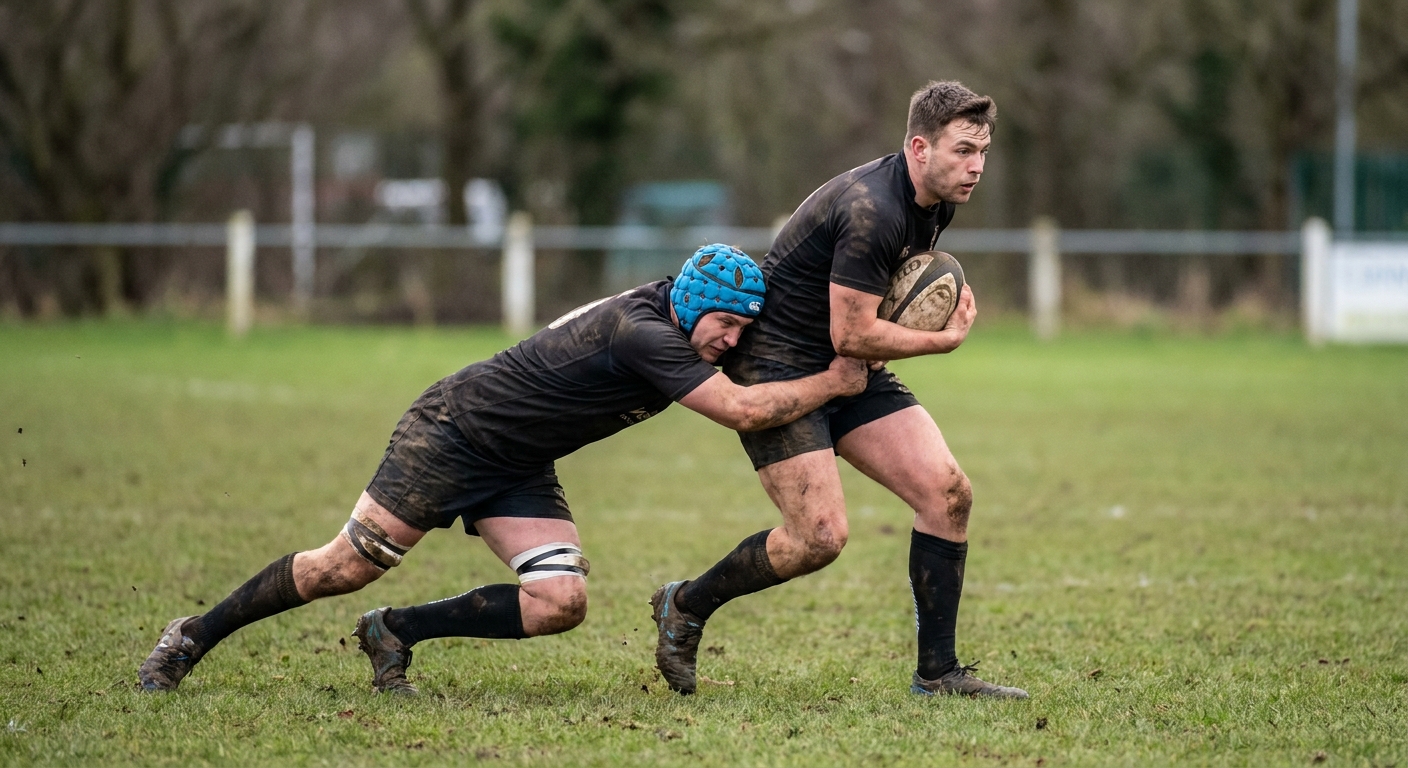
- 3. Skill under pressure / small-sided (20 min): Add a defender, a decision and a consequence. The same skill, now opposed, so players must execute under realistic pressure.
- 4. Game-based / conditioned game (20 min): A small-sided or conditioned game that forces the night's skill to appear naturally. This is where learning transfers to actual rugby.
- 5. Cool-down & review (5-10 min): Easy movement to bring the heart rate down, then a short huddle: what did we work on, what went well, what are we taking into the weekend?
Notice the through-line. You are not running five unrelated activities - you are taking one objective and revisiting it five times, each time in a more demanding context. That is the principle that makes a session feel coherent rather than scattered.
The Coaching Idea Behind the Shape: Whole-Part-Whole
The template leans on two well-established coaching ideas. The first is "whole-part-whole". You start by showing players the whole skill in context (often inside the warm-up game), break it down to its parts in the unopposed skill block, then put it back into the whole - a game - so they experience it the way it actually happens on a Saturday. Players learn far more from a skill they have seen in a game than from one drilled in isolation and never reconnected.
The second is game-based coaching: building from unopposed to opposed so the practice gets progressively more game-like. A pass grooved against no defender is a start, but rugby is a decision-making sport. The moment you add a defender, the passer has to read space, time the pass and commit a tackler - the very judgements they need on match day. That is why phases three and four matter so much: they are where technique becomes football intelligence.
Building from Unopposed to Opposed
The single most useful habit in session design is to ramp the pressure deliberately. A good rule of thumb is to move through four stages within a skill: unopposed (groove the technique), passive defence (a defender who walks or offers token resistance), semi-opposed (a defender working at perhaps 70 per cent with a clear constraint), and finally fully opposed in a game. Spend too long unopposed and players never learn to execute under pressure; jump straight to full opposition and the skill falls apart and confidence with it. The template's phases two, three and four walk that ramp for you.
Adapting the Template by Age Grade
The same five-phase shape works from minis to seniors - what changes is the content, the contact and the pace. Get this right and the template serves your whole club.
Minis and younger juniors: lean heavily on tag, touch and games. There is no live contact loading at this stage - development comes from evasion, handling and decision-making in small-sided games. Keep instructions short, keep everyone busy, and make the warm-up and the "game-based" phases the biggest parts of the night. A mini session is really games-with-a-coaching-point rather than drills.
Youth: as contact is introduced under the RFU's age-grade framework, build it progressively - technique first, then controlled and gradual live work - and keep the overall volume of full contact moderate. Coach a safe, strong body position before you ever add intensity. Stay concussion-aware throughout: follow RFU HEADCASE guidance, and if there is any doubt about a head impact, if in doubt, sit them out.
Senior: you can extend towards 90 minutes and beyond, raise the intensity of the opposed phases, and add positional or unit-specific work (lineout, kicking, backs moves) into the skill blocks. Even here, keep contact volume sensible - a Tuesday night is for sharpening, not for putting players on the floor a hundred times before Saturday.
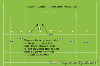
A Worked Example: "Sharpening Attack from a 2v1"
Let us make this concrete. Imagine a youth or senior coaching night with one clear objective: sharpening attack from a 2v1 - fixing the defender and delivering the pass to put a team-mate into space. Here is the full template with verified drills dropped into each phase. Swap the worked example's objective for your own and the structure holds.
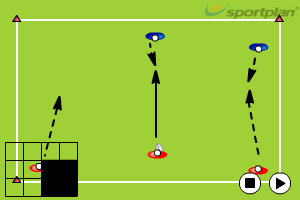
Phase 1 - Warm-up & movement prep with the ball (15 min)
Start easy: a jog, dynamic movement prep through the legs and hips, then bring the ball in. A touch-rugby warm-up game raises the heart rate, switches players on mentally and rehearses the evasion and support running you will build on tonight - all without any contact loading.
Phase 2 - Skill block, unopposed (20 min)
Now groove the core skill in a clean picture. The classic 2 v 1 lets attackers rehearse fixing a defender and timing the pass before any real pressure is added. Run it at pace but keep it simple - this is where the technique gets bedded in.
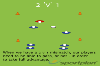
Phase 3 - Skill under pressure / small-sided (20 min)
Add a live decision and a consequence. The 2 on 1 attack and defence drill keeps the same 2v1 picture but makes the defender work, so attackers must read the defence and commit them properly rather than passing on autopilot. This is the unopposed skill becoming an opposed one.

If the group is coping well, progress the numbers to a 3 v 2 so players have to make the read with an extra defender and a support runner in the picture. It keeps the same theme while raising the demand.
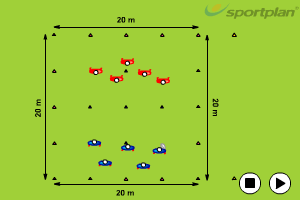
Phase 4 - Game-based / conditioned game (20 min)
Now let the skill appear naturally inside a game. A small-sided conditioned game - say 5 v 5 with a condition that rewards using the overlap, or simply touch with two-touch turnovers - forces players to find and exploit the 2v1 under fatigue and chaos, which is where the real learning transfers.
Phase 5 - Cool-down & review (5-10 min)
Bring the heart rate down with some easy movement and light stretching, then huddle the group. Keep the review short and pointed: what were we working on (fixing the defender and timing the pass)? Where did it go well? What is the one thing we take into the weekend? A two-minute review well delivered cements the night far better than a long lecture nobody remembers.
Make the Template Your Own
The worked example used a 2v1 attacking theme, but the power of the template is that the objective is interchangeable. Next week it might be contact technique, ruck speed, defensive line speed or kicking under pressure - the five-phase shape does not change, you simply select drills for each phase that serve the new objective and respect the age grade in front of you. For minis, weight the warm-up and game phases and drop the opposed drills for more tag and evasion; for seniors, sharpen the opposed phases and add unit work.
Keep two principles front of mind every week. First, one objective running through all five phases. Second, sensible, age-appropriate contact - progressive, moderate in volume, technique before intensity, and concussion-aware at all times. Get those right and your coaching nights will feel purposeful from the first whistle to the final huddle.
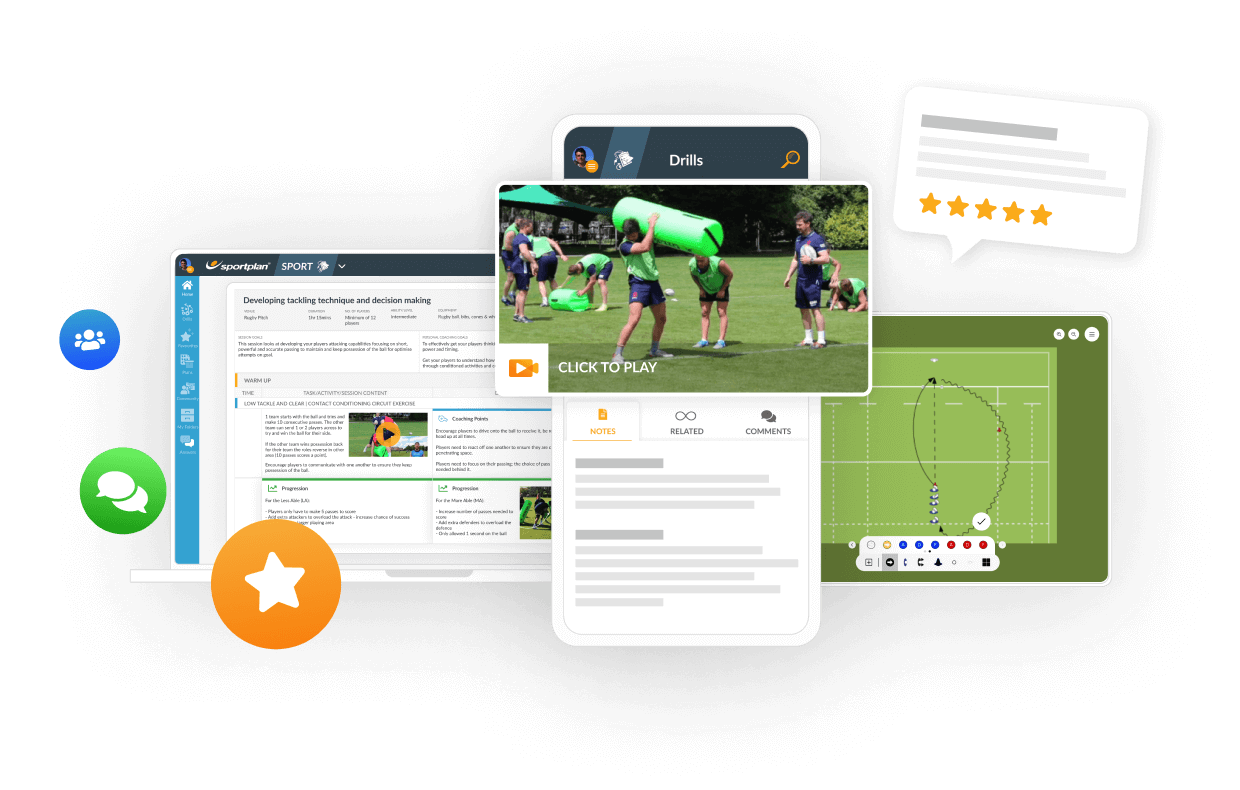
If you coach the younger age grades, our rugby drills for juniors guide gives you ready-made, low-contact practices to drop into phases one to four. To build sessions around a specific role, our rugby positions explained guide breaks down what each player on the pitch is actually trying to do. And for hundreds more practices sorted by skill, theme and age, browse the full Rugby drills library.
Frequently Asked Questions
How long should a rugby training session be?
For most club coaching nights, 75 to 90 minutes on the pitch is the sweet spot. That gives you a proper warm-up, two solid skill blocks and a game-based finish without players standing around or fading at the end. Minis and younger juniors do better with a shorter, sharper 60 to 75 minutes built around more games and less queuing, while senior squads can push towards 90 minutes or more in pre-season. Whatever the age grade, plan the time before you arrive so the session keeps moving.
What should a rugby warm-up include?
A good rugby warm-up does three jobs: it raises the heart rate, it moves the joints through the ranges the game demands, and it gets hands on the ball early. Start with easy running and dynamic movement prep - leg swings, lunges, gentle changes of direction - then bring the ball in with passing and a low-intensity evasion game so players are mentally switched on before the first real drill. Build up the pace gradually rather than going flat out from the first whistle, and for contact sessions add a progressive activation of the positions you will use, never cold.
How do I plan a rugby session?
Work backwards from one clear objective for the night - for example, sharpening attack from a 2v1. Then split your 75 to 90 minutes into phases: warm-up with the ball, a skill block to introduce or rehearse the technique unopposed, the same skill under pressure or small-sided, a game-based or conditioned game to apply it, and a short cool-down and review. Pick drills that build from unopposed to opposed so the picture gets more game-like as the night goes on, and keep one objective running through every phase so the session hangs together.
How much contact should a junior rugby session have?
Keep it age-appropriate and sensible in volume. Minis play tag or touch with no live contact loading, so their sessions are built on games, evasion and handling. As players move up the age grades and contact is introduced under the RFU's age-grade framework, build it progressively from technique to controlled live work, keep the total volume of full-contact moderate, and always coach safe body position first. Stay concussion-aware - follow RFU HEADCASE guidance and if in doubt, sit them out. More contact is not more development; better technique is.
 sportplan_rugby