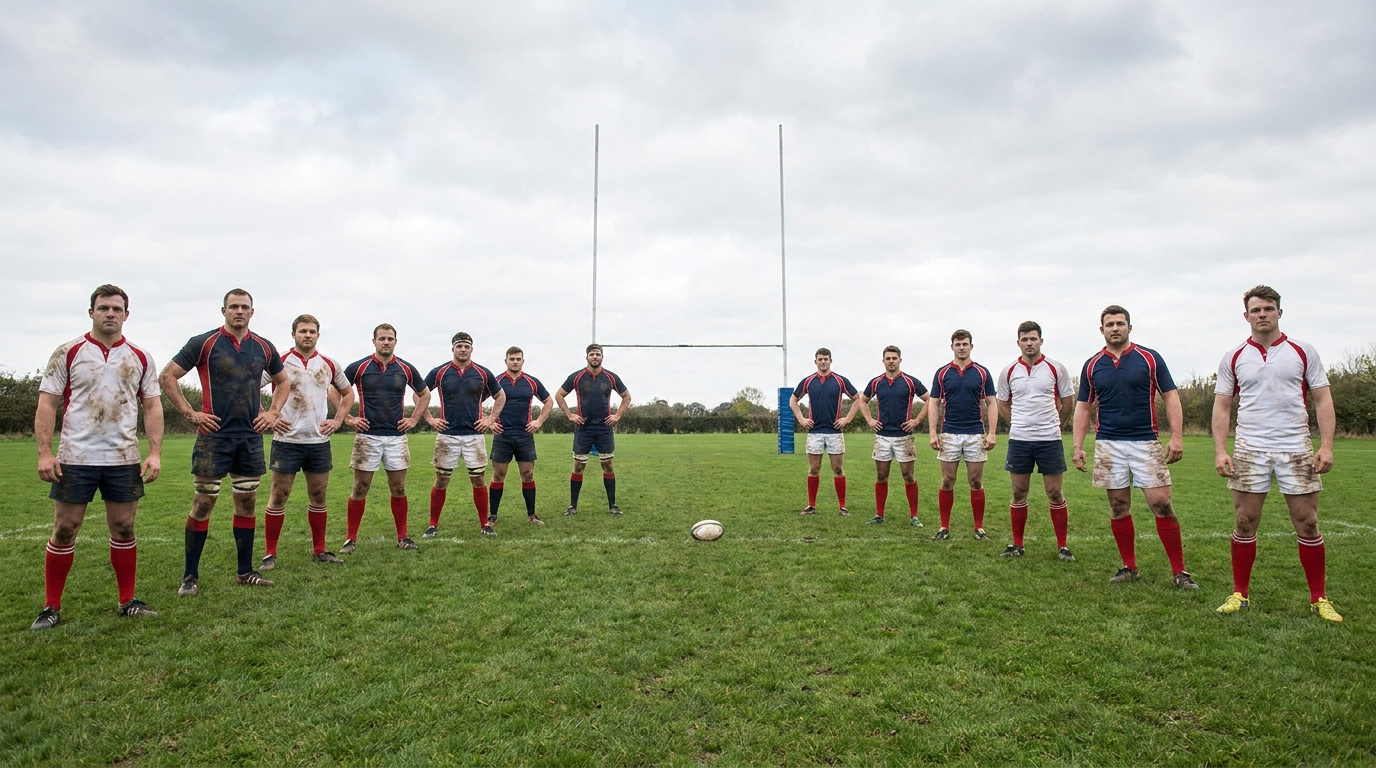
Fifteen Positions, Two Halves of the Team
Rugby union looks like organised chaos from the touchline until you understand one thing: the fifteen players split into two clear groups. The first eight - numbers 1 to 8 - are the forwards, often called the pack. The last seven - numbers 9 to 15 - are the backs. The forwards do the heavy physical work of winning the ball at the set piece and the breakdown; the backs use that ball to attack with running, passing and kicking. Once you grasp that split, the whole game starts to make sense.
Every player wears a number that tells you their position, and in most teams those numbers run in a sensible order - front row first, then second row, back row, then the half-backs, centres and back three. Below we walk through all fifteen roles, explain what each player does, and describe the body type and skills each one suits. We finish with a pitch diagram, a quick-reference list of the units, and a few drills to coach the skills each group relies on.
The Set Piece: Scrum and Lineout
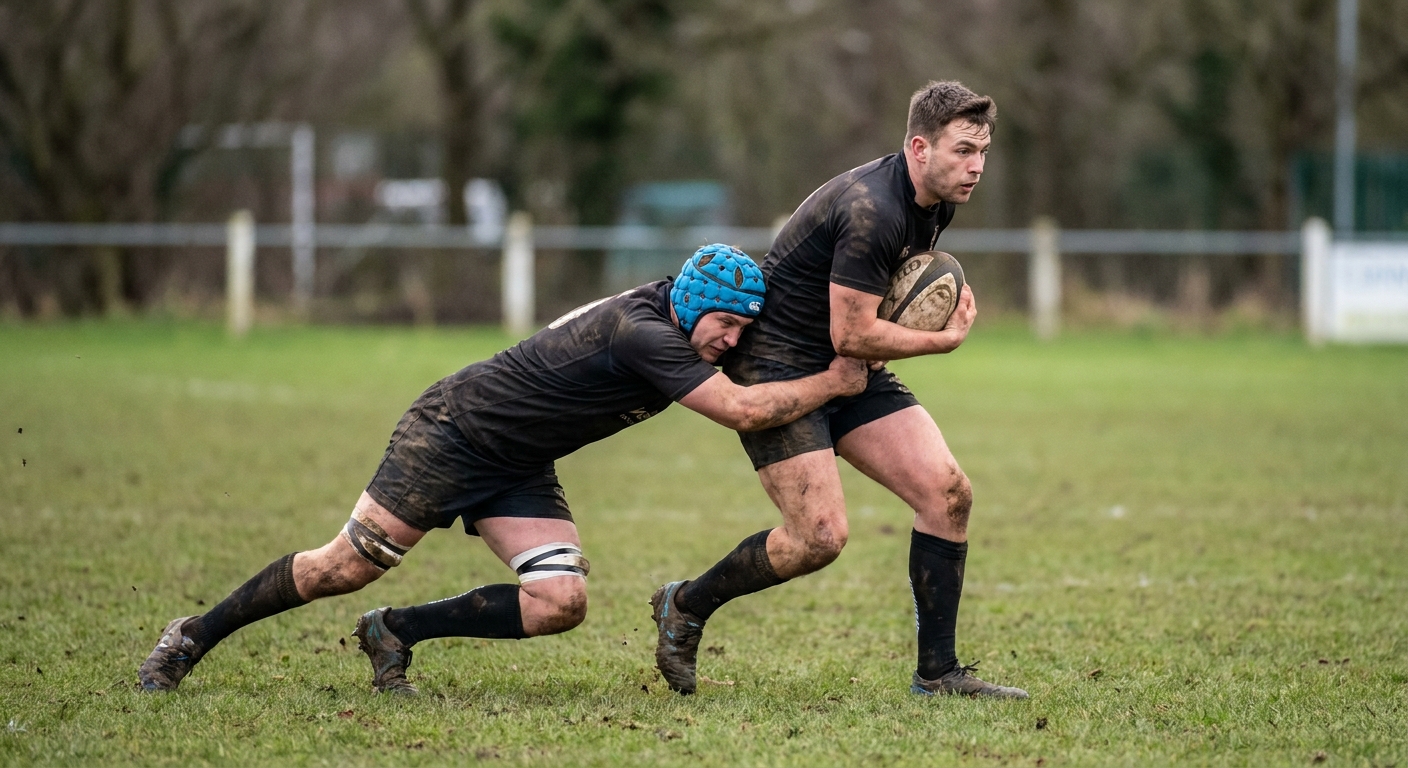
Two restarts define rugby and shape every position: the scrum and the lineout. The scrum is a contest where the eight forwards of each side bind together and push for the ball after a minor infringement - the front row (1, 2, 3) takes the strain, the second row (4, 5) drives behind them, and the back row (6, 7, 8) binds on the sides and rear. The lineout restarts play after the ball goes out: the forwards line up, the hooker throws the ball in, and a lock or back-row forward is lifted to catch it. These two set pieces are why the forwards are built and trained the way they are, and why the backs stand ready to attack the moment the ball is won.
A quick safety note before we go on: rugby is a contact sport, so age-grade players must be coached through progressive, properly graded contact, and everyone - coaches, parents and players - should know the RFU's concussion message, HEADCASE: "if in doubt, sit them out." Positions matter far less for minis and juniors than learning to fall, tackle and support safely.
The Forwards (1-8): The Pack
Front Row: Loosehead Prop (1), Hooker (2), Tighthead Prop (3)
The front row takes the full force of the scrum. The two props - the loosehead (1) on the left and the tighthead (3) on the right - are the team's strongest, most powerfully built players. Their job is to hold the scrum steady, drive forward, and lift the jumpers in the lineout. The hooker (2) packs between the two props and does two specialist jobs: striking for the ball with their foot in the scrum, and throwing the ball in at the lineout. Front-row forwards need raw strength, a low body position and a fearless temperament - it is the most technical, physically demanding unit on the pitch.
Second Row: Locks (4 and 5)
The locks, or second row, are the engine room. Packing down directly behind the front row, they provide most of the scrum's forward drive, and they are the primary jumpers in the lineout - which is why they are almost always the tallest players on the team. A good lock is big, athletic and tireless: lifting and jumping at the lineout, shoving in the scrum, carrying the ball into contact and clearing out rucks all season long. If you have a tall, strong, hard-working junior, the second row is often where they thrive.
Back Row: Flankers (6 and 7) and Number Eight (8)
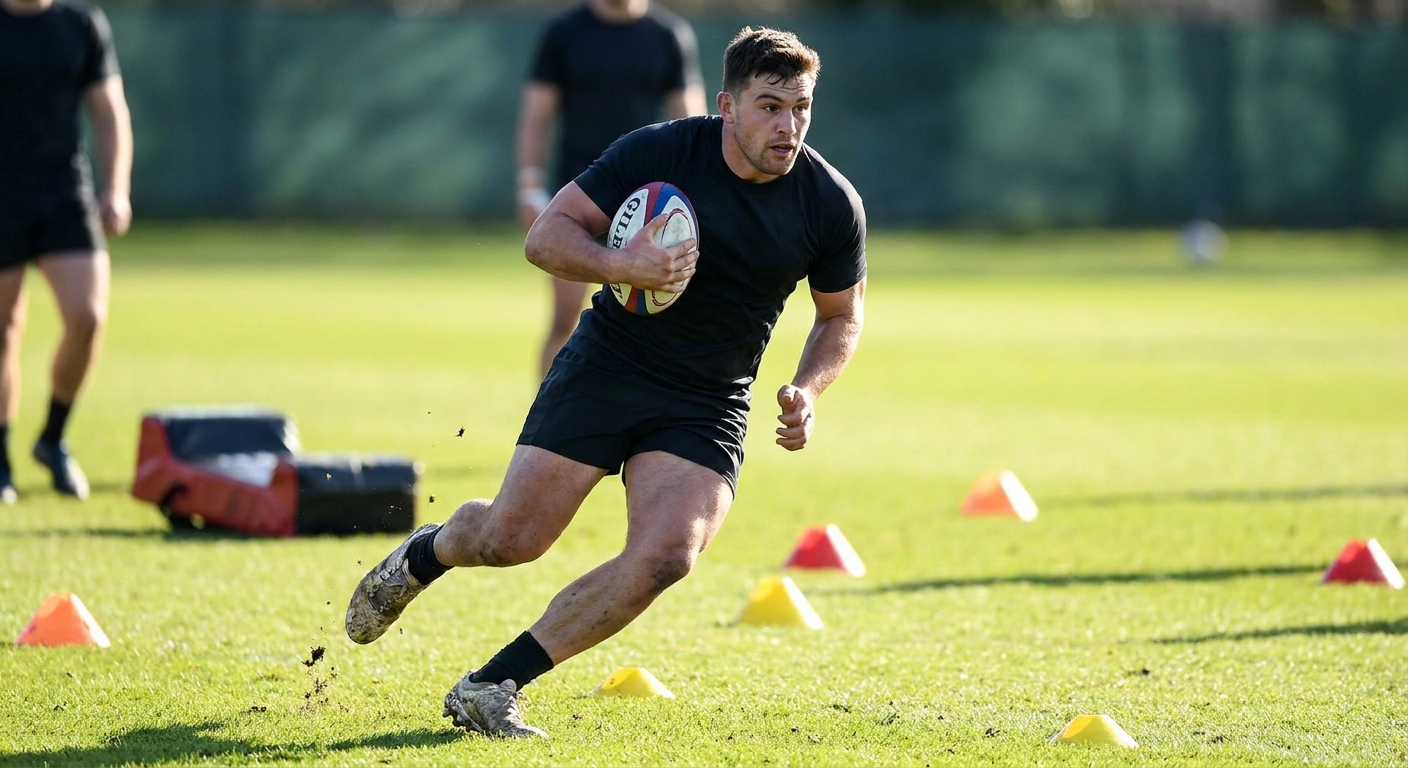
The back row binds onto the sides and rear of the scrum and is the link between the tight forward work and open play. The two flankers - the blindside (6) and the openside (7) - are the team's tacklers and breakdown specialists. The openside in particular hunts the ball at every ruck, trying to win turnovers, while the blindside tends to be the bigger, harder-hitting defender. The number eight (8) packs at the very back of the scrum, can pick the ball up and drive from the base, and acts as the bridge between forwards and backs. Back-row forwards need pace, stamina, fearless tackling and good handling - they are often the most all-round athletes in the pack.
The Backs (9-15)
Half-Backs: Scrum-Half (9) and Fly-Half (10)
The half-backs are the team's link and its brain. The scrum-half (9) is the connection between forwards and backs: they feed the scrum, dart around the back of every ruck and maul, and deliver a fast, accurate pass to launch the backline. A scrum-half is usually small, sharp, vocal and brave, with a quick pass and quicker thinking. The fly-half (10) is the chief decision-maker - the playmaker who receives the ball from the scrum-half and chooses what happens next: pass, kick or run. The fly-half normally takes the goal-kicks too. It suits a calm, confident player with safe hands, good vision and a reliable boot.
Centres: Inside Centre (12) and Outside Centre (13)
The two centres are the midfield. The inside centre (12) stands next to the fly-half and is often a second playmaker and a strong ball-carrier who can punch holes in midfield and offload. The outside centre (13) tends to be faster and more elusive, defending the dangerous channel outside the 12 and providing the link to the wings in attack. Centres need a blend of power, pace, good hands and rock-solid tackling - they make some of the most important defensive reads on the pitch.
Back Three: Wings (11 and 14) and Full-Back (15)
The back three are the team's finishers and last line of defence. The two wings - the left wing (11) and the right wing (14) - are usually the fastest players in the side, there to finish the moves the rest of the team builds and to chase kicks. The full-back (15) stands deepest of all: catching high kicks under pressure, launching counter-attacks, and acting as the sweeper behind the defensive line. The back three need genuine pace, a safe pair of hands under the high ball, and the nerve to defend large spaces one-on-one.
Rugby Pitch Diagram: Who Stands Where
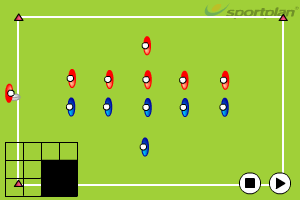
The diagram below shows a typical attacking shape from a set piece: the pack of eight forwards grouped together, and the backline fanned out from the scrum-half at 9 through to the full-back at 15 sweeping behind. Read it alongside the quick-reference list that follows.
A typical attacking shape: the pack of eight (1-8) grouped at the set piece, the scrum-half (9) linking to a backline that fans out through 10, 12, 13 to the wings, with the full-back (15) sweeping behind.
And here is the same information as a quick-reference list of the team's units. Read it before training and it makes selecting and explaining positions far easier - especially when you are setting up a session around one group's skills.
The 15 Positions by Unit
- Front row (1, 2, 3): Loosehead prop, hooker, tighthead prop. Strongest players; hold the scrum, throw and contest the lineout.
- Second row (4, 5): The locks. Tallest players; the lineout jumpers and the scrum's main drive.
- Back row (6, 7, 8): Blindside flanker, openside flanker, number eight. Tacklers and breakdown specialists; the link to open play.
- Half-backs (9, 10): Scrum-half and fly-half. The link and the brain - they distribute and make the decisions.
- Centres (12, 13): Inside and outside centre. The midfield - power, pace, good hands and hard tackling.
- Back three (11, 14, 15): Two wings and the full-back. The fastest finishers and the last line of defence.
A simple way to remember the split: 1 to 8 are forwards (the pack that wins the ball), 9 to 15 are backs (the runners who use it). The numbers even hint at where players stand - low numbers in the tight forward work, high numbers spread out wide where there is space to attack.
Positions in Age-Grade Rugby
For minis and juniors, do not get hung up on numbers. Young players develop faster and enjoy the game more when they experience both halves of it, so rotate them through forwards and backs and let them work out where their size, pace and temperament fit best. A child who is small at under-9s may shoot up by under-13s; pigeon-hole them too early and you may lose a future lock or lock them out of the back three. Keep contact progressive and properly graded for the age group, and keep HEADCASE front of mind: if in doubt, sit them out.
Once you know roughly where players suit, build sessions around the skills each unit needs. Our junior rugby drills guide gives you age-appropriate, low-contact practices, and our free session plan template helps you drop the right drills into a structured session. When it comes to picking your matchday side fairly, our guide to team selection and availability shows how to balance positions across a squad. And for hundreds more practices sorted by skill and position, browse the full Rugby drills library.
Frequently Asked Questions
What are the rugby positions 1-15?
In rugby union the numbered positions are: 1 loosehead prop, 2 hooker, 3 tighthead prop (the front row); 4 and 5 locks or second row; 6 and 7 flankers (blindside and openside); 8 number eight (the back row) - that is the eight forwards. The backs are: 9 scrum-half, 10 fly-half, 11 left wing, 12 inside centre, 13 outside centre, 14 right wing and 15 full-back. Numbers 1 to 8 are the forwards or pack; numbers 9 to 15 are the backs.
What is the difference between forwards and backs?
Forwards wear 1 to 8 and contest the set piece and the breakdown - the scrum, lineout, rucks and mauls. They tend to be bigger and stronger and do the heavy physical work of winning the ball. Backs wear 9 to 15, are generally faster and handle more, and their job is to use the ball the forwards win - running, passing, kicking and finishing chances out wide. A simple way to remember it: forwards win the ball, backs use it, and the best teams blur the line between the two.
What does the number 8 do in rugby?
The number eight packs down at the back of the scrum and is the link between forwards and backs. They can pick the ball up from the base of the scrum and drive forward, carry hard in open play, and are usually a strong tackler and good handler. A good number eight reads the game, decides whether to release the ball to the scrum-half or take it on themselves, and is often one of the team's biggest ball-carrying threats.
What does the fly-half do in rugby?
The fly-half wears 10 and is the team's main decision-maker and playmaker. They receive the ball from the scrum-half after most set pieces and choose what the team does next - pass it along the backline, kick for territory or points, or run. The fly-half usually takes goal-kicks and conversions too. It is the most influential tactical role on the pitch, so the position suits a calm, confident player with good hands, vision and a reliable kicking game.
What is the best rugby position for a beginner?
There is no single best position for a beginner - it depends on the player's size, speed and confidence. As a rough guide, a tall, strong, fearless newcomer often settles well in the second row or back row, while a quick, evasive runner tends to enjoy the wing or full-back where there is space to attack. The most important thing in age-grade rugby is not to pigeon-hole young players: rotate them through forwards and backs so they learn the whole game before they specialise, and so coaching stays fun and safe.

 sportplan_rugby