understanding roles
scanning threats
vision
defend zones
linespeed
connection
TAckle, tackle, tackle.

in more ways than one

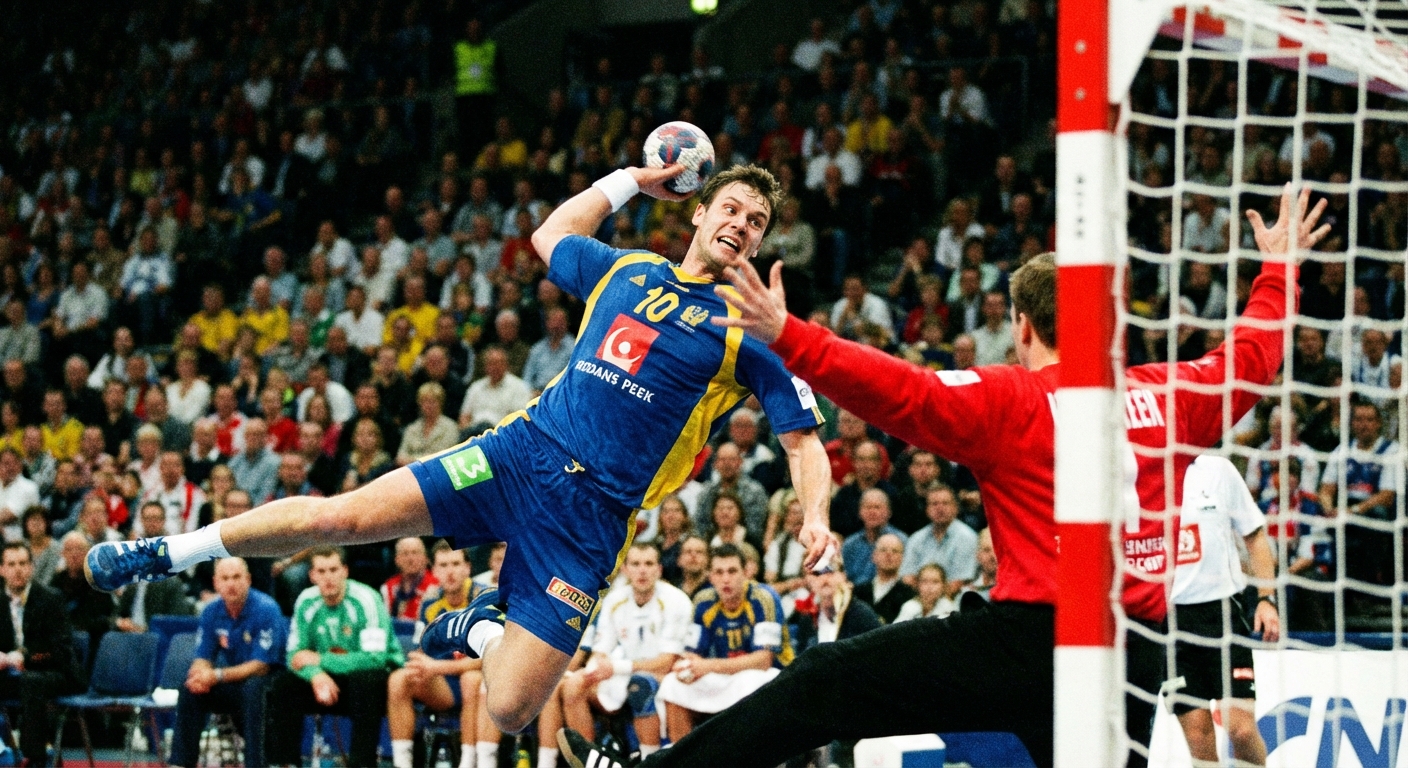
Wing players operate in the most demanding shooting position on a handball court, where acute angles and a close goalkeeper make finishing a specialist skill. This article breaks down the technique, decision-making, and training progressions that coaches need to develop elite wing finishing.
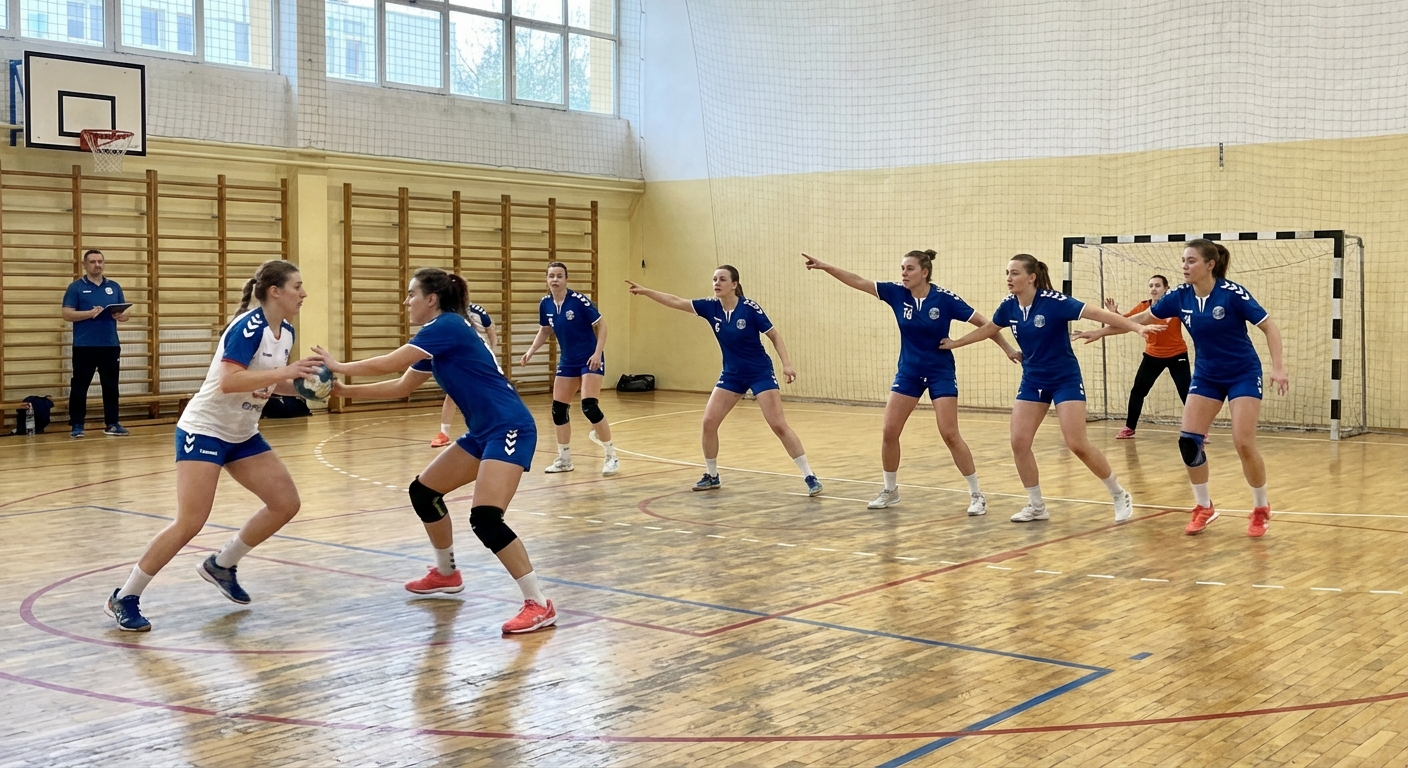
The transition from attack to defence is the most vulnerable moment in handball. This article examines the 3-second recovery principle, the specific roles players must adopt during transition, and the training scenarios that build a team's ability to recover defensive shape under pressure.
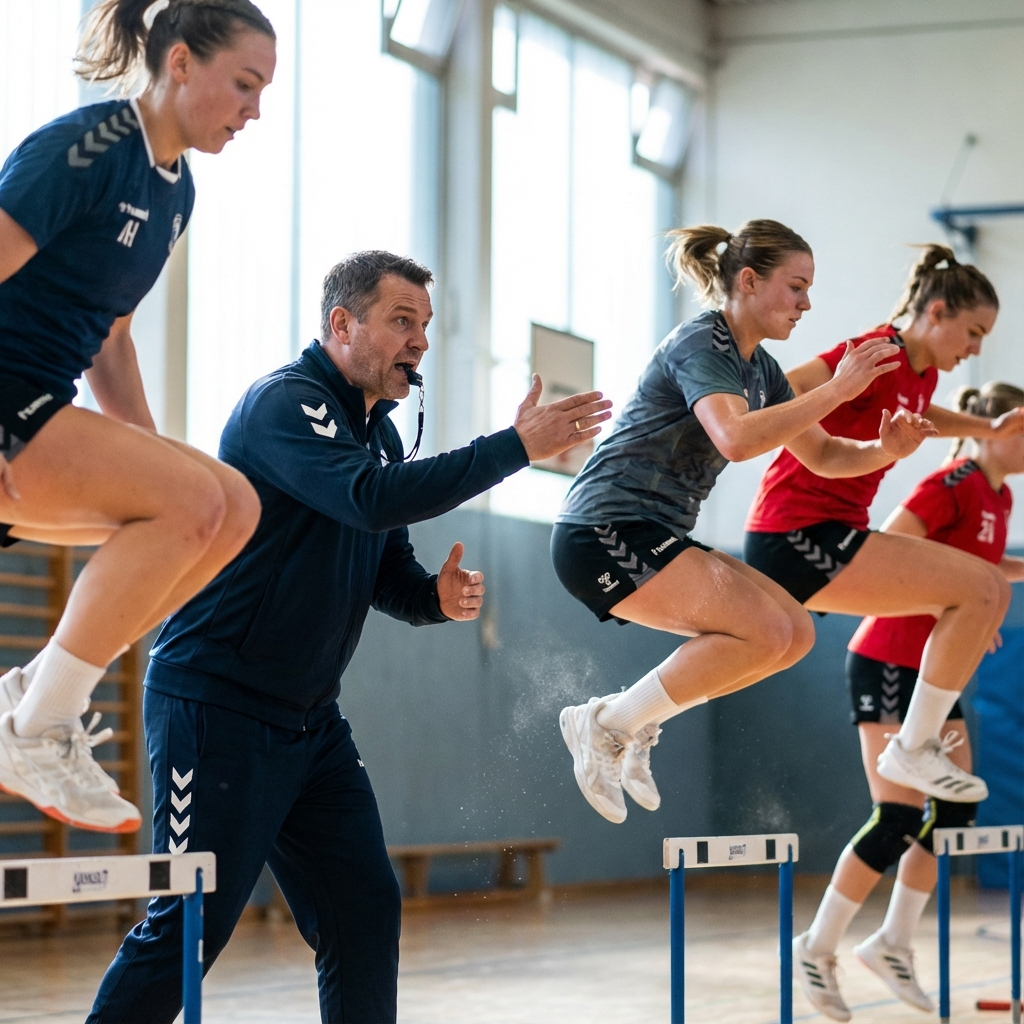
Handball demands explosive power, repeated sprint ability, and the strength to compete physically for 60 minutes. Sport-specific conditioning develops the athletic qualities that underpin elite performance.