Starting on the try-line perform the following;
1- A maximal intensity pyramid
R1- Recovery – slow jog to the opposite try line
and back.
2- A maximal sprint to the opposite try line and
back.
R2- Recovery – slow jog to the half way line and
back.
3- A maximal run to the half way line and back.
R3- Recovery – slow jog to the 22m line and
back.
4- A maximal sprint to the 22m line and back.
R4- Recovery – slow jog to the 22m line and
back.
5- Same as 4.
R5- Same as R4.
6- Same as 3.
R6- Same as R2.
7- Same as 2.
R7- Same as R1.
8- Same as 1.
Players start on the bottom of the figure; Start point
(starting point) and E (end point) assists in
following 1- 8.
The complete drill = 1 Set: Perform 1-3* sets per session;
3-5 minute rest between sets
*Perform the desired number of sets, depending on the
other conditioning drills in the specific session and the
desired volume of the training session.

in more ways than one
 sportplan_netball


in more ways than one
sportplan_rugby
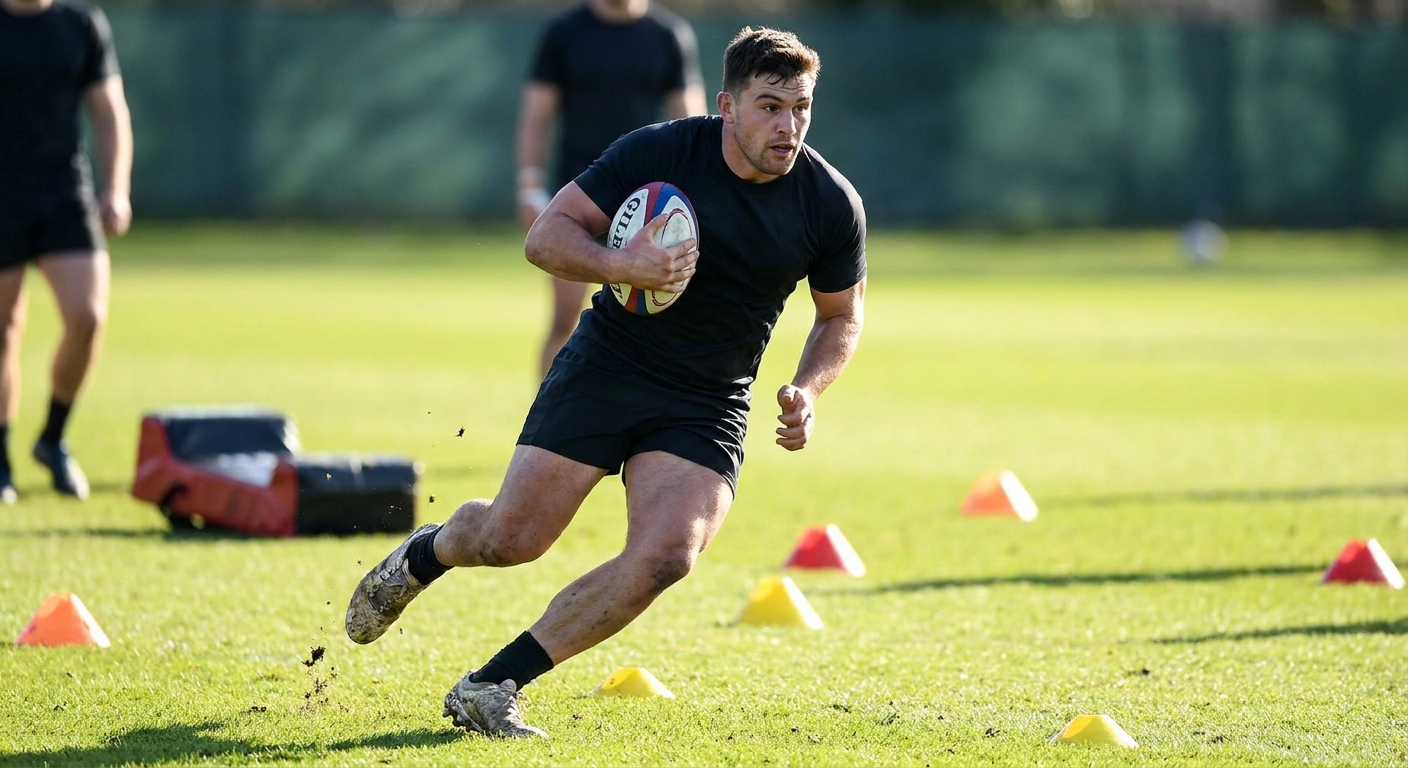
Long, lonely runs build lungs, not rugby players. Here's how to build a pre-season that puts fitness where the game needs it - with a ball in hand and a decision to make.
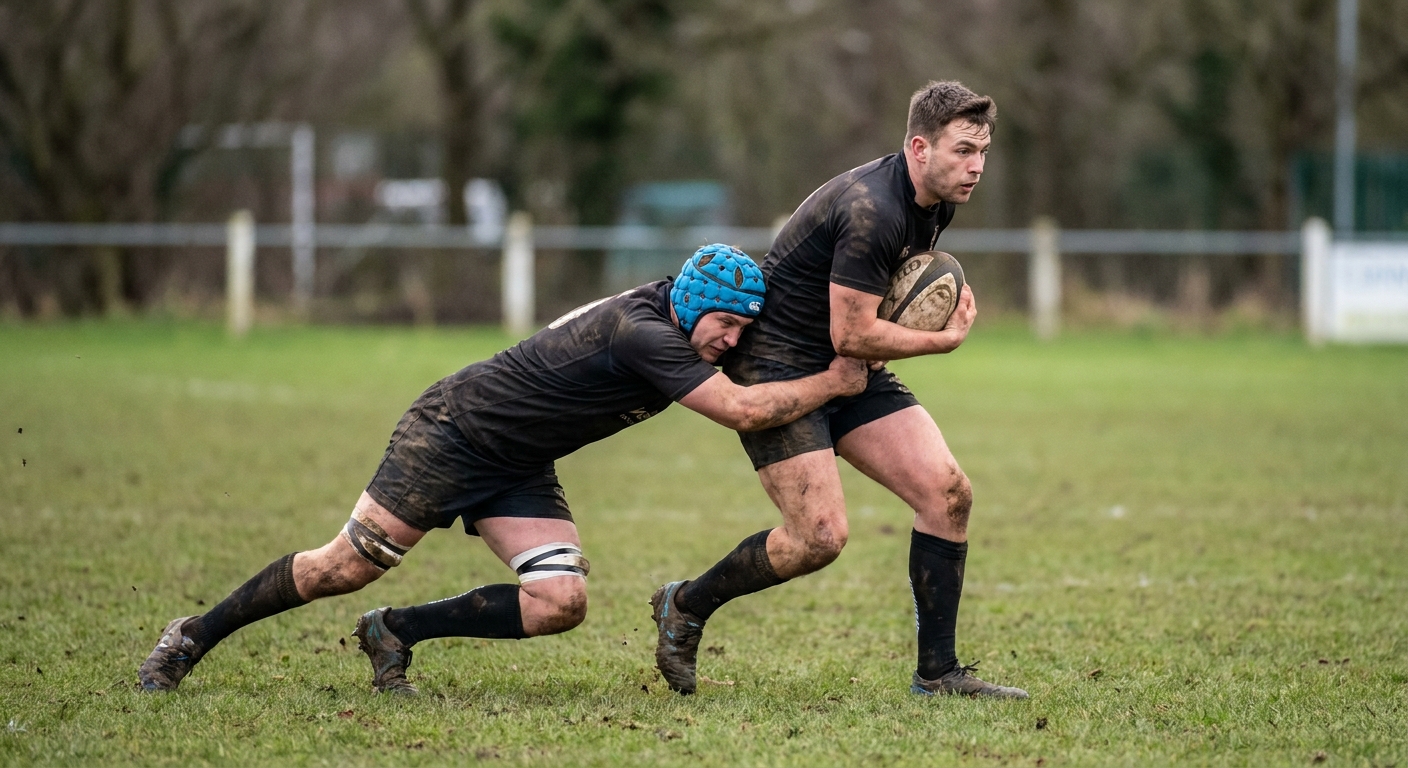
After a long summer off, throwing players straight into full-blooded tackling is asking for trouble. Here's a graduated, welfare-led way to rebuild collision tolerance in pre-season.

Restart kicks are now the most common set-piece in rugby and the easiest to lose. Treat them like a lineout: prepare options, drill the catch, and own the reception.