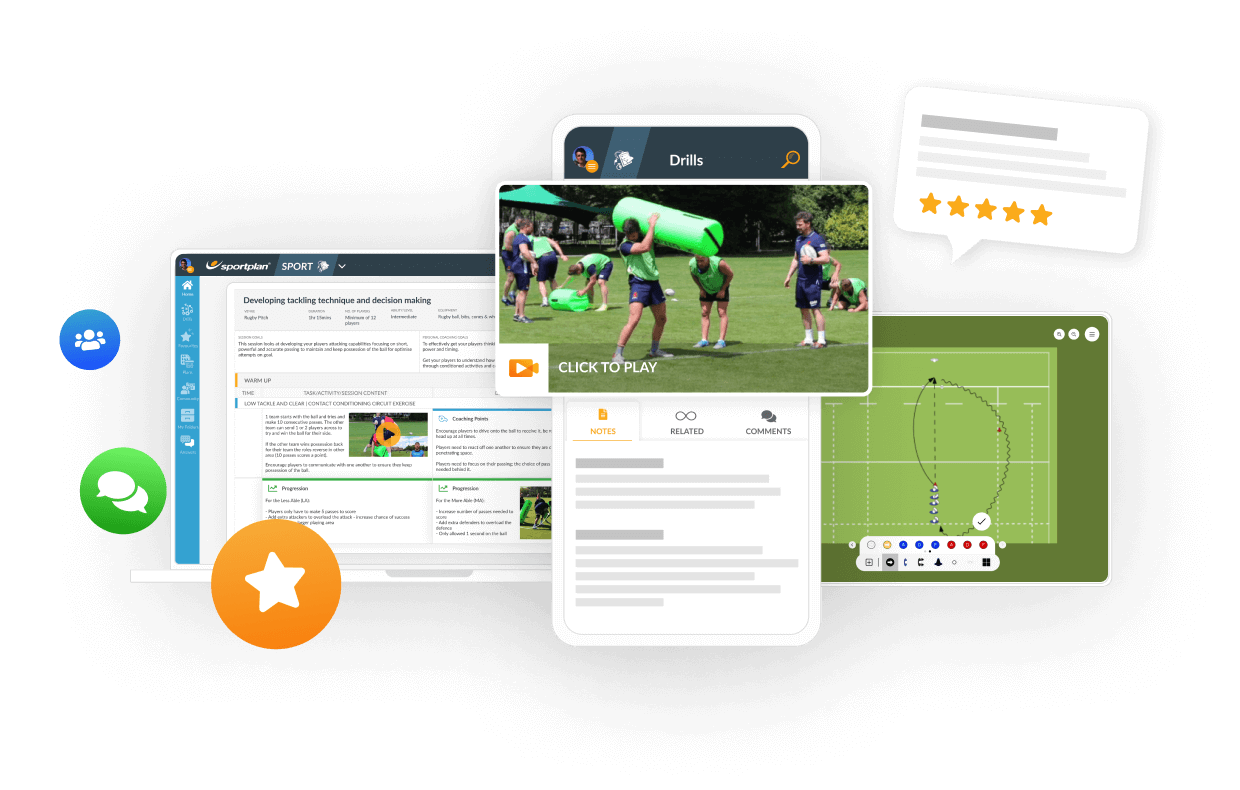
4 x suited tacklers 3x Ball carriers in 3 channels Each Channel colour coded Coach stands behind Tacklers with 3 cones representing each coloured channel. As coach raises coloured code, ball carrier in relevant channel looks tom break through the tackles
Key is to get primary tackler (first reactor) to call the tackle - ideally "Low" secondary tackler responds accordingly Tackle height for both tackers needs to be in regulation Ball carrier needs to manage dip into contact
This practice has no coaching points
This practice has no progressions
There are currently no more drills being shared in this category

in more ways than one
 sportplan_rugby
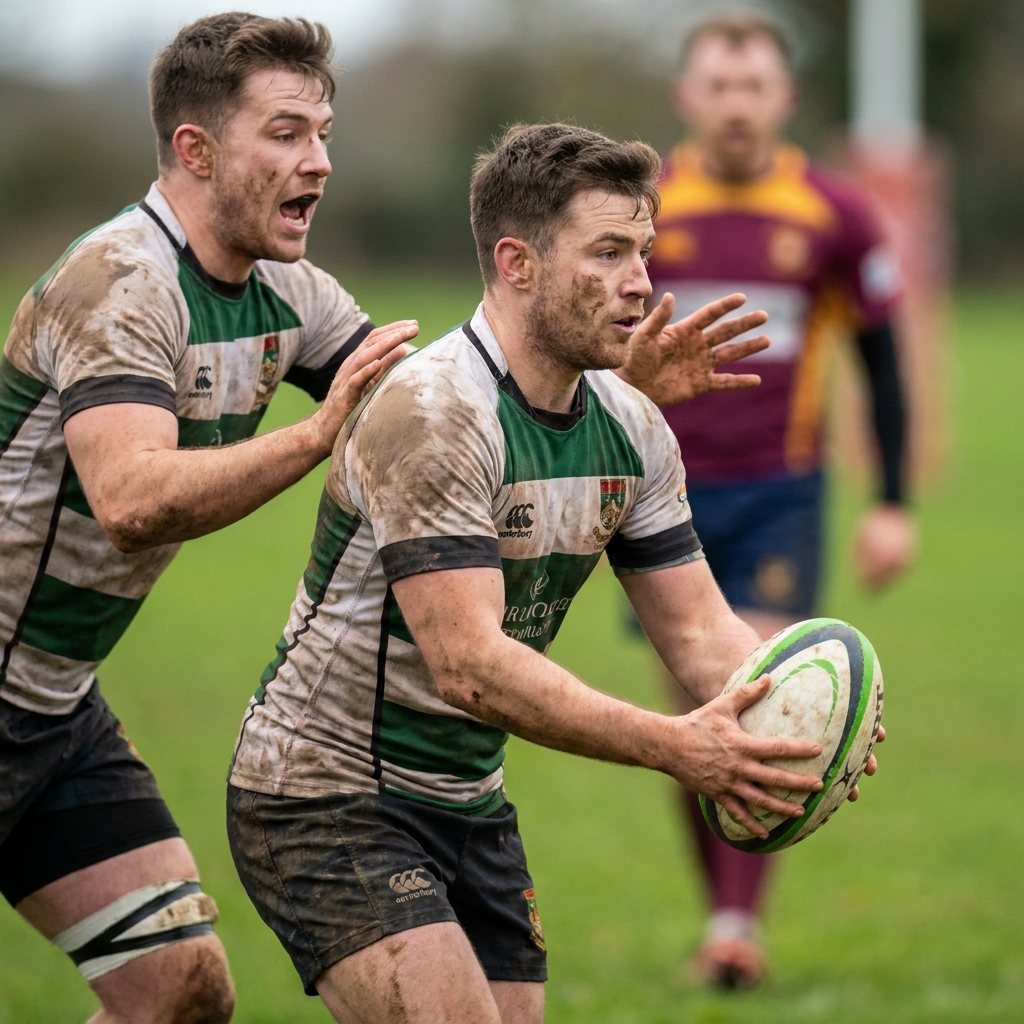
Most line breaks are made by support runners, not ball carriers. Teach the angles, depth and timing that get them there.
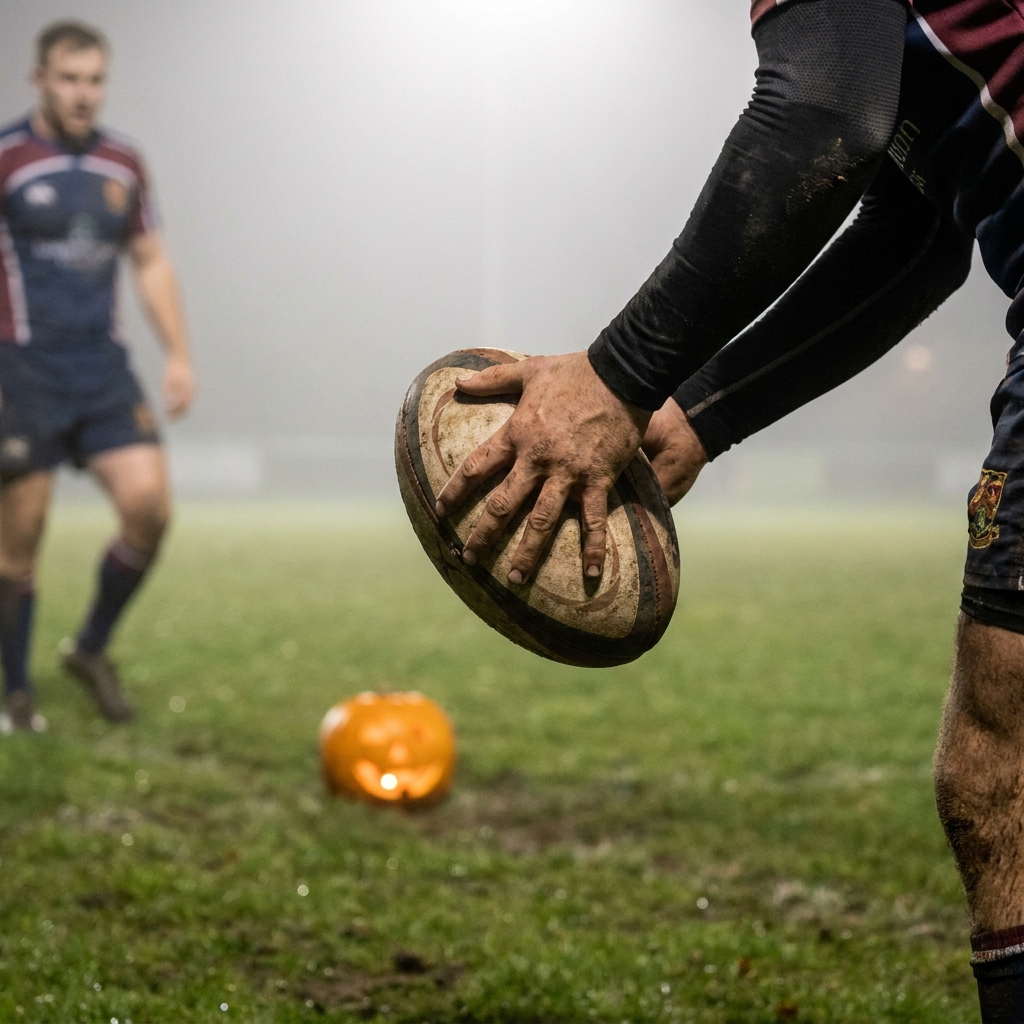
The isolated ball carrier is rugby's spookiest turnover. Here is the five-step fix, plus drills that rebuild support lines fast.
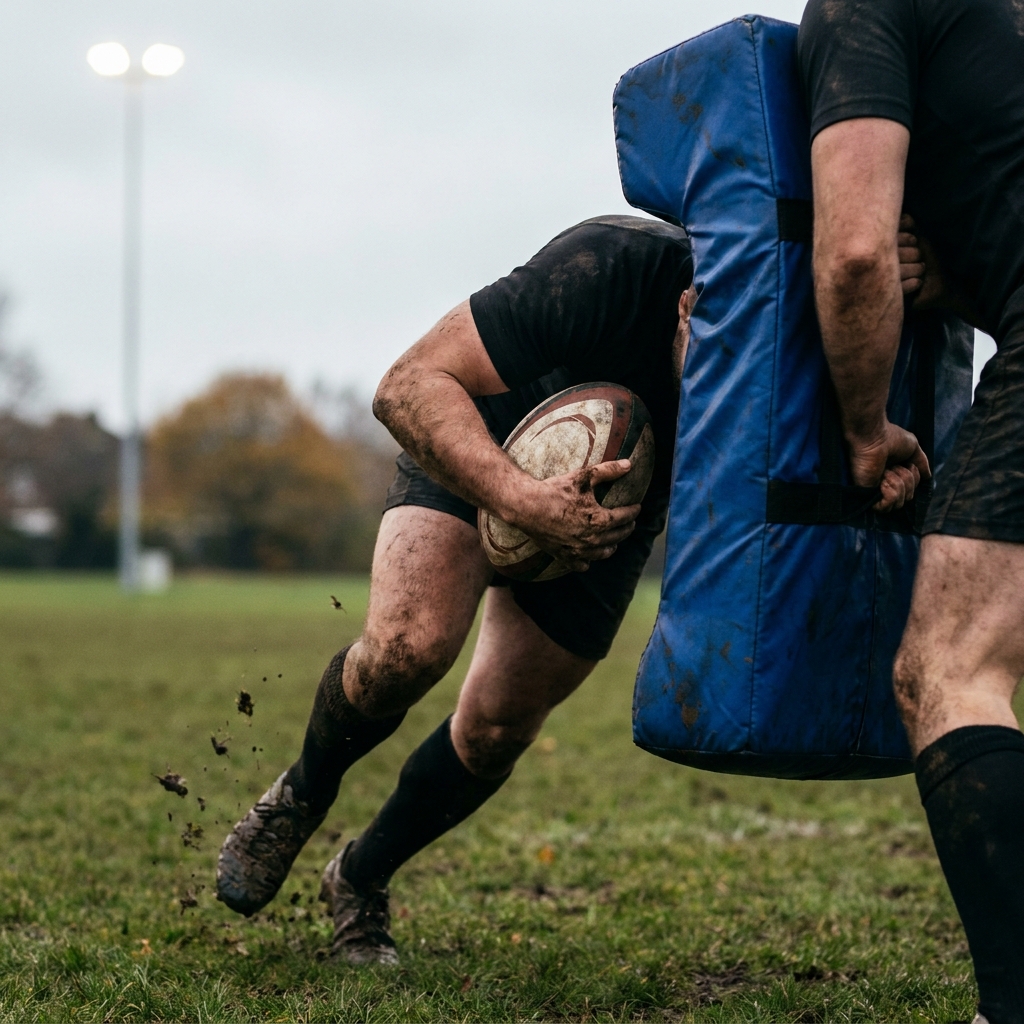
Tacklers are aiming lower, so carriers who dip late put heads at risk. Teach footwork, a strong early body height and leg drive to win the collision safely.