This play is run as a set up phase from our 22m out to the opposing 22m.
The #12 & #13 should start slightly wider apart than normal. The #10 runs on to the pass from #9 then changes angle of run towards opposing #12. #12 runs a dummy switch with the #10 and continues his run to draw/block the opposing #10. #13 runs a straight line on the outside of the opposing #13 to keep the gap open for our #11. #10 runs a line to block the opposing #12 after the pass to #11. #11 runs a line behind the #12 , parallel to #10 to hit the gap between the opposing centres. If the line break does not happen #13 should be available for contact or offload support. #14 stays wide at all times to keep his opponent fixed in position. #15 sweeps behind in case of errors.

in more ways than one
 sportplan_netball


in more ways than one
sportplan_rugby
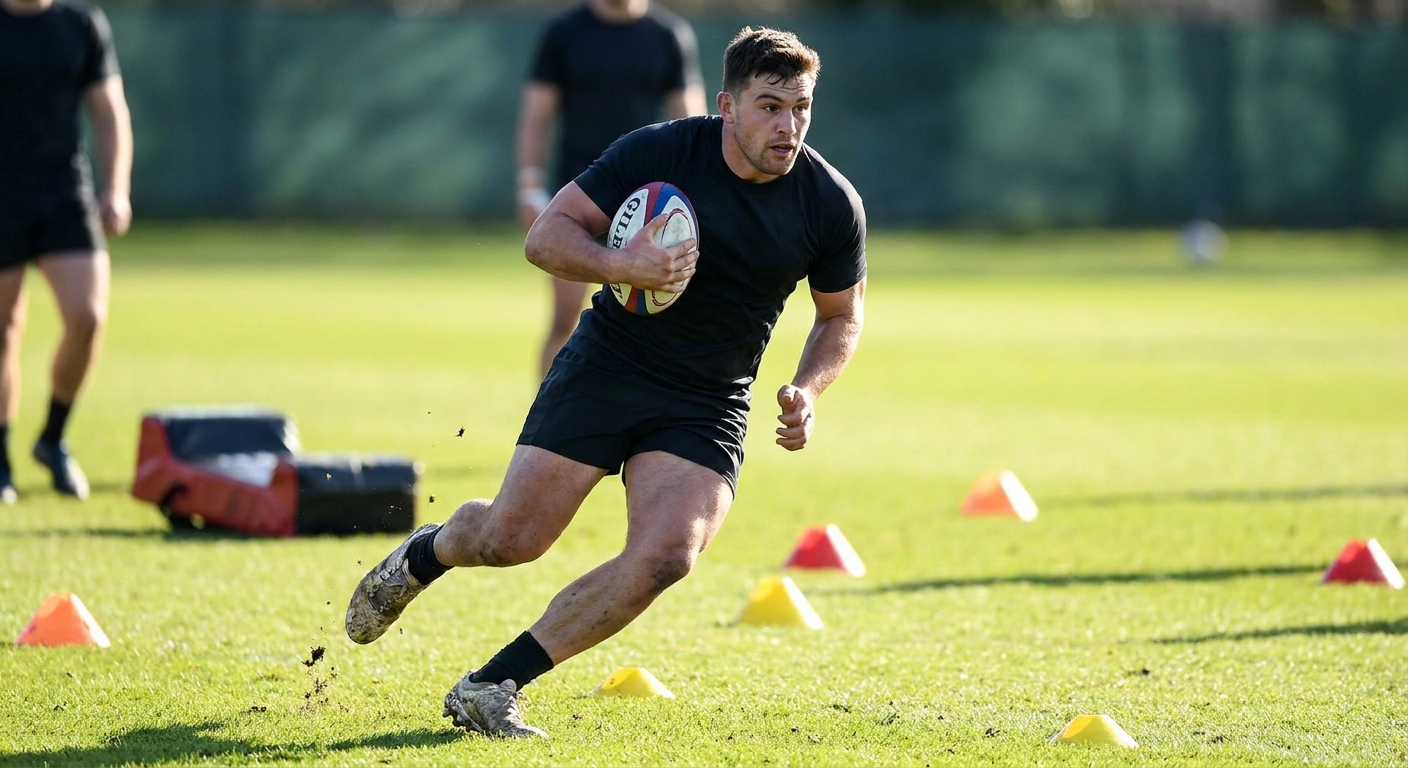
Long, lonely runs build lungs, not rugby players. Here's how to build a pre-season that puts fitness where the game needs it - with a ball in hand and a decision to make.
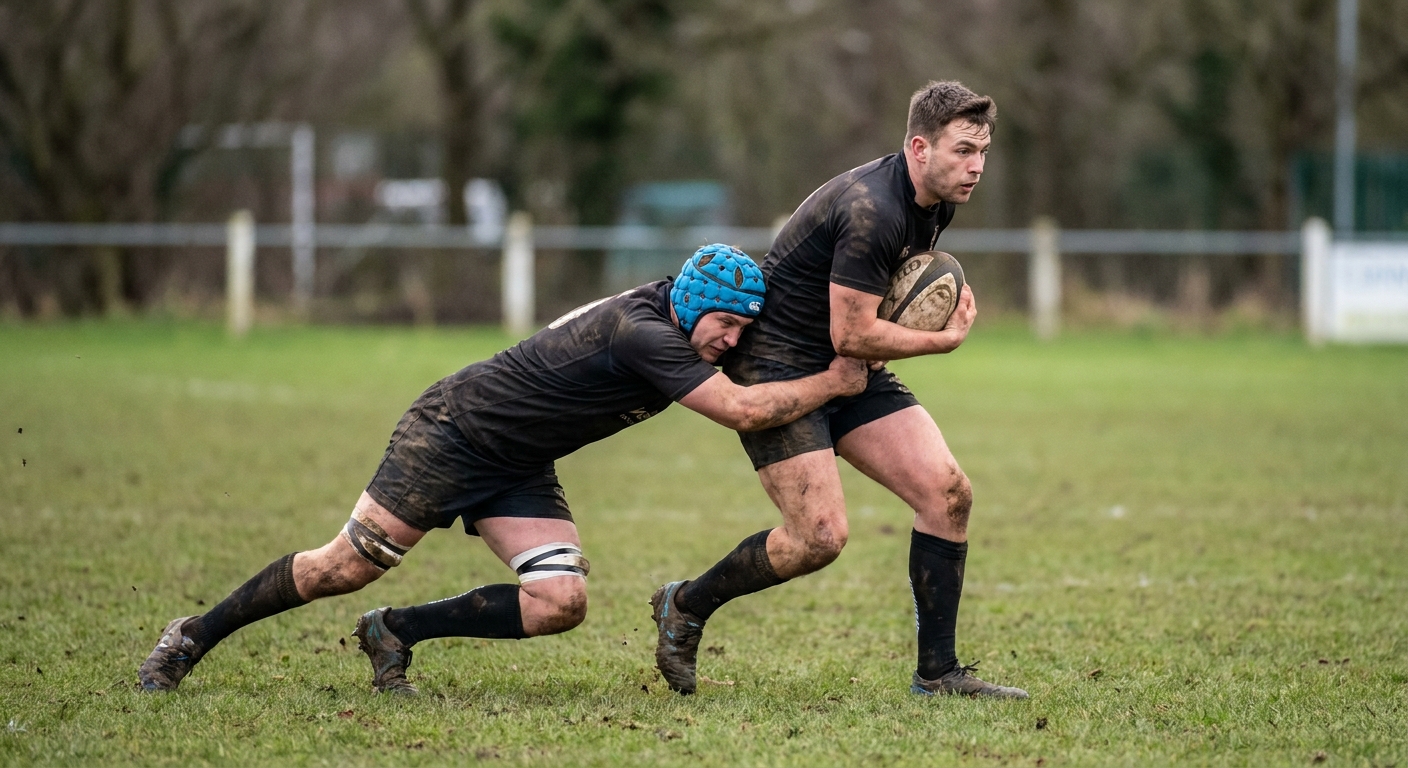
After a long summer off, throwing players straight into full-blooded tackling is asking for trouble. Here's a graduated, welfare-led way to rebuild collision tolerance in pre-season.

Restart kicks are now the most common set-piece in rugby and the easiest to lose. Treat them like a lineout: prepare options, drill the catch, and own the reception.