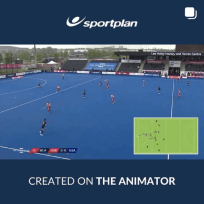
Structure:
"A" passes to "B", while C goes to one of the closest cones from the goal and then to the front of the circle. "C" has to receive the ball after he crosses the yellow line. Then he/she shoots on goal.
After that, we play the same on the other side, where, "B" passes to "A", and "A" passes it to "D", he has to create space the same way as "C" only with his backhand.
Pointers:
- You want the space in front of you to be as big as possible, so stay close to the goal.
- To use all the space you create, receive after the yellow line,
Variations:
Low level,: "A" and "B" doesn't pass the ball, each one dribbles a few steps and pass directly
Medium level: There is a defender inside the square, and the striker has to push him back whith his body before making his move. The defender can't cross the yellow line.
High level: The defender can cross the yellow line.

in more ways than one
 sportplan_netball


in more ways than one
sportplan_hockey

From mandatory safety equipment to evolving tactical systems and player-centred coaching methods, field hockey is transforming. Here's what every coach needs to know for 2026.

The Netherlands made history at Paris 2024 with the first-ever golden sweep. Here's what coaches at every level can learn from their dominance.
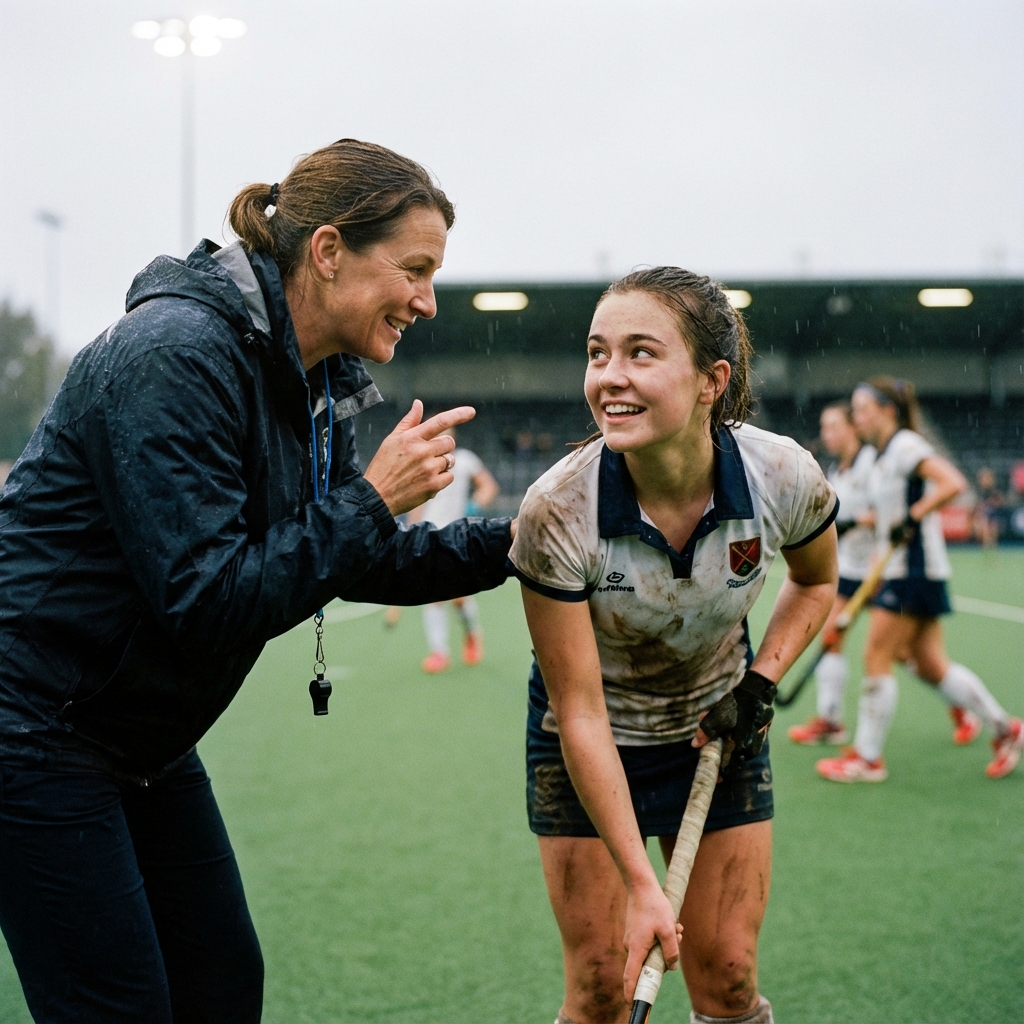
The best coaches build more than skills - they build connections. Learn how trust-based relationships transform team performance.