What Is a 2-3 Zone Defence?
The 2-3 zone is a defensive system where two players position themselves at the top of the key (the "2") and three players position themselves along the baseline (the "3"). Instead of each defender guarding a specific opponent, each defender is responsible for an area of the court. When the ball moves, the zone shifts as a unit, with defenders sliding and rotating to cover the ball and close passing lanes.
This is one of the most commonly used zone defences at every level of basketball, from youth programmes to professional leagues. Its popularity comes from its simplicity - the basic principles are easy to teach - and its effectiveness at protecting the paint, which is where the highest-percentage shots come from. A well-executed 2-3 zone forces the opposition to rely on outside shooting, which is inherently less efficient.
When to Use Zone vs Man-to-Man
The decision to play zone or man-to-man should be strategic, not a default. Zone defence is most effective in several specific situations.
When the opposition has a dominant one-on-one player: If the other team has a player who consistently beats their individual defender, a zone takes away that one-on-one matchup. The dominant player now faces help defence from multiple zones rather than trying to beat a single player.
When your team lacks individual defensive ability: Zone defence can mask individual defensive weaknesses by hiding slower or less athletic players in positions where their limitations are less exposed. The collective structure compensates for individual shortcomings.
When the opposition is a poor outside shooting team: The 2-3 zone concedes space on the perimeter. If the other team cannot punish that space with consistent three-point shooting, the zone becomes extremely difficult to score against.
As a change of pace: Even teams that primarily play man-to-man benefit from switching to zone periodically. The change disrupts the opponent's offensive rhythm and forces them to adjust their game plan mid-flow. This is particularly effective after a timeout or at the start of a quarter.
When NOT to Use the 2-3 Zone
Avoid the 2-3 zone against teams with elite three-point shooters, as the natural gaps at the high post and corners are exploitable. Also reconsider if the opposition has a skilled high-post passer who can sit in the middle of the zone and pick it apart with skip passes and backdoor feeds.

Roles of Each Position in the 2-3 Zone
Top Two Guards (Positions 1 and 2)
The two players at the top of the zone are responsible for the area from the three-point line to the free-throw line extended. They must pressure the ball handler when the ball is at the top of the key, close out on wing players when the ball swings to the side, and deny penetrating passes into the high post. These players need quick feet and high energy because they cover the most ground. They should be your most agile defenders.
When the ball is on the wing, the near-side top defender drops to the elbow area to prevent high-post entry passes, while the far-side top defender slides to the middle of the key to provide help. This rotation is the most important movement in the entire zone - if the top two do not rotate correctly, the high post becomes an open avenue for the offence.
Bottom Three (Positions 3, 4, and 5)
The three baseline players cover the low blocks, the baseline, and the corners. The centre (middle position) is the anchor - typically your tallest player - who protects the paint and contests any shots in the lane. The two wing players on the baseline shift up to contest corner three-pointers and drop back to cover baseline drives.
The baseline three must communicate constantly because their rotations determine whether the zone holds or breaks. When the ball goes to the corner, the near-side wing player closes out hard. The centre shifts across to cover the near-side low block. The far-side wing player drops into the lane to provide weak-side rebounding and help defence.
Rotations and Recovery
The 2-3 zone lives and dies by its rotations. When the ball moves, every player in the zone must adjust their position simultaneously. This is not optional - a single player who fails to rotate creates an open shot or a passing lane into the paint.
Ball at the Top
Both top defenders are at the elbows, staggered. The ball-side top player pressures the handler. Bottom three are across the baseline in their standard positions. This is the "home" position of the zone.
Ball on the Wing
The near-side top defender closes out on the wing. The far-side top defender slides to the nail (middle of the free-throw line). The near-side baseline player lifts slightly to deny the baseline pass. The centre shifts ball-side. The far-side baseline player drops into the lane.
Ball in the Corner
This is the most vulnerable position for the zone. The near-side baseline player must close out hard to the corner. The centre drops to the near-side low block. The near-side top player covers the wing. The far-side top player covers the high post. The far-side baseline player covers the middle of the lane. If any rotation is late, the offence will have an open look.
Skip Pass Recovery
When the offence throws a skip pass (a long pass from one side to the other), the zone must sprint to recover. The far-side defenders become the near-side defenders instantly. Everyone shifts across the lane as fast as possible. This is where conditioning matters - tired teams cannot recover from skip passes, and the zone breaks down.

Weaknesses of the 2-3 Zone and How to Mitigate Them
Every defence has vulnerabilities, and the 2-3 zone is no exception. Knowing the weaknesses allows you to coach around them.
The high post: The area at the free-throw line is a natural gap between the top two and bottom three. Offences will try to place a skilled passer here to dissect the zone. Mitigate this by having the top defenders deny the high-post entry pass aggressively. When the ball does get to the high post, the centre must step up quickly while the baseline players collapse.
The corners: The corner three-pointer is the most open shot against a 2-3 zone because the nearest defenders have to travel the furthest distance to close out. Drill your baseline wing players to recognise the corner pass early and close out before the shooter catches the ball, not after.
Offensive rebounding: Because zone defenders are not matched to specific opponents, boxing out becomes more challenging. Assign rebounding responsibilities clearly: each zone player boxes out the nearest opponent when the shot goes up, not their "man." The centre must own the paint on defensive rebounds.
Quick ball movement: Teams that swing the ball rapidly can outpace the zone's rotations. Build conditioning so your players can rotate at full speed for an entire possession. Use the "three passes and close" rule in practice - after the offence makes three passes, the zone must be in perfect position or the possession is a failure regardless of whether a shot goes in.

Sample Session Plan: 2-3 Zone Defence (60 Minutes)
Session Structure
- Warm-Up (10 min): Defensive slide drills across the key. Closeout sprints from the lane to the three-point line. Incorporate communication - players must call "ball!" when closing out and "help!" when in help position. Partner mirror slides to build lateral speed.
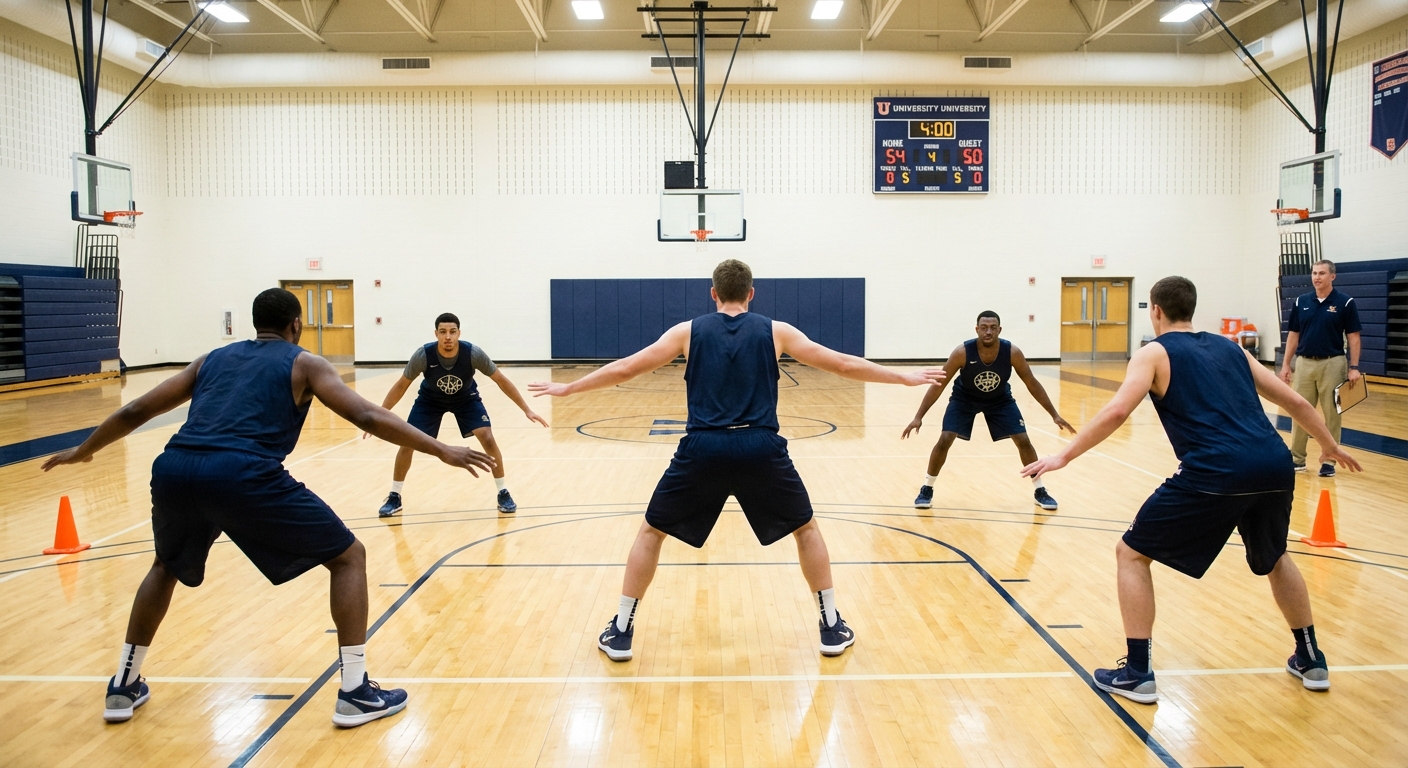
- Technique Block (15 min): Shell drill with no offence. Coach calls "top," "wing," or "corner" and the five zone defenders shift to the correct rotation. Start slowly, increase tempo. Coach walks through each rotation, correcting positioning. All five must be in position before the next call. Add a ball: coach passes around the perimeter while defence shifts.
- Development Block (15 min): 5v0 zone rotations against imaginary offence, then progress to 5v3 (three offensive players passing around the perimeter with no dribbling). Zone must rotate and close out on every pass. Add two more offensive players for 5v5 with the restriction that the offence can only pass, not dribble or drive.
- Game Scenario (15 min): Full 5v5 with the defence in 2-3 zone. Offence plays freely. Defence earns points: 1 point for a stop without an open shot, 2 points for a turnover, 3 points for a block. Offence scores normal basket points. Play to 15. Rotate teams. Coach pauses play to correct rotations when the zone breaks down.
- Cool-Down (5 min): Light jog and stretching. Whiteboard review: draw the three key rotations (top, wing, corner) and quiz players on their responsibilities in each.
Common Mistakes to Avoid
Ball watching: Zone defenders who stare at the ball instead of scanning the floor will lose track of offensive players cutting through the zone. Teach split vision - see the ball and see the nearest offensive player simultaneously.
Lazy rotations: The most common zone breakdown is simply not rotating fast enough. If a defender jogs to their new position instead of sprinting, the offence has a window to exploit. Every rotation must be at full speed.
Leaving the paint empty: When the ball goes to the corner, the temptation is for the centre to follow the ball. The centre must resist this and maintain paint presence. Leaving the lane unprotected invites easy layups on backdoor cuts and offensive rebounds.
No communication: A silent zone is a broken zone. Defenders must call out ball movement, offensive player positions, and screens. Use specific terminology: "ball left," "skip coming," "cutter middle." If your players are quiet, stop the drill and make them talk before restarting.
Frequently Asked Questions
Is the 2-3 zone appropriate for youth basketball?
This is a debated topic among basketball coaches. Many youth development programmes discourage zone defence because it can allow players to hide defensively and not develop individual man-to-man skills. However, introducing zone concepts at the Under-14 or Under-16 level as a complement to man-to-man can be beneficial. It teaches spatial awareness, team defence, and communication. The key is balance - use zone as a secondary defence to expand your team's defensive toolkit, not as a crutch to avoid teaching man-to-man fundamentals.
How do I beat a 2-3 zone when the other team uses it against us?
The three most effective zone-beating strategies are: first, quick ball movement with skip passes to outpace the zone's rotations and create open perimeter shots. Second, placing a skilled passer at the high post (free-throw line area) to exploit the natural gap between the top two and bottom three defenders. Third, attacking the short corners and baseline with cuts and drives when the zone over-shifts. Offensive rebounding is also crucial against zone because zone defenders have more difficulty boxing out when they are not matched to specific opponents.
Can I mix zone and man-to-man during a game?
Absolutely, and this is one of the most effective defensive strategies available. Switching between man-to-man and zone during a game - or even during a single possession - disrupts the offence's rhythm and forces them to recognise the defence before running their plays. Use specific triggers for switching: after a made basket, after a timeout, at the start of a quarter, or when a particular offensive player enters the game. The key is that your team must be able to transition between the two systems quickly and without confusion.
How long does it take to install a 2-3 zone with a new team?
The basic structure can be taught in two to three training sessions. Players can learn their home positions and the fundamental rotations (ball at top, wing, and corner) relatively quickly. However, mastering the nuances - recovering from skip passes, handling cutters through the zone, trapping out of zone, and maintaining intensity for full possessions - takes ongoing work throughout the season. Dedicate 10-15 minutes of two sessions per week to zone work for the first month, then maintain with periodic refresher sessions. The zone will improve all season as players develop better instincts for their rotations.