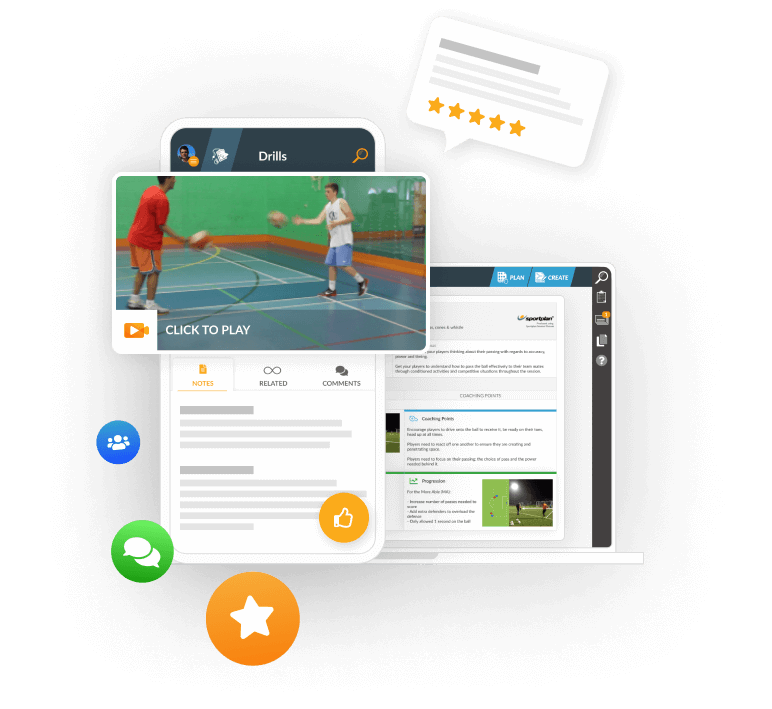
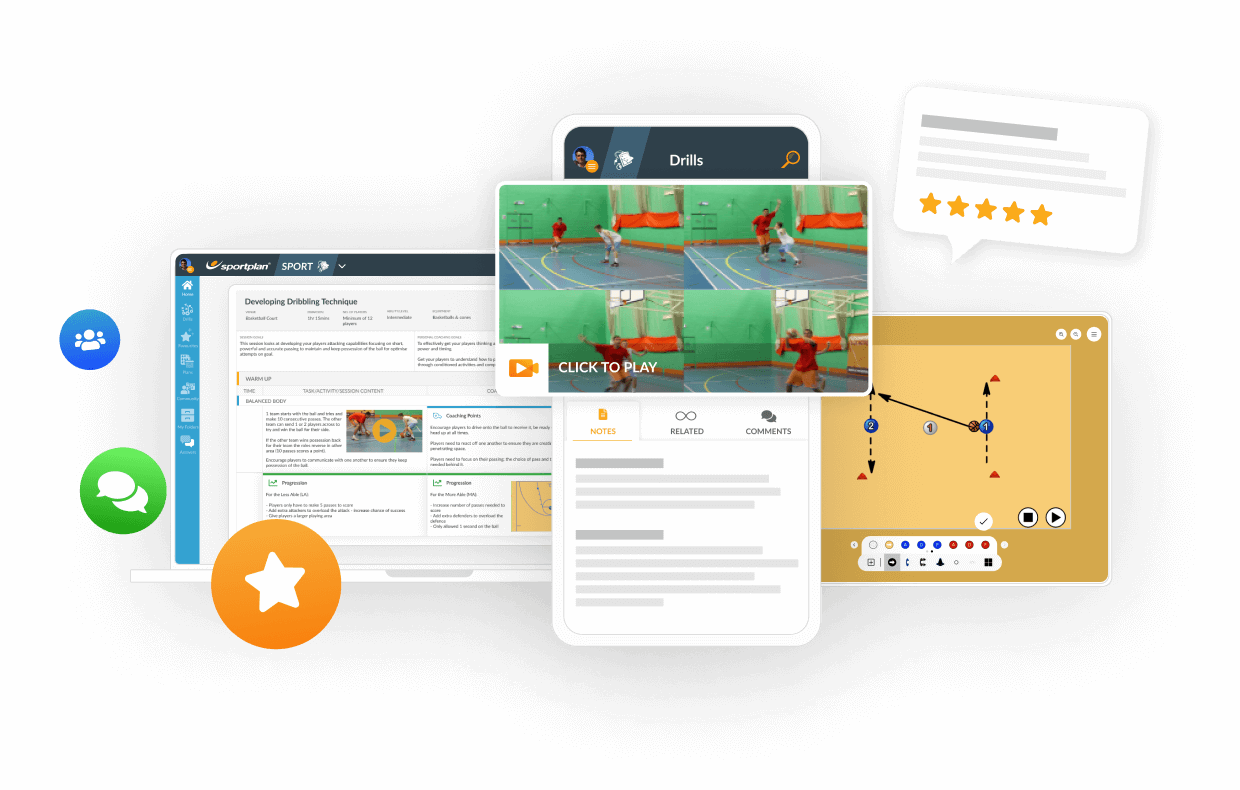
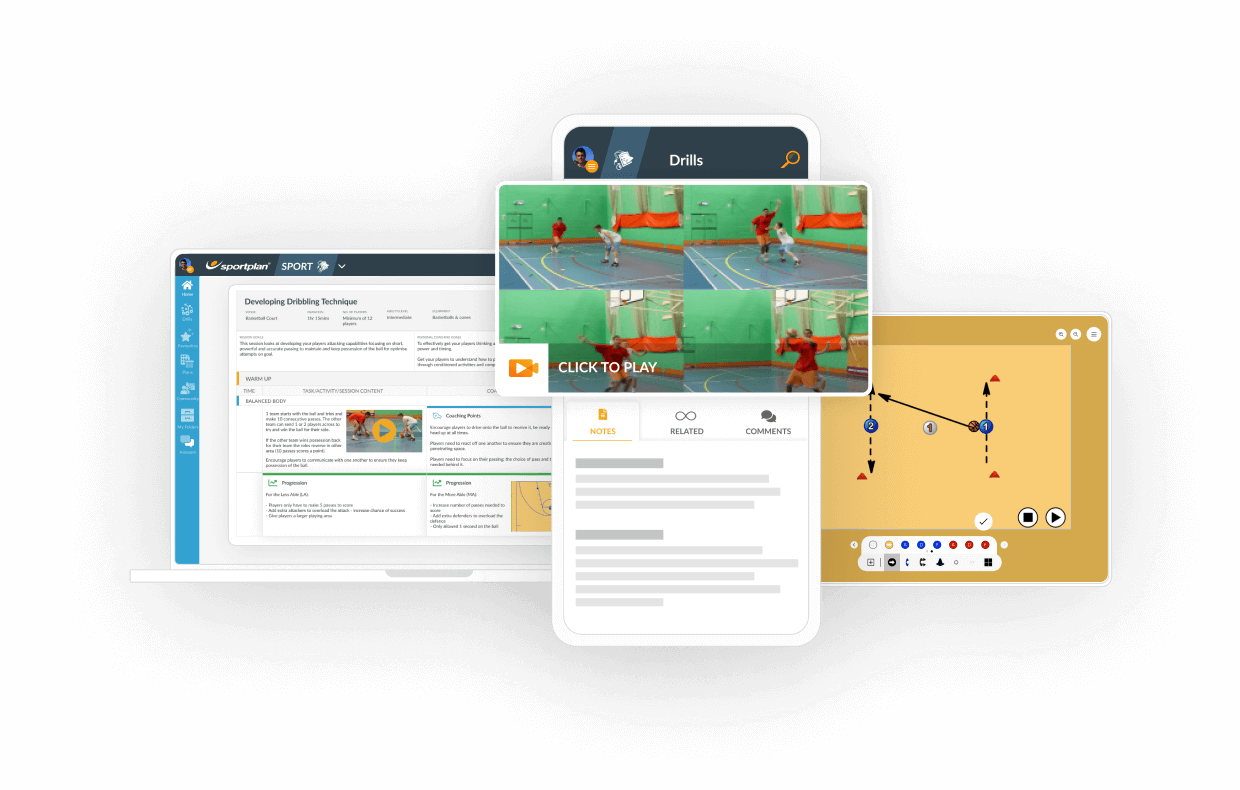
Rugby: Passing compass

Your tips and session ideas have really brought some interest back...
Eifion, Rugby Coach

DESCRIPTION

  • Have a quick demo using one group - keep your player briefing, brief.
  • Each pair face one another and stand side by side, about 1 meter apart - shoulder to shoulder. And about 2 meters apart - face to face.
  • Players should be up on the balls of their feet, jogging on the spot.
  • They should continually pass to each other, passing with the player in front of them.
  • When the coach calls out a direction the players should move as a unit maintaining the distances to each other while passing until the new direction is called.
  • You could call NORTH, SOUTH, EAST, or WEST. You could also have each side of your grid marked with different coloured cones and your players could move according to colours.
  • Movement should be controlled and not too fast.
  • Expand the size of the training area for greater speed of movement over distance.

COACHING POINTS

Feel free to select the coaching points that are most useful for your session plan and that match your training/coaching goals. You may have some of your own?

  • Ball carrier holds the ball in two hands.
  • The weight of the pass is considered in terms of distance, speed, and accuracy.
  • There is no need to spin the ball.
  • Players should listen and respond to the coaches call.
  • There is no reason why players cannot talk and listen at the same time.
  • Players are always moving and passing, even when their position is static.
  • Players are up on the balls of their feet and ready to change direction quickly.
  • Players can direction right away, when told to do so.
  • Players maintain the line in terms of speed and space, like in defence!
  • Movement is controlled and no too fast in any one direction.

PROGRESSION

  • Give each player a ball - passing between players still takes place with two balls active at once. 
  • Passing and movement stops on a coaches instruction to e.g. do five sit up, five press ups etc. Once the instruction has been carried out - movement and passing carries on. Can players remember what they were doing before the instruction e.g. moving south?

READ MORE
READ LESS
OFTEN USED WITH...
748902
1009

SIGN UP NOW FOR FREE

  • search our library of 1100+ rugby drills
  • create professional rugby coaching plans
  • or access our tried and tested rugby plans
STAY CONNECTED

in more ways than one

sportplan_netball
MORE Warm Up DRILLS

Maul Touch

Be brief when telling the players the laws of this game, it's important to get them moving quickly. This is not a contact game, but there will be some light contact. Break your players into two teams, giving each team their own colour of bibs if necessary. One team goes to attack, and one to defence. Nominate a Scrum Half for each team, it will be their job to move the ball from the back of the maul and out to an attacking line. There is no kicking in this game. Normal laws of rugby apply e.g. a forward pass will result in the ball being turned over to the opposition. If an attacking player is touched: they must stop and turn, a maul is then built based on how you have trained your players to Maul. Only four players should be in the maul - but every player should be able to maul - including the backs! When you start playing this game make sure that the defence is employing your defensive pattern around the maul. They will commit 4 players, but will not do anything more than provide light resistance. Once formed the maul can take four steps before moving the ball. If there is a delay in creating the maul, or the quality of the maul is poor - the ball can be turned over. Depending on your goals decide on the number of touches you wish to allow e.g. unlimited is not a bad option as mistakes will be made! If a team has been in possession for a long time, don't forget to turn the ball over to give the opposition a run. Don't hesitate to shape the game to focus on your session goals, and let us and other coaches know what worked for you.

Warm Up

Pressure Ball

Make sure your warm-up area is marked out before the players arrive. Depending on the number of players you have at training, mark out several warm-up grids. The size of your grid is a suggestion, but around 10 meters x 10 meters. The bigger the grid, the easier it is for the attackers - they have more space. The smaller the grid, the easier it is for the defenders. Break your players into two groups, pads and passers. One third of your players will be passers; the rest will be on the pads. Have one team quickly demonstrate the game to the other players. In each grid have four players on pads, and two passers. You could have more passers; I'll leave this to your judgment. The job of the players on the pads is to put pressure on the ball carrier, to surround them and stop them from passing the ball. The players on the pads are also trying to force the passers to make mistakes e.g. drop the ball, throw a bad pass etc. The passers have to move the ball around the grid, avoiding the pads. Passers can pass the ball in any direction. Players on the pads should have a little fun, and within reason push the passers around a little. You can award points for each successful pass, and points to the defending team on the pads for every occasion when a ball carrier is surrounded or the ball carriers make a mistake. Don't forget to change the players around, and to give players on the pads a go at passing the ball under pressure. Law Variations: You could insist that passers have only 3 second to make their pass, or risk losing a point to the defending team.

Warm Up

JOIN SPORTPLAN FOR FREE

  • search our library of 1100+ rugby drills
  • create your own professional coaching plans
  • or access our tried and tested plans

Sportplan App

Give it a try - it's better in the app

YOUR SESSION IS STARTING SOON... Join the growing community of rugby coaches plus 1100+ drills and pro tools to make coaching easy.
LET'S DO IT