Fielding on the Square Leg Boundry

August 2026

There is a particular kind of club defeat that happens every August. Your side bowls well, restricts the opposition to something gettable, and then loses by fifteen runs having been ahead of the rate for thirty overs. Nobody did anything obviously wrong. The chase just got away.

Chasing is a genuinely different skill from batting first, and it is barely coached at club level. Batting first is about maximising; chasing is about managing a known target against a moving clock, and the mental demands are entirely different.

Why Chases Are Lost

The most common cause is a misread of the required rate. Batters look at the runs needed and panic at a number that is perfectly manageable, or they coast on a comfortable rate and forget that wickets in hand are the real currency.

The second cause is dot balls in clusters. Three or four consecutive dots does not change the required rate dramatically, but it changes the batters' state of mind, and the shot that follows is usually the one that gets them out.

The third is that nobody has a plan for the middle overs. Club sides often have a plan for the powerplay and a plan for the death, and eighteen overs of vagueness in between where chases quietly slip away.

Breaking the Target Into Blocks

The single most useful thing you can teach is to stop thinking about the total. Divide the innings into blocks of five overs and give each block a target. Suddenly a chase of 180 is not an intimidating number; it is a series of small, achievable jobs.

Within each block, the pair at the crease has a simple contract: reach the block target without losing more than one wicket. That reframes the whole innings around partnership rather than individual scores, which is exactly the mindset a good chase requires.

It also gives you a clear point to reassess. At the end of each block the batters check in, adjust, and continue. No panic, no heroics, just a recalculation every five overs.

The Framework

Step One: Set the block targets before the innings starts, not at the crease. Every batter in the changing room should know what over ten and over twenty are supposed to look like.

Step Two: Protect wickets early. Almost every successful chase is built on having batters in hand at over thirty. Being marginally behind the rate with wickets is far better than being ahead of it with four down.

Step Three: Kill the dot ball. Rotating strike is the most reliable pressure valve in cricket. Use of feet to spin, working the ball into gaps and running hard between the wickets does more for a chase than boundary hitting.

Step Four: Identify the bowler to attack. Every attack has a weak link. Decide who it is early and target their overs deliberately rather than trying to score off everyone.

Step Five: Rehearse the finish. Practise the last five overs as a scenario, with a specific target and real fielders, so the pressure is familiar when it arrives.

Training the Scenario

Scenario batting is the most under-used tool in club coaching. Set a target, set the overs, put fielders out and play it properly. Twenty minutes of that teaches more about chasing than an hour of throwdowns.

Vary the scenario so players experience being ahead, level and behind. Batters who have only ever practised comfortable chases fall apart the first time they are genuinely under the pump.

Key Coaching Points

  • Break the target into five-over blocks with their own mini-targets, and stop thinking about the total.
  • Wickets in hand matter more than being marginally ahead of the required rate.
  • Dot balls in clusters cause dismissals; rotating strike is the primary pressure valve.
  • Identify the weakest bowler early and target their overs deliberately.
  • Give each partnership a simple contract for its block, so the innings is built on pairs.
  • Practise chases as full scenarios with fielders and a clock, including ones you are losing.

Recommended Drills

VIEW ALL BATTING DRILLS

Frequently Asked Questions

Should we always keep wickets in hand, even if we fall behind?

Within reason, yes. A side with six wickets in hand needing nine an over has a genuine chance; a side with two wickets needing six an over usually does not. The exception is a chase where the required rate becomes unreachable, at which point wickets stop having value.

How do I stop my batters panicking at the required rate?

Take the number away from them. If the plan is expressed in five-over blocks, batters focus on the next thirty balls rather than the scoreboard. Most panic comes from looking at a total rather than at the immediate job.

Is it worth practising chases in junior cricket?

Very much so, and arguably more than with seniors. Young players learn game awareness through scenarios far faster than through explanation, and a colts side that has practised chasing will understand run rates and partnerships far earlier than one that only ever nets.


William Steed Coach, England

DESCRIPTION

A batsman sets up with a stump with a ball on top in front of him. 2 Fielders are placed on the Square Leg boundry aproximately 20m apart When the ball is pulled the fielders have to stop the ball crossing the boundry either on their own or using relay (pop the ball to the other fielder) fielding and get the ball back to the bowler as quicly as possible.

COACHING POINTS

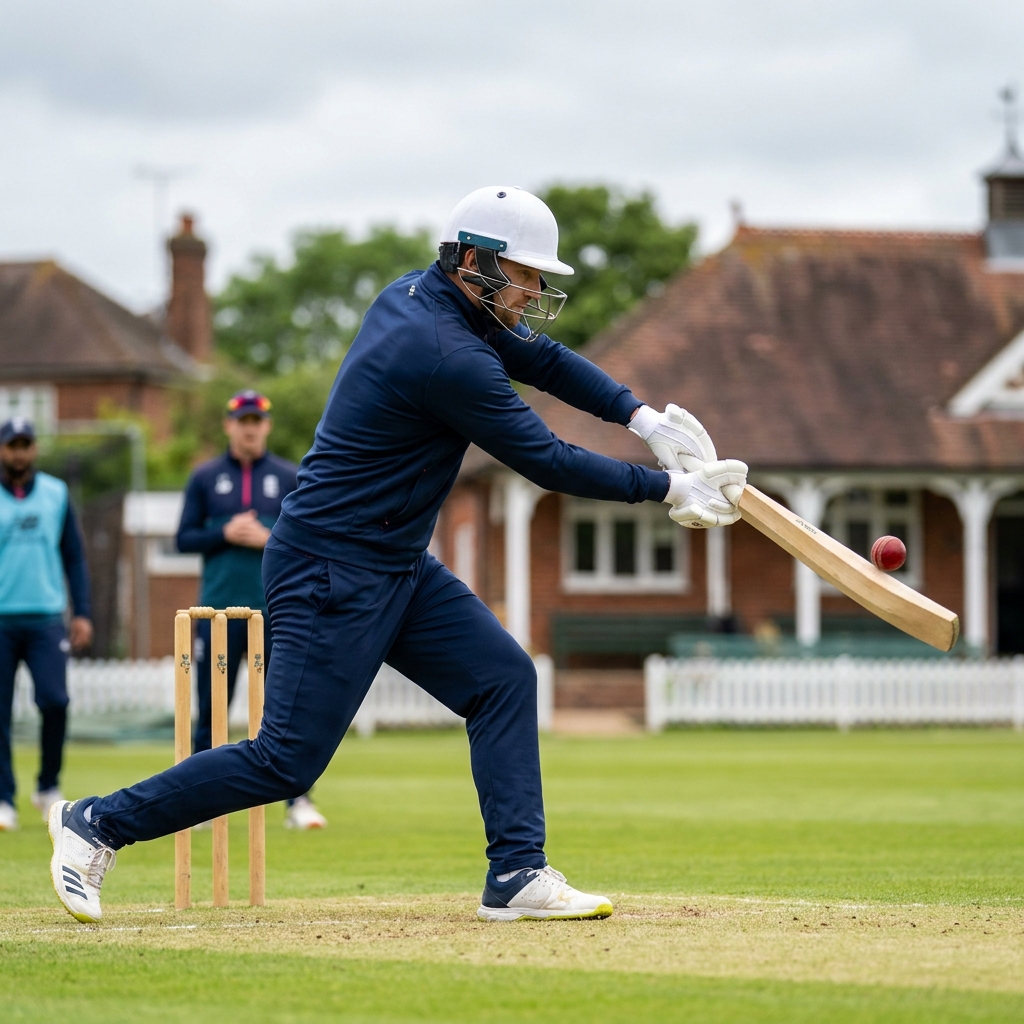
Technique to the pull shot... Feet go back and across The bat comes from high to low High Bat Speed Maintain Balance Look at the ball at all times Coaching Points for Low / Cover Catches – For Cover catching it is important to ‘walk into the catch’ you do this by taking 4 – 5 paces then getting into a ‘set position’ – A good way to do this is to ‘jump’ a little and use the momentum of the jump make sure that you can spring left or right. Feet should be comfortably placed approximately shoulder width apart (Maybe slightly wider). Knees should be slightly bent… not so much that you are squatting but then low enough that you can spring to the left or to the right. Your fingers should always be pointed either up or down with your little fingers (down) or thumbs and index fingers overlapping (up), the rest of your fingers should be spread out to cover the largest possible area. Your Hands should be slightly out in front of your body so that you can bring the ball into your belly button after you have caught the ball (absorbing the pace of the ball). Eyes and head should be level at all times (if the catch is coming straight at you) your eyes should always follow the ball even after first contact into your hands. ALWAYS TRY AND USE 2 HANDS Coaching Points for High Catches – There are two main ways to take high catches the ‘English’ way (Fingers pointing ‘down’) and the ‘Australian’ way (Fingers pointing up) The set up prior to the catch is very similar, the Feet should be comfortably placed approximately shoulder width apart (Maybe slightly wider). It is more important that your knees be flexed for high catches because when you take the catch it is a good idea to absorb some of the pace off the ball by bending your knees on contact. It is very important that you stand in the right place for these catches and get into position under the ball early so that you can then get into the correct position. English (Fingers down method) – Your hands move up so they are in front of you chin, again the little fingers should be overlapped and your hands making the biggest target possible. As the ball comes down you let it go beyond the level of yours eyes and into your hands. You then absorb the pace of the ball by bringing your hands down into your chest. Australian (Fingers up method) – Your hands are raised above your head so they are in line with the ball coming down (you should be able to see the ball through your hands), as the ball comes down and makes contact with your hands you absorb the pace of the ball by bringing your hands down to your shoulder as well as bending your knees. Again you need to watch the ball constantly throughout the entire process ALWAYS TRY AND USE 2 HANDS Coaching Points for Throwing Overarm and underarm – We are only focusing on the throwing action in this section rather than the collection of the ball prior to the throw. Body Position / Stance – You need to get into a nice LOW and BALANCED position Feet Position – Feet Should be in line with your intended target Front Arm / Elbow – You should at least line your front elbow up with your intended target or you can point your front finger at your target. Throwing arm – Your hand should always be above you elbow when throwing; The movement of your arm should be at a high speed and be fluent throughout. Once you have released the ball you need to follow through with your throwing arm to beyond your front hip. Where to aim? – If you are going for a run out with a direct hit then you should always aim at the bottom of the middle stump. This is because it gives you the most amount of error where you still may hit the stumps. If you are throwing over the stumps then you are trying to hit the area directly above the stumps no more than around 2 feet over the stumps. Coaching Points for Picking the Ball Up – There are 3 different types of ball pick up in cricket: One Handed, Two Handed and Long Barrier. One / Two Handed Pick Up: The Approach – As you approach the ball you should be in a low and balanced position. One Handed Pick Up: Foot Placement – for the one handed pick up the front foot should be next to the ball Two Handed Pick Up: Foot Placement – The front foot again should be next to the ball however is it very important that the BACK FOOT IS BEHIND YOUR HANDS, this is due to the two handed pick up being used to ‘harder’ hit shots and In positions where a miss field could lead to extra runs. One / Two Handed Pick Up: Hand Positions – Both in one and two handed fingers should be pointed down at the point of pickup this is so there is a reduced chance of a miss field and also an injury. The Long Barrier: Getting in Line – This is used when you have more time and there is no chance of a run out. For the long barrier it is important that you get in line with where the ball will be early (however do not go down until you are 100% sure you are behind the ball). The Long Barrier: Body Position – You should be side on so that you have a large area to stop the ball. You should have your right foot forward with your left knee resting against the back of your right heel. THERE SHOULD BE NO GAP BETWEEN KNEE AND FOOT. You should pick the ball up in front of your knee (in the centre of your barrier).

This practice has no coaching points

PROGRESSION

This practice has no progressions

READ MORE
READ LESS

JOIN SPORTPLAN FOR FREE

  • search our library of 350+ Cricket drills
  • create your own professional coaching plans
  • or access our tried and tested plans
MORE COMMUNITY Ground fielding-and-throwing DRILLS

There are currently no more drills being shared in this category

JOIN SPORTPLAN FOR FREE

  • search our library of 350+ cricket drills
  • create your own professional coaching plans
  • or access our tried and tested plans
;

Sportplan App

Give it a try - it's better in the app

X
YOUR SESSION IS STARTING SOON... Join the growing community of cricket coaches plus 350+ drills and pro tools to make coaching easy.
LET'S DO IT