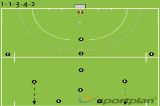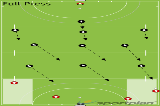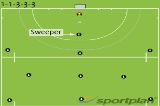
1-1-3-3-3 formation
This set-up will see your team playing with a sweeper behind the back 3. The advantage of this system is that there is always a covering player to support the back 3 defenders. Your back 3 can play this 2 ways: Man to man back 3, with players sticking with the same player or Zonal defending. Players stay in position and mark any player that comes into their area. With this system you would look to attack using the width from the back. When to use: This system is good when: You have a slow back 3 players who keep being out run by forwards. The opposition is better and keep beating one of your back 3 The opposition throw good long aerials landing in your 25.
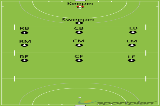
Roles and Responsibilities