

Until recently, video analysis in hockey meant Hudl Sportscode, a paid analyst and an elite budget. That world still exists at international level - Belgium's Red Lions and Red Panthers run sophisticated tagging workflows that feed directly into their tactical reviews. But in 2026 the same fundamental approach has trickled down to club hockey, and it doesn't need any of that infrastructure.
A phone on a tripod, a free cloud folder and a thirty-minute weekly review meeting is now enough to give your club team a meaningful edge. The teams using it well aren't doing complex statistical analysis; they are simply showing players what happened, what was good, and what could be different. That is enough.
Why Most Clubs Get Video Wrong
The classic failure mode is the recorded match that nobody ever watches. The phone goes on the tripod, the game gets filmed in one long take, and the file sits in a Google Drive folder for the rest of the season. Nothing changes because nothing is reviewed.
The second failure mode is the marathon team meeting where the coach plays forty minutes of footage and gives a monologue. Players switch off after five minutes, the message is lost, and the habit doesn't survive past the third week of the season.
The teams that benefit do two things differently. They edit ruthlessly, and they involve the players. Three minutes of clips that the players themselves help select is worth ten meetings of unedited match footage.
The 3-Clip Rule
Pick a single theme for each weekly review - press triggers, circle entries, set piece execution, whatever the previous match exposed. Then find three clips that show it: one that worked, one that didn't, and one ambiguous moment that prompts discussion.
Three clips is the magic number for club hockey. It is short enough to hold attention, long enough to make a point, and small enough that you can actually edit it in twenty minutes on a Sunday evening. The temptation is always to show ten clips; resist it. The brain only retains the first two or three anyway, so make those count.
Pro tip: Let players nominate one clip each week. The clip they choose tells you what they care about, and they pay attention to footage they have selected themselves.
A Practical Weekly Workflow
Here is the rhythm that works for a typical club coach with a full-time day job.
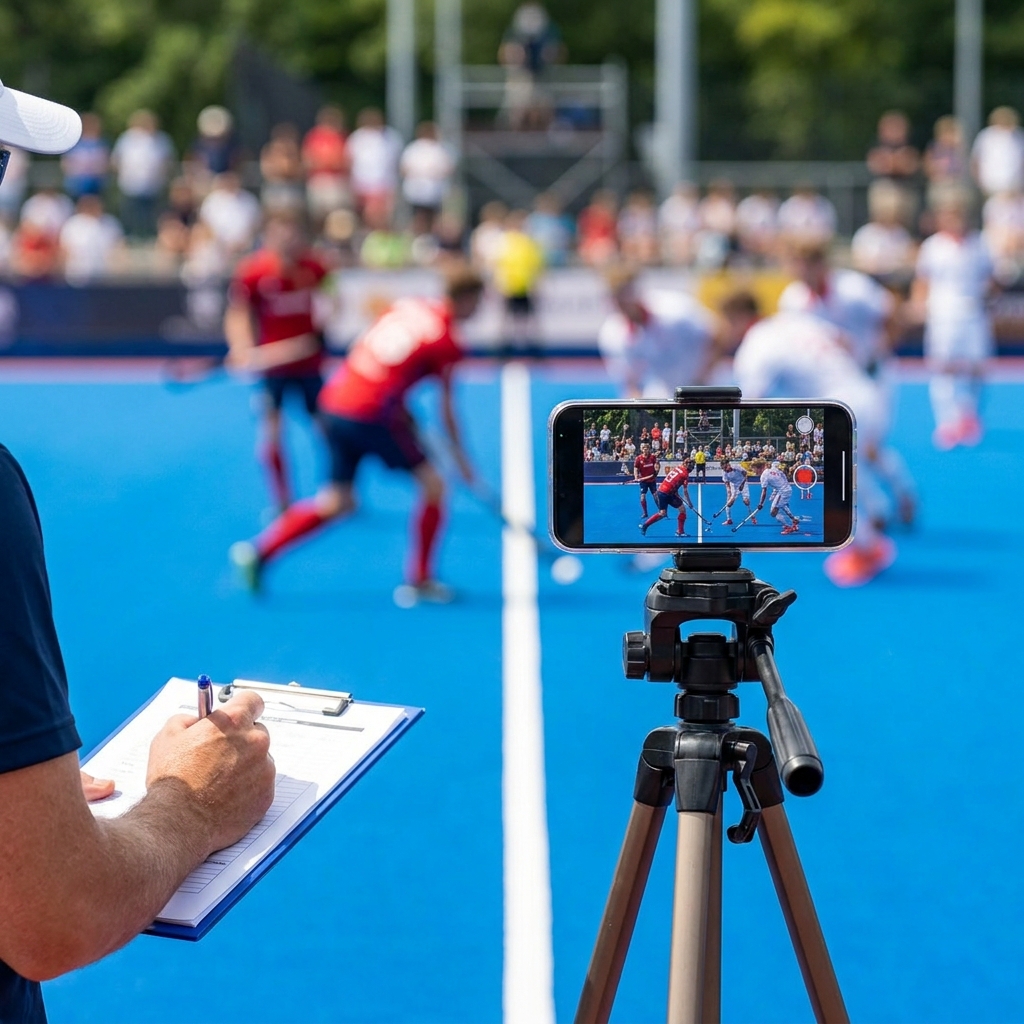
Saturday match day. Phone on a tripod at the halfway line, slightly elevated if possible. Wide angle covers most of the pitch. Hit record at the warm-up, hit stop at full time. Upload the raw file to a shared cloud folder before you leave the venue. Total time investment: thirty seconds either side of the game.
Sunday clip selection. Open the recording on your laptop. Use a free tool like Clipchamp, iMovie or DaVinci Resolve. Pick your theme based on the match - if the press fell apart, pick press; if you couldn't break the defensive line, pick circle entries. Find three moments, trim them to 10-15 seconds each, save the clip pack. Total time: 30 minutes.
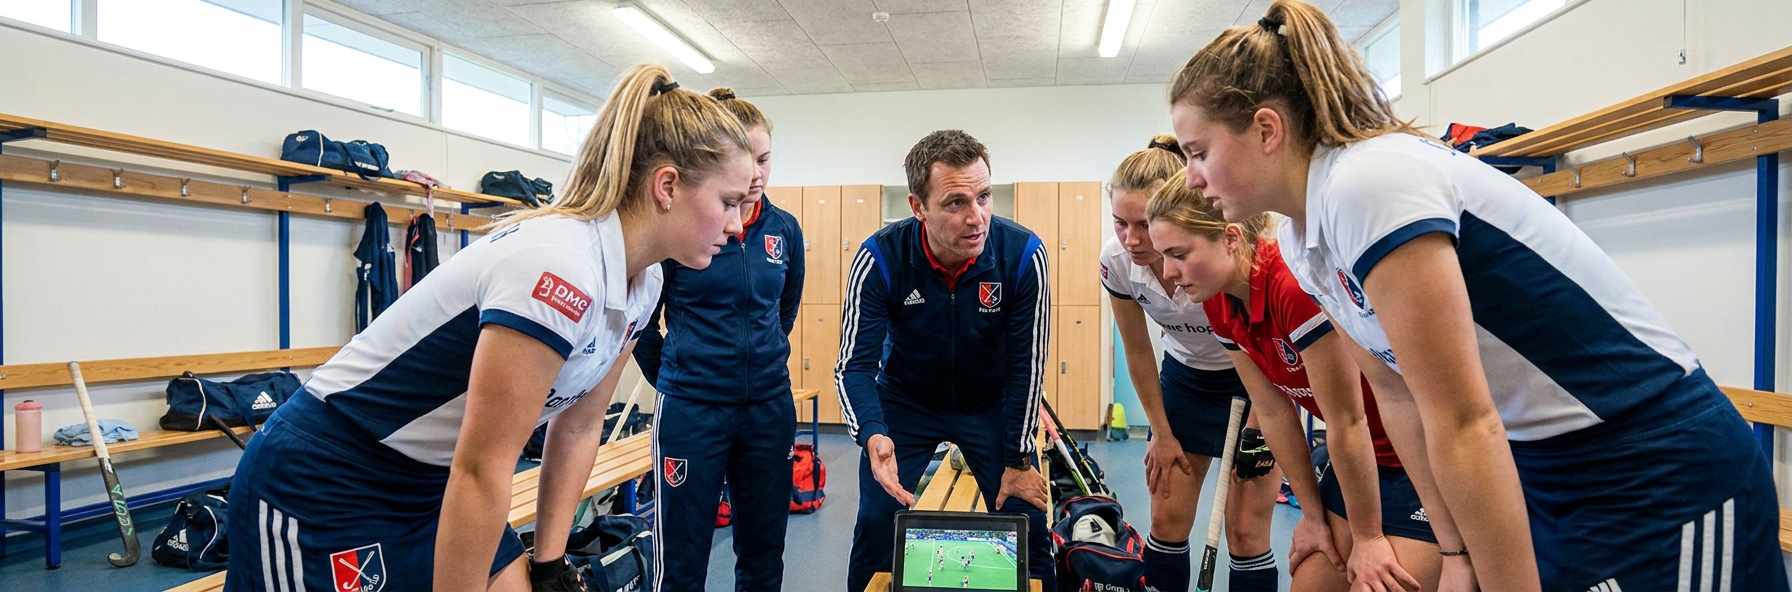
Tuesday training. Show the clips on a tablet or laptop in the changing room before the warm-up. Spend ten minutes - no more - on three questions: what did you see, what should have happened, what will we work on tonight? Then walk straight onto the pitch and train that exact thing.
Wednesday or Thursday follow-up. Share the clip pack to a private team channel with a short text caption. Players who couldn't attend Tuesday can catch up. Players who were there get the reinforcement.
What to Look For
If you don't know what to film for, default to these four categories that almost always reward closer inspection.
The first ten seconds after every turnover. Counter-pressing only succeeds or fails in this window, and it is the most coachable moment in modern hockey.
Every entry into the attacking 25. Did the team build it, did they run it down the wing, did they cross it in? Patterns become visible after three or four matches of footage.
Every conceded goal and shot on target. Painful to watch and uncomfortable to share, but the most direct route to defensive improvement.
Every penalty corner you defended. Run them back at half speed. The body position of the first runner alone will tell you whether your defensive structure is working.
Key Coaching Points
- Film every match, even with a single phone on a tripod
- Pick one theme per week, not ten
- Three clips, three minutes - never more
- Players nominate one clip each week
- Train the theme the same day you review it
 sportplan_hockey